Learn how to make soft, silky sourdough pasta with my easy recipe- just 3 ingredients: flour, eggs, and sourdough starter (active or discard). Choose a quick 1-hour same-day dough or a 24-hour slow ferment for deeper flavor and digestibility. Perfect for pappardelle, ravioli, lasagna noodles and more. Step-by-step instructions and video below.
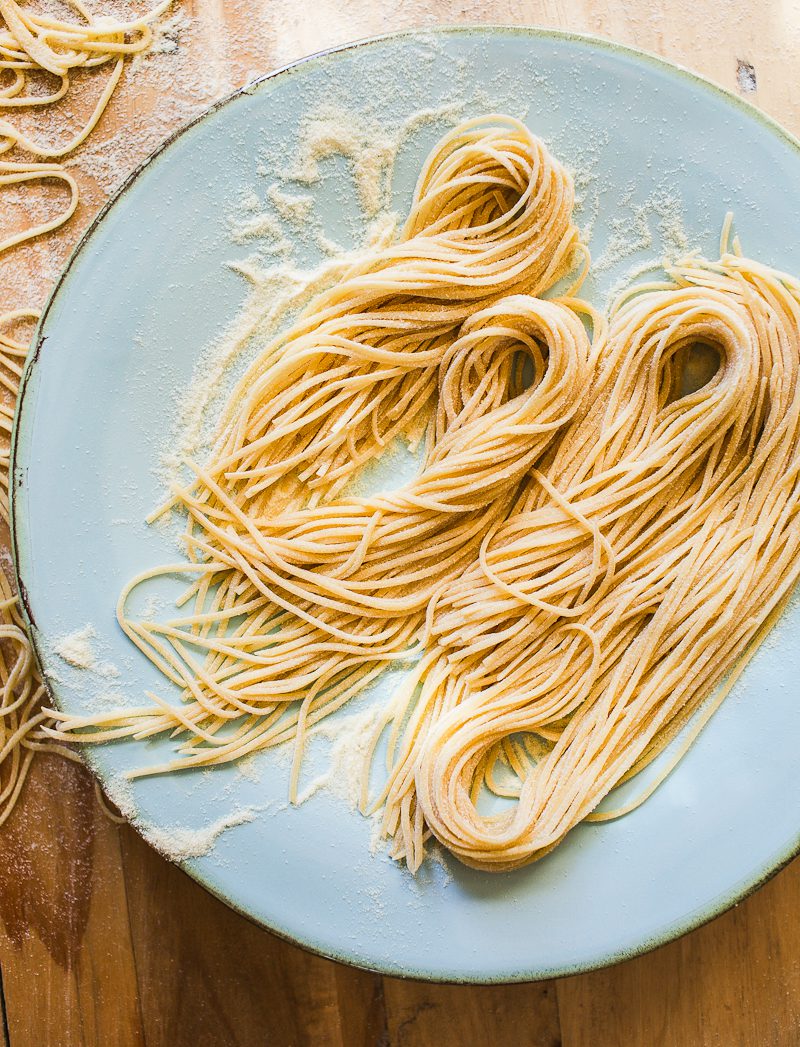
Sourdough pasta? Admittedly, I wasn’t into it because “sour” pasta sounds awful. Even tangy pasta sounds awful. But when enough people asked if my homemade pasta recipe would work with sourdough, I thought: could I create a sourdough pasta recipe without sacrificing quality and taste?
Turns Out, It Works.
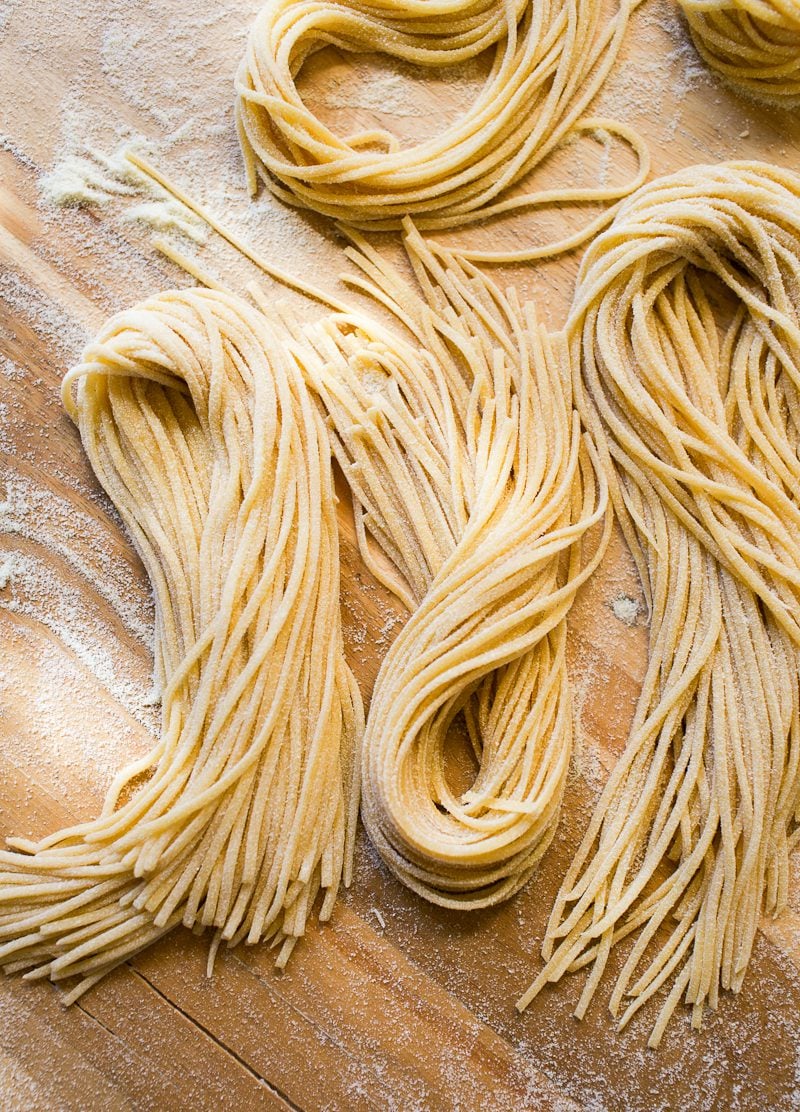
Three simple ingredients, that’s it. The texture is soft and silky like traditional fresh pasta, with subtle flavor complexity enhanced by the characteristics of your sourdough starter (some days, mine smells nutty like brown butter).
Toss it with my simple pomodoro sauce or even a rich Ragù Bolognese, and you’ll genuinely surprise yourself. It’s that good! I’ll show you how to make it step-by-step, with storage options to make it ahead.
Before You Start: Quick Tips for Success
- Sourdough Starter: Fresh, active starter is best. Sourdough discard can work if it’s recently fed and collapsed, not 3 months old sitting in the fridge (it’s too pungent, too sour, and the acidity might weaken the gluten strands).
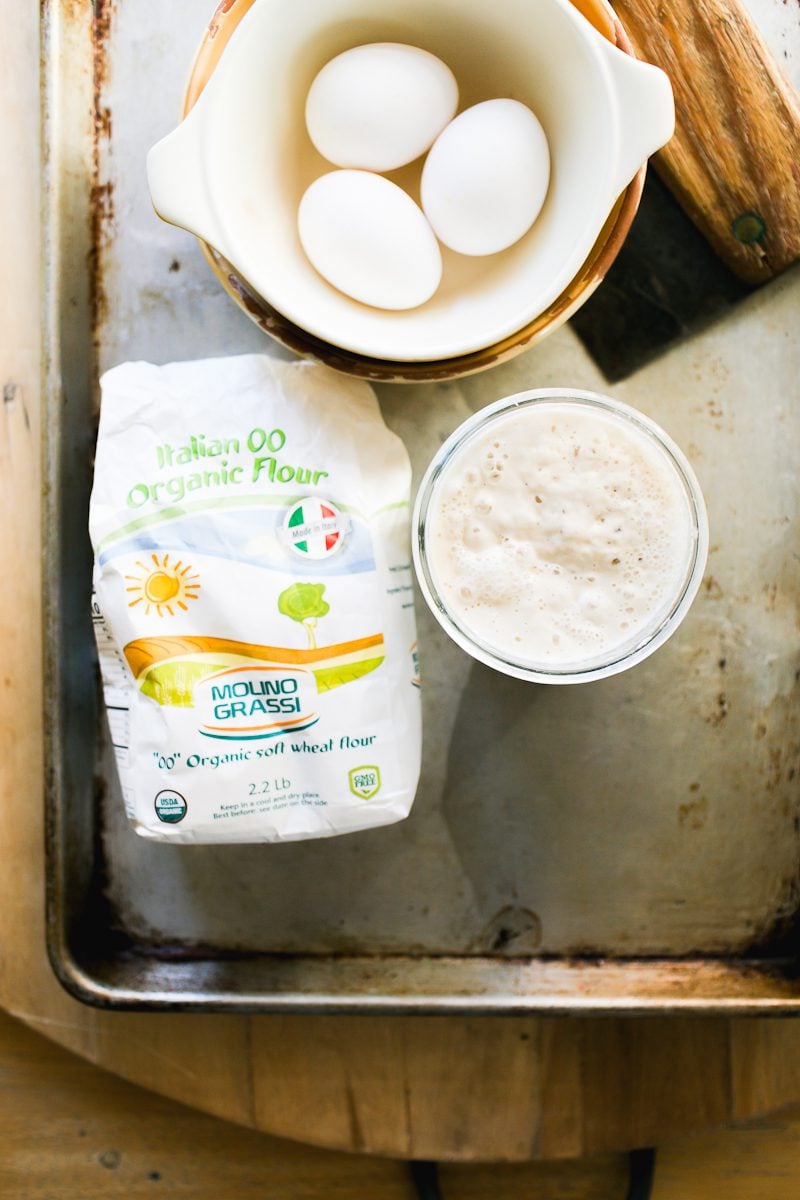
- Flour Selection: I love Italian 00 flour for homemade pasta. It’s a fine-milled, soft wheat variety that feels like baby powder which makes the dough exceptionally easy to knead. Italian and American 00 flour are not the same; they have different protein levels.
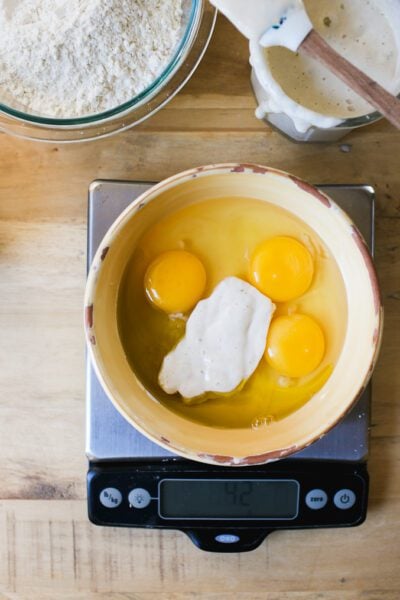
- Weigh everything (especially the eggs). When your amounts are exact, you’ll get a soft and pliable dough. Too little egg = dry, crumbly dough that’s impossible to work with. Use a digital scale for accuracy. I don’t recommend measuring cups.
How To Make Sourdough Pasta {Step-By-Step Recipe}
Step 1: Make The Pasta Dough
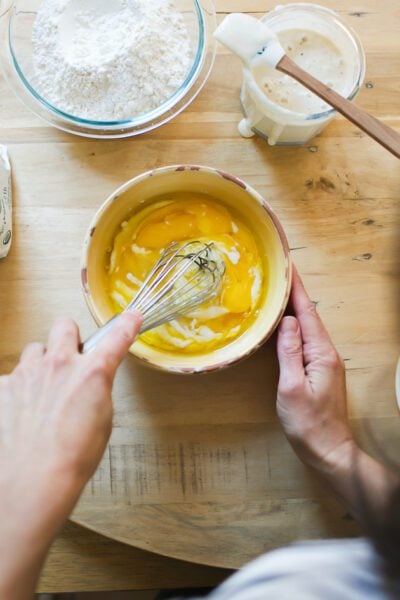
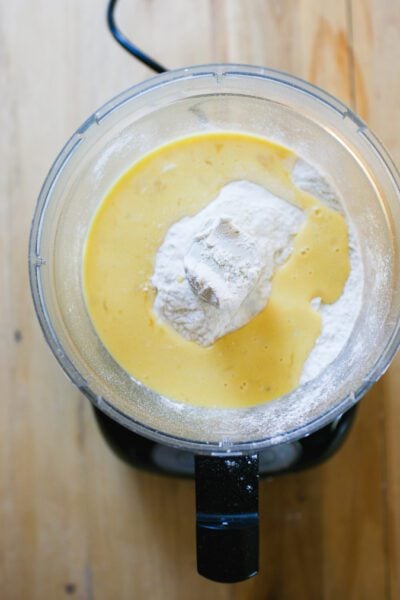
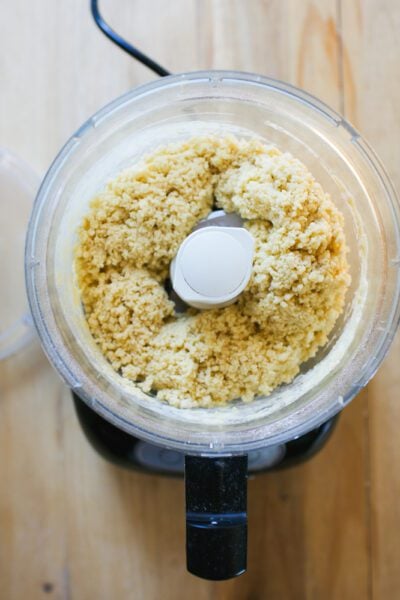
I do this in the food processor. It’s the fastest method. Whisk your eggs and sourdough starter together and then pour over the flour. Process until the dough comes together. It might look like “crumbs” at first, which is fine.
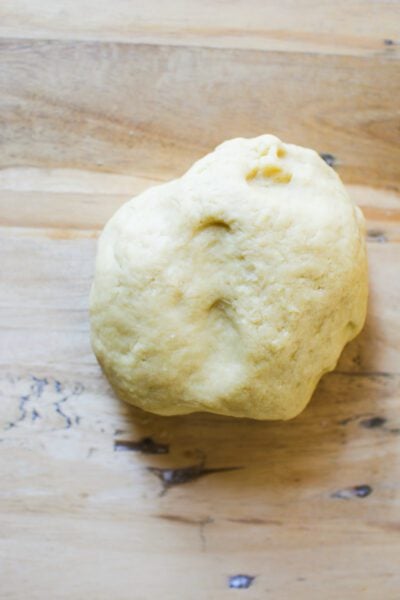
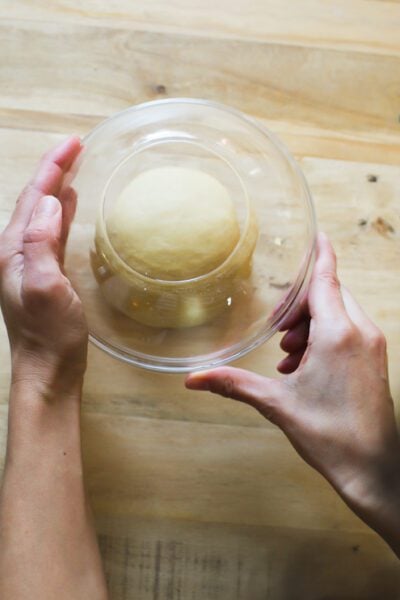
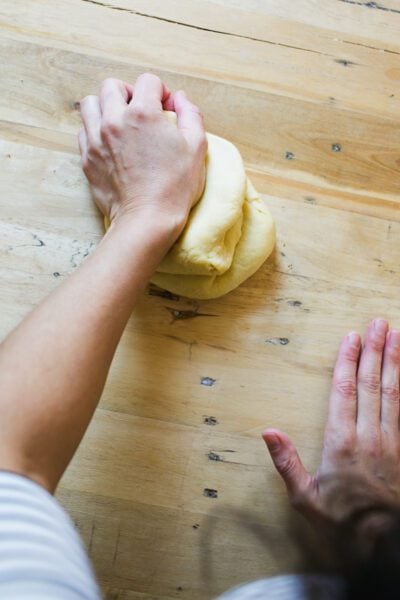
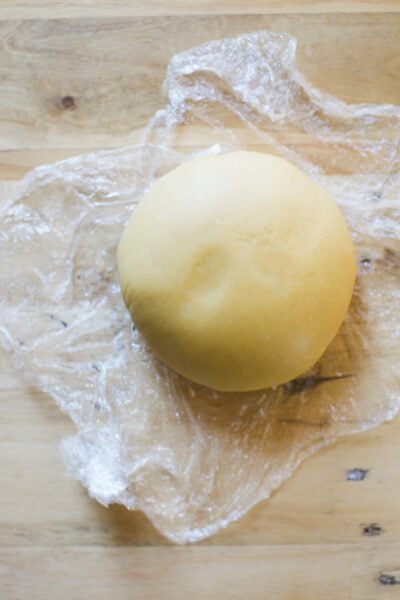
Bring the dough together, rest briefly, and then knead until smooth and elastic (see video at 1:50 mark). The dough should feel soft, but not sticky. You can add more flour now if you need to. Wrap tightly in plastic wrap and choose a fermentation option below.
How To Ferment Sourdough Pasta
- 1 Hour at Room Temperature (68- 75 F): Choose this method for fast “same day” sourdough pasta. Keep an eye on the dough as it rests; it will puff up slightly. The sourdough flavor is very mild.
- 24 Hour Overnight Option: Rest the dough at room temperature first, for 1-2 hours. Chill overnight, up to 24 hours (I’ve done up to 48 hrs. without the dough deteriorating). Make sure the dough is wrapped very tightly, double layer if you have to, because the dough will puff up.
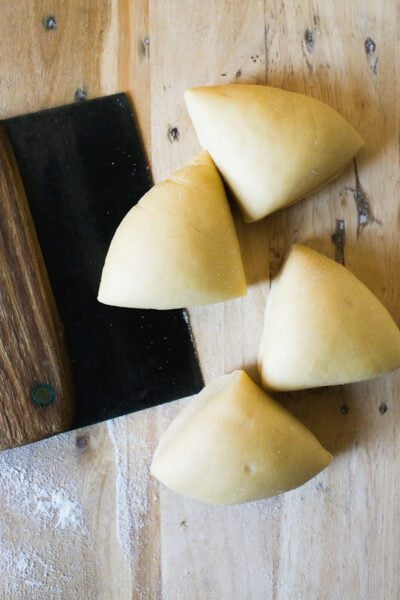
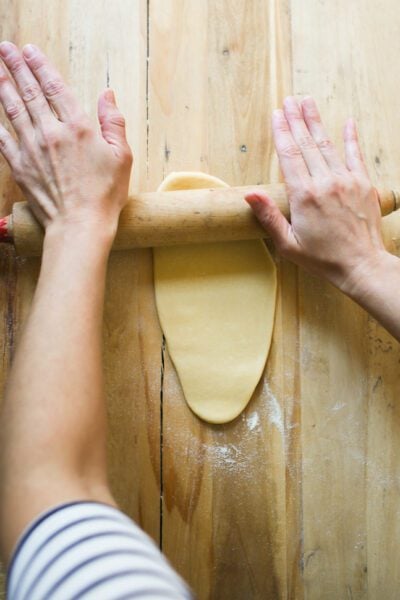
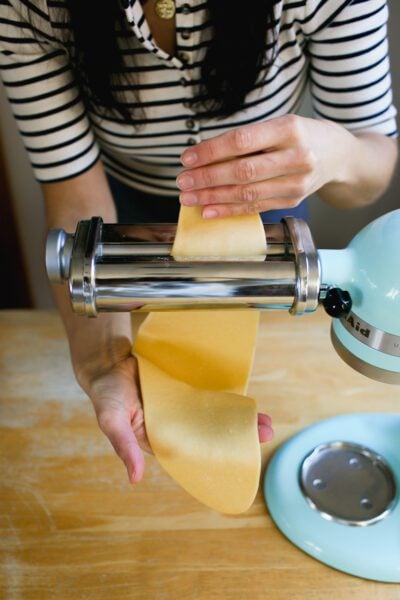
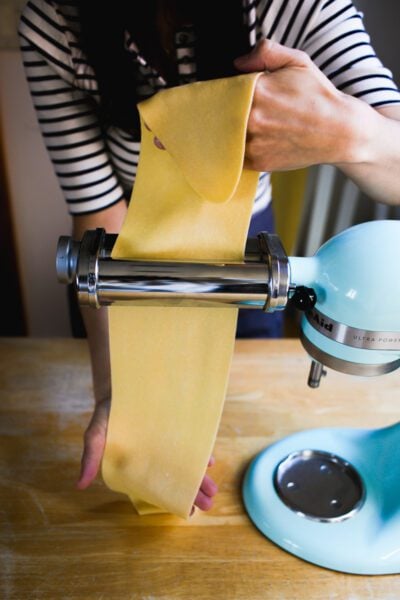
Step 2: Roll The Dough Into Sheets
Dust your work surface, sheet pan, and pasta machine with semolina flour to prevent sticking.
Cut the dough into 4 equal pieces. Roll one piece into an oval disc (keep the rest covered- pasta dough dries out quickly). The goal is to get it thin enough to fit through the widest setting on your pasta machine, otherwise the dough will get smushed. Not fun!
Send the disc through the pasta machine on the widest setting. This is “#1” on the Kitchen Aid attachment. Send it through a second or third time to smooth it out.
Continue to roll through settings #2-4 (2x on each setting) for spaghetti, fettuccine, pappardelle and tagliatelle. For homemade ravioli, the dough needs to be thinner, go up to #5.
Your pasta sheet is ready when it’s slightly translucent and you can see your hand underneath.
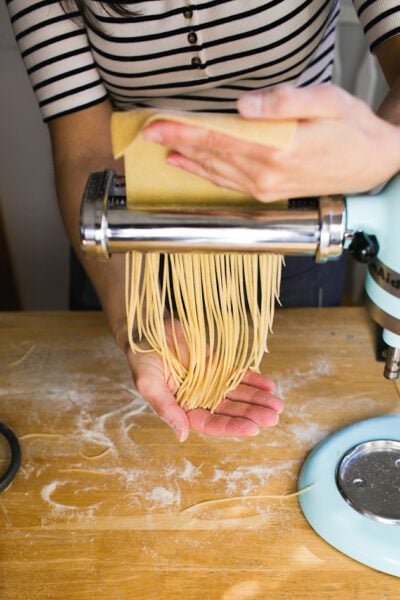
Step 3: Cut Sheets Into Pasta
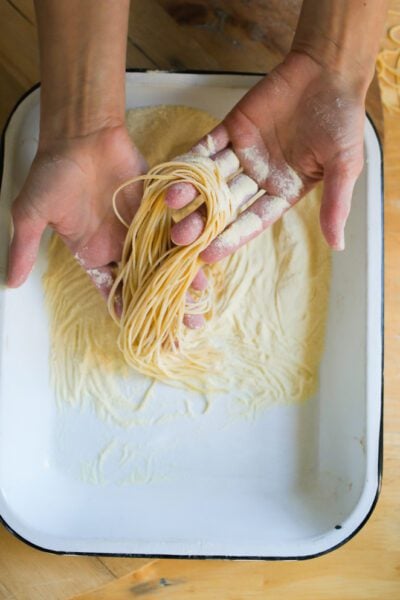
Before cutting, I like to semi-dry the pasta sheets for about 5-15 minutes on the back of a chair to slightly firm up the texture. Not everyone does this. This technique prevents the pasta strands from sticking together later on, which is very convenient. It’s saved me many times.
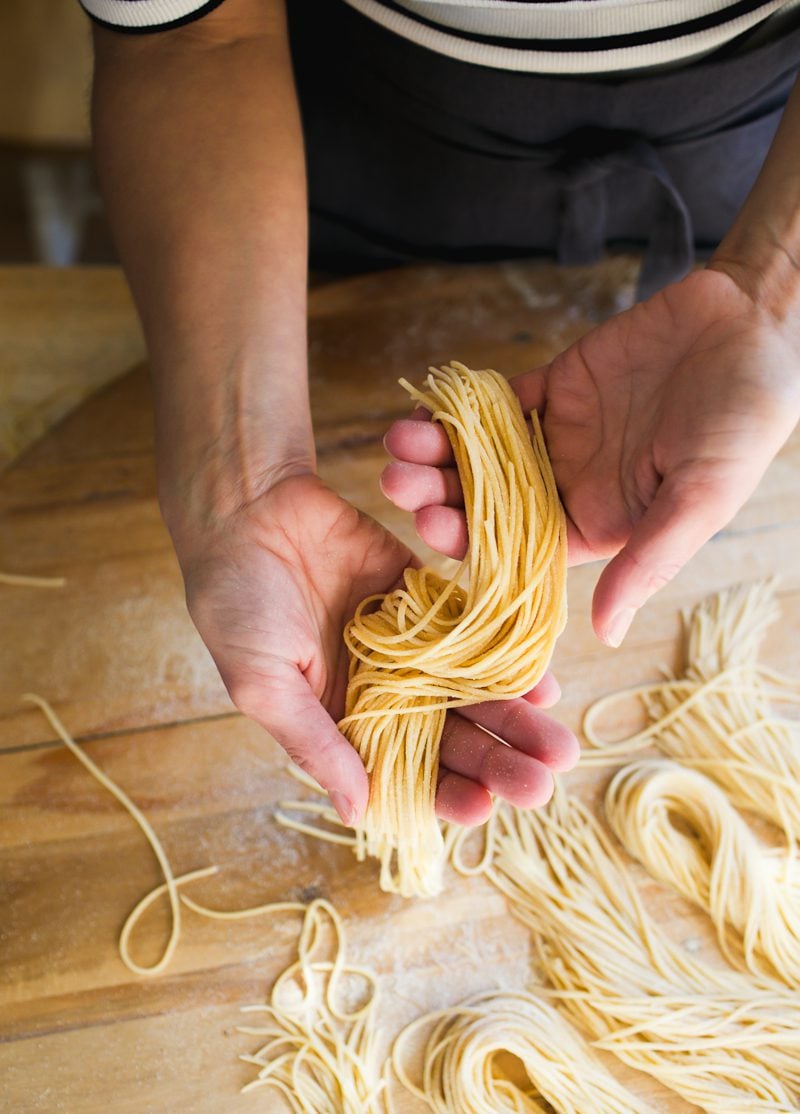
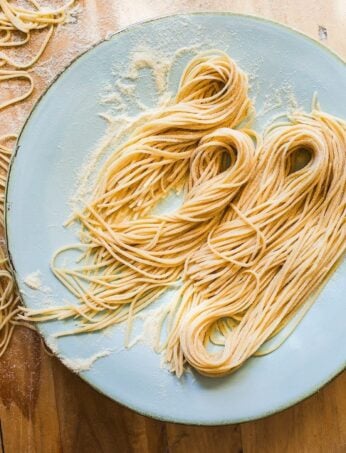
Once lightly cured, cut the pasta using your preferred attachment (I chose spaghetti). Toss the strands in semolina flour so they don’t stick and lay them out loosely on a tray.
How To Store Sourdough Pasta
Sourdough pasta can be stored at room temperature for 1–2 hours, or refrigerated for up to 12 hours (I use this high-sided pan w/ lid). In my experience, the flavor becomes more pronounced after it has been cut and chilled. I rarely go past 24 hrs. Feel free to experiment with your timing here if you want a deeper flavor.
You can also freeze sourdough pasta, although it’s not my favorite. Long strands tend to become brittle, dry and can break easily if frozen past 1 month. Freezing tends to be the better option for shaped and filled pasta like sourdough tortellini.
By signing up, you agree to receive emails from The Clever Carrot. Unsubscribe at any time.
Best Sourdough Pasta Recipe {1-Hour or Overnight}
- Prep Time: 1 hour
- Cook Time: 2-7 minutes
- Total Time: 1 hour
- Yield: Serves 4-6 1x
- Category: Sourdough Discard Recipes
- Method: Handmade
- Cuisine: Italian
- Diet: Vegetarian
Description
My homemade sourdough pasta recipe requires only 3 ingredients: flour, eggs and active sourdough starter (or fresh sourdough discard). Please do not use discard that’s 3 months old from the fridge! I’ve also included 2 pasta dough options: a same day “1 hour dough” and a longer, 24 hour fermented pasta to optimize sourdough’s natural digestibility. The dough can be made in a food processor, stand mixer or by hand (see all options below).
Ingredients
- 300 g Tipo 00 or all purpose flour (such as King Arthur flour)
- 165 g eggs, cracked weight, about 3 large US eggs (*see Notes)
- 40 g active sourdough starter or fresh sourdough discard
- Olive oil (*see Notes)
- Semolina flour, for dusting
Instructions
Step 1: Make The Pasta Dough {Food Processor Method}
- Weigh the eggs (cracked) in a small bowl. If the weight is less than 165 g, use olive oil to make up the difference.
- Add the sourdough starter to the eggs; whisk thoroughly to combine.
- Add the flour to a food processor fitted with a metal blade. Pour the egg mixture on top.
- Process the ingredients (no need to pulse) until a dough forms, about 10-15 seconds. If the dough doesn’t form into a ball, and looks “crumbly” it’s OK. Unplug the food processor and pinch the dough together; if it sticks, it’s fine.
- Remove the dough to your work surface. Form into a rough ball. Cover with an upturned bowl and let rest for 5-10 minutes before kneading. It will be easier to work with.
- After resting, knead the dough (see video at 1:50 mark). Do this by pushing the heel of your hand into the dough, and then turning the dough over itself. Repeat this technique several times, in a continued rocking motion, until a smooth ball forms, about 1-2 minutes. If the texture is sticky as you knead the dough, add a sprinkle of flour. When finished, wrap the dough very tightly in plastic wrap.
- Now the dough needs to rest. Choose a fermentation option: for a same day dough, rest at room temperature (68- 75 F) for 1 hour. Alternatively, to maximize fermentation and digestibility, rest at room temperature for 1-2 hours, and chill overnight, up to 24 hrs. Whichever option you choose, the dough must be wrapped tightly; it will rise slightly. Note: before rolling, chilled dough must rest for 30 minutes to 1 hour at room temperature. Otherwise, it will be too stiff.
Stand Mixer Instructions:
Whisk the eggs and sourdough starter together; set aside. Add the flour to the bowl of a stand mixer. Add the flour. Add the egg mixture. Mix with the dough hook until combined. Knead on speed #1 or #2, about 4-5 minutes. Form the dough into a ball and cover tightly with plastic wrap.
By Hand Instructions: (click here)
Step 2: Roll The Dough Into Pasta Sheets
- Set up your station: Dust your work surface, a sheet pan, and the pasta machine with semolina flour to prevent sticking.
- Cut the dough into 4 equal pieces; flatten one piece into a thin 6-8-inch oval disc (re-wrap the remaining pieces so they don’t dry out). Use a rolling pin.
- Send the disc through the roller on the lowest/widest setting. This is “#1” on the Kitchen Aid attachment. Now, send it through a second or third time to smooth it out. Note: if using a hand-crank pasta machine, refer to their specific instructions for rolling the dough. The settings are different, but the rolling process is the same.
- Continue to roll the dough through settings #2-4 (2x on each setting) for spaghetti, fettuccine, pappardelle and tagliatelle. For homemade ravioli, the dough needs to be thinner- go up to #5. The higher the number, the thinner the dough will become. That’s the goal. The pasta sheet is ready when it’s slightly translucent and you can see your hand underneath.
- When finished, fold the pasta sheet in half, place onto a tray and cover.
- Repeat the rolling process for the remaining 3 pieces of dough.
Step 3: Cut Sheets Into Pasta
- Before cutting, semi-dry or “cure” the pasta sheets ever so slightly. This gives the cut pasta strands a more firm and “leathery” finish, rather than a soft and doughy feel (this helps to prevent the strands from sticking together later on).
- To semi-dry: Hang the pasta sheets over the back of a chair or on a rod for about 5-15 minutes. Keep your eye on the time; you don’t want the sheets to dry out completely. Touch them occasionally. You will feel the difference in texture as time goes by.
- To cut: Take a pasta sheet and cut in half. Send it through your preferred cutter attachment.
- Dust the pasta noodles liberally with semolina flour to prevent sticking- don’t skimp here. Arrange strands loosely on a tray.
- Repeat the cutting process for the remaining pasta sheets.
How To Store, Freeze & Cook Sourdough Pasta
To Store (Short Term):
Toss freshly cut pasta with semolina flour and place it on a sheet pan. Cover with plastic wrap, inverted sheet pan, or store in an airtight container. Leave at room temperature if cooking within 1–2 hours, or refrigerate for up to 12 hours. The flavor will continue to deepen when the cut noodles are chilled. Note: fresh pasta might oxidize and stick together if chilled past 24 hrs.
To Freeze:
Air-dry pasta for 15–20 minutes first (uncovered) to reduce sticking. Portion into zip-top bags and freeze for up to 1 month (any longer and it might dry out). No need to thaw; cook straight from frozen.
To Cook:
Bring 6 quarts of generously salted water to a boil. I don’t give exact amounts for the salt, because the flavor of salt varies considerably. Add the pasta and cook for 2–7 minutes, depending on the thickness. Always taste it. It should be al dente- tender with a slight bite. Use tongs to transfer pasta directly to your sauce.
Notes
A note on eggs: Size varies. A large, US egg can weigh between 49- 55 g depending on the brand (and the chicken, obviously). The variance, which might seem nominal, is crucial. Pasta dough is not forgiving and can be too dry. I’ve taken out the guesswork and designed this recipe to go by total egg weight, not quantity. If 3 large eggs does not equal 165 g, add olive oil to make up the difference.


Comments
Lea Heppner says
Love this pasta recipe. My kitchen aid attachment starts with #8 for thickness. As # go down the thinner the dough gets. I do #8 twice, #7 twice, #6 twice and four twice.
Deb Keehan says
I absolutely love this recipe! Made it with my two of my grands and we had a blast making and then eating!
I want to try to make a couple of batches of dough and freeze for a vacation in May. Have you frozen he dough before? Can you share any info. If not I’ll let you know how it turns out after we eat it on vacation.
Emilie Raffa says
Love this, Deb. Such a fun activity to do with kids. Freezing pasta dough (especially sourdough) can be finicky. I’ve done it before and I don’t love the results. Sometimes the taste and texture changes. I typically don’t recommend it. But! That shouldn’t stop you from experimenting. You might find a tip or two that suits you (and then share with me!). Maybe do a test batch before vacation?
Sherwood says
Hello Emilie,
My husband and I have had more fun making, learning as we go, and enjoying your pasta recipe (and eating it, of course). We’ve made it three times now, but my one quandary is how to store our leftover pasta. I did try freezing some once and felt it wasn’t satisfactory, and I also kept some in the refrigerator, but we rarely eat pasta two days in a row.
This time, after hanging some on a rack, it was still not fully dry by bedtime, so I moved it to a sheet pan along with a bit of semolina to finish drying and then store. As it has egg in it, is this a safe way to store our leftover pasta?
Thank you.
Rich says
I just made your pici pasta and it was great. I’m going to try this recipe above with egg, but I’m wondering if there’s some reason you prefer the 00 flour to the double milled semolina that I bought for the pici. I’ve got 00 flour and have used that before for pasta and pizza dough, but now I’m curious to see how the semolina would work.
Henry W Lord says
I made this recently and it was good and it was easy to make. I also have your book on sourdough bread and I have used a number of recipes and the breads always turn out good.
Emilie Raffa says
Thanks so much for your feedback, Henry. Glad to hear you are enjoying the recipes. Appreciate the support!
Feral Mom says
This recipe was a hit for my whole family — myself, husband, and two relatively opinionated kids, when it comes to pasta 😆
Usually I dislike when I see comments list all the changes they made, but I’m hoping this will help if someone runs into the same situation I did, when I didn’t have the correct ingredients (I know, it’s flour, egg, and starter — what else could there be?!).
First, I accidentally fed my starter with bread flour. I’m a pretty lazy sourdough maker, so it had been a while since feeding. I realized as it was rising that I used bread flour 😆 But it was fine.
Then I searched 3 stores for semolina flour and the recommended flour for the pasta (I probably would have had better luck at Whole Foods or Walmart, but I was already out running errands at Aldi, Trader Joe’s, and Food Lion, so I didn’t look too hard). The flour I used was either the King Arthur AP flour, or KA Bread Flour (again, I was really spacey I guess and didn’t pay attention to what I was grabbing).
And then in place of semolina flour I just used some corn meal that I had.
So all that is to say, even despite my mistakes, it still turned out great. My 4 year old had 2 servings last night, and 4 servings today (breakfast, afternoon snack, and dinner 🤣🤣). I’m looking forward to making it again with the recommended flours, as it will likely be even better :D
And we don’t have a pasta roller, but I figured it would be similar to rolling pie crust. Wrong! So if you still want to make this, but just with a roller, you totally can! But I’m definitely adding a pasta roller to my wishlist.
Anyway, I’m sorry for the long review, but I didn’t want someone to miss out on this recipe just because they didn’t have all the right things. Thanks for another great recipe, and I can’t wait to try this again!!
Sara says
This recipe is amazing. I make this pasta 1 to 2 times a month. I have made spaghetti, lasagna, fetachini, ravioli. One more thing, I did follow your instructions for my starting (Buckeye the Beast) :)
Diana Romano says
Hi Emilie, this is a great recipe!
Now I am not just a sourdough weirdo, but also a pasta addict. Thank you so much! :)
Just a couple of things:
First, I use buckwheat flour instead of semolina to prevent sticking (and give an extra flavour).
Second, I let the pasta dry longer before and after cutting it.
For the rest, I follow your recipe, and can’t wait to see more ones on colourful recipes (literaly!).
Any idea of how to get red pasta will be appreciated as I do not like tgecidea of using tomato paste.
Thanks again.
Reno says
Can I use all yolks?
Patrick O'Connor says
What hydration is your starter? Sorry if you mentioned this already.
Emilie Raffa says
Hi there! No worries! My starter is 100% hydration fed with bread flour.
Jan says
What size food processor do you suggest? I think mine will be too small (7 cup).
Meagan Heidelberg says
Made this today, and oh my goodness.. it was easy to follow and so amazing. I weighed everything as you said to do – I was off by maybe 2-4 grams on some things but it turned out perfectly. It was my first time using my kitchenaid mixer pasta maker and that was simple! Also my first time doing a food processor to mix the pasta dough. GAME CHANGER.
100% recommend
Haley Crighton says
did you use the attachment to make rigatoni for the kitchen aid ?
Emilie Raffa says
This is excellent feedback Meagan. Thank you! 🥰
Margó says
Nagyon köszönöm a bemutatót!
Sokat tanulok Tőled! 🌹 Jó hogy rád találtam Emili! 🌹
Emilie Raffa says
You’re very welcome Margó (I just translated your comment 🥰). I always look forward to my comments and emails from you!
Rose says
Im a little bit confused if u make it in the stand mixer do u stillnlet it rest and then knead into a smooth dough? Mine is very dry even after I kneaded it. Weighed put my measurements
Maureen says
I made this (24 hr ferment) and it turned out amazing. I’m curious, can you dry fresh sourdough pasta for a longer shelflife, or is freezing the only long term option? Thanks for the great instruction!
Kim says
I dry my pasta. You can get a drying rack for spaghetti and fettuccine noodles or you can use a wire rack for fusilli, elbows and rigatoni noodles. After they dry I put them in a plastic food storage container.