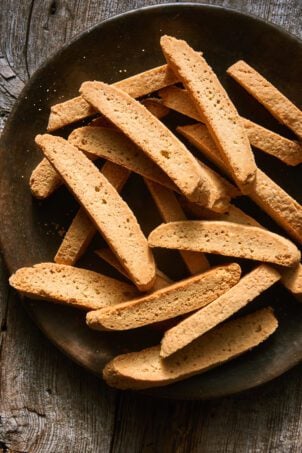
These sweet and crunchy anise biscotti will transport you to Italy in just one bite! I love that you can make these cookies in advance to enjoy anytime, anywhere (they freeze beautifully). Makes 28-32 biscotti.
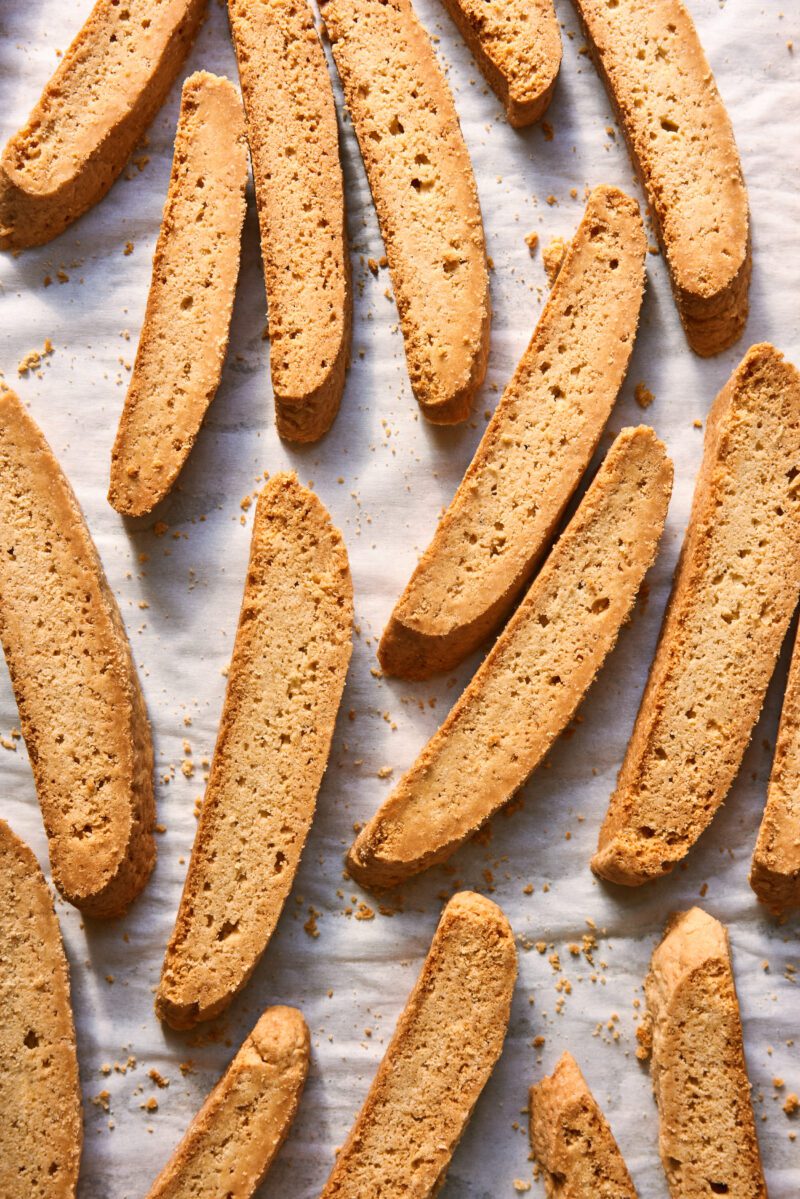
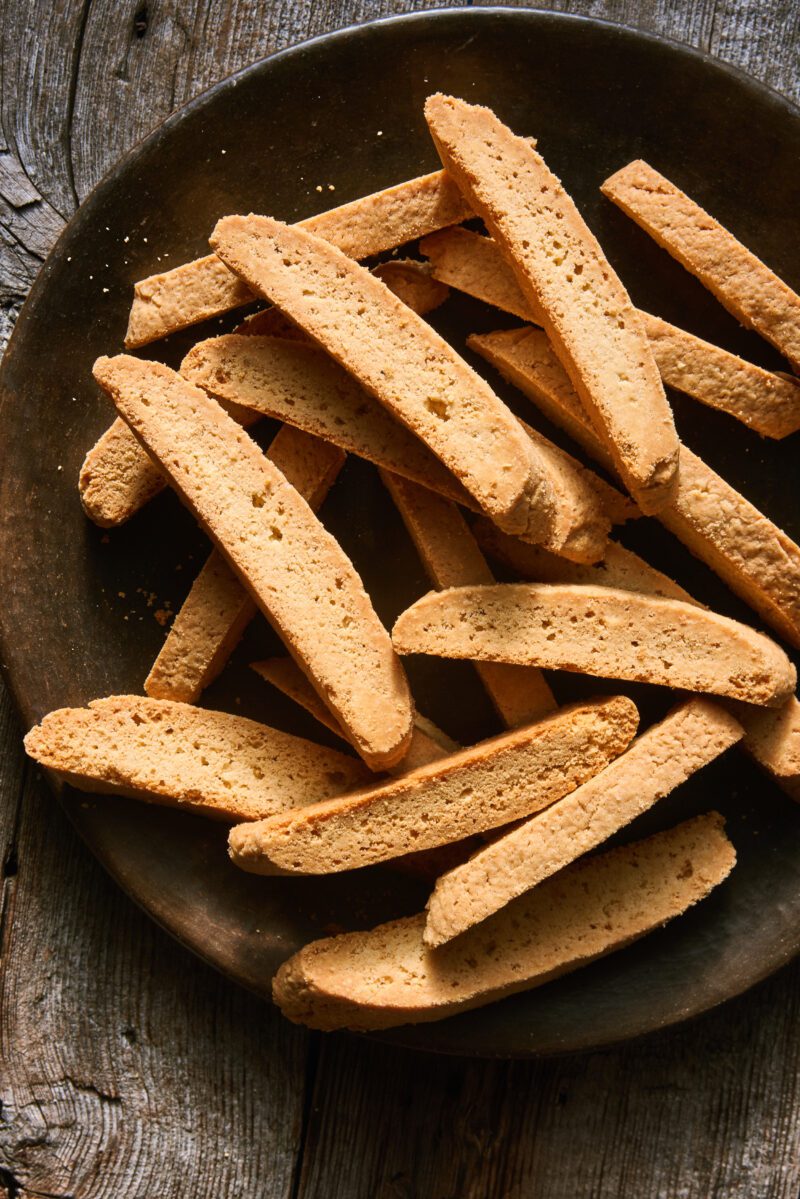
If anise biscotti are not on your radar yet, welcome to the most delicious “Italian-bakery” taste worthy of any espresso or dessert wine.
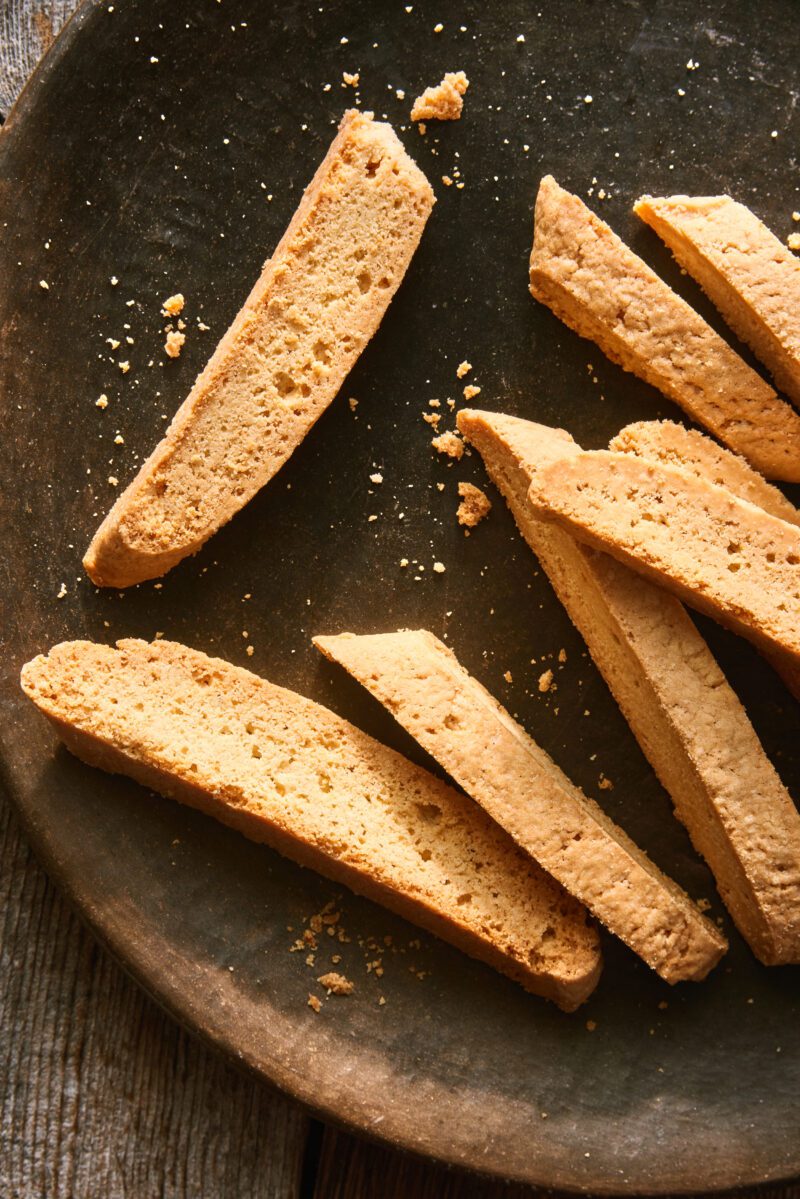
These twice-baked crunchy cookies are warm and welcoming with subtle hints of buttery, anise flavor (not strong like Sambuca). I get rave reviews anytime I make them. This is my go-to recipe.
The Star Ingredient.
You cannot make this recipe without anise extract, a a popular flavoring used in Italian cakes, cookies and pastries.
It’s made from steeping star anise (you know it, it looks like a cute little wooden star) in alcohol to extract the natural flavor.
The aroma is reminiscent of fennel or licorice, which most people assume is too strong. However, when used in small amounts, especially when combined with butter, the flavor is not overpowering at all in this recipe. It’s enhancing.
Quick Biscotti Tips:
- Use a stand mixer: Biscotti dough is slightly sticky. Using an electric stand mixer or hand-held mixer will make your life easier when creaming the butter and sugar together. But of course, you can mix by hand too!
- Flour everything. When shaping the biscotti, make sure to lightly flour your work surface and hands to prevent sticking. The dough will be easier to handle and roll around.
- Make it ahead. Biscotti keep for several weeks at room temperature or frozen in an airtight container.
- No Anise extract? No problem. Use a tiny drop of anise oil instead. The flavor is stronger but it will get the job done.
How to Freeze Biscotti
Just like my Italian sesame cookies, you can freeze anise biscotti with excellent results. Place baked and cooled biscotti into an airtight container separated by sheets of parchment paper. Store in the freezer for up to 1 month. Defrost on the kitchen counter at room temperature.
*Photo credit & styling: Melina Hammer.
By signing up, you agree to receive emails from The Clever Carrot. Unsubscribe at any time.
Italian Anise Biscotti
- Prep Time: 30
- Cook Time: 50
- Total Time: 1 hour 20 minutes
- Yield: 28–32 biscotti 1x
- Category: Cookies
- Method: Oven-Baked
- Cuisine: Italian
- Diet: Vegetarian
Description
My anise biscotti recipe will transport you to Italy in just one bite! Buttery, crisp and delicious! They will keep at room temperature in an air-tight container for 1 month (if you don’t eat them all first!) or in the freezer for up to 3 months.
Ingredients
- 120 g (8 tbsp) unsalted butter, softened
- 150 g (3/4 cup) granulated sugar
- 2 tsp anise extract (use up to 1 tbsp. for more flavor)
- 1 tsp vanilla extract
- 2 large eggs (about 107 g cracked weight)
- 265 g (2 cups) King Arthur all purpose flour
- 1 1/2 tsp. baking powder
- 1/2 tsp. fine sea salt
Instructions
- Preheat your oven to 325 F.
- Coat a sheet pan with butter (or spray oil). Line with parchment paper to stick.
- In an electric stand mixer fitted with the paddle attachment: cream the butter and sugar until light and fluffy, about 2 minutes. Add the eggs, one at a time, beating well after each addition. Add the anise and vanilla extracts. Scrape down the sides of the bowl with a rubber spatula. It will smell delicious!
- In a separate bowl, sift together the flour baking powder and salt.
- With the mixer running, gradually add the flour mixture to the butter mixture. Mix until just combined. Note: if the dough is too sticky, add more flour, 1 tbsp at a time. The texture should be soft and malleable, but not overly wet and sticky. You will be hand-rolling the dough in the next step.
- Scoop the dough onto a lightly floured surface (I use a fine mesh strainer to evenly dust my work surface to prevent sticking). With floured hands, gently form the dough into a ball. Divide the ball in half. Roll each half into a thick log, about 8 inches long by 2 inches wide. To do so: lift the dough up and roll the logs vertically in between your palms, gently stretching them to size. Alternatively, roll the logs on your work surface.
- Set the logs onto your baking sheet spaced 5 inches apart. Brush off any residual flour on the surface. Gently flatten the logs to 2 1/2- 2 3/4-inches wide.
- Bake on the center rack for 25-30 minutes. This is your first bake. When ready, the logs will be light in color and just starting to turn golden around the edges. There will be cracks on the surface- all normal.
- Remove the baking sheet from the oven. Transfer the logs a wire rack to cool, about 20-30 minutes.
- With a large serrated knife, cut the logs (on a diagonal) into 1/2-inch slices. The slices will still be slightly warm at this point. You should end up with 28-32 biscotti, depending on how you cut them.
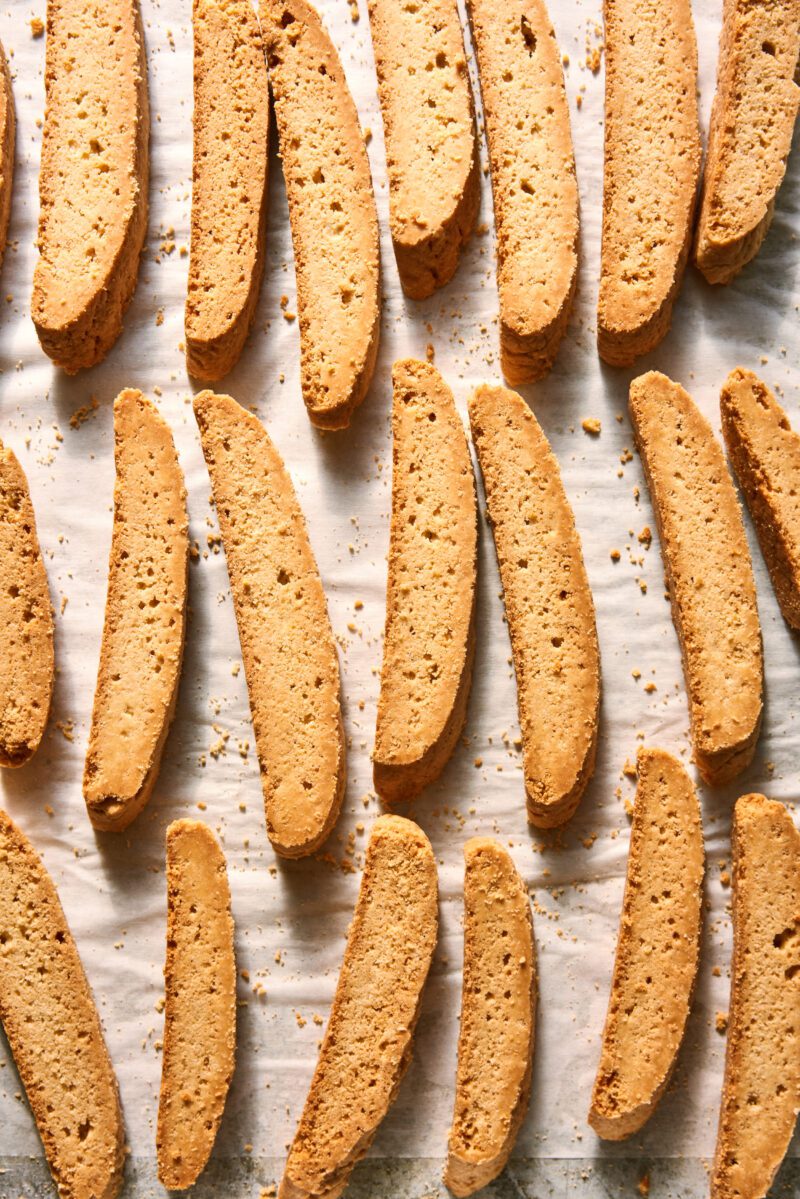
- Arrange the biscotti, cut side down, onto your baking sheet. Bake for 20 minutes, flipping them over at the halfway mark. Keep an eye on them as they bake. You’re looking for a slightly darkened exterior with a lighter, “almond color” interior. Adjust bake time as needed.
- Remove from the oven. Transfer to a wire rack to cool.

Comments
Jill De Beck says
Been searching for this recipe. It’s perfect.
Pat Q says
Hi Emilie, These biscotti deserve a five star rating. I make a lot of biscotti’s,
But when I want a good biscotti, without waisting a lot of time wondering if they’re going to be any good, you can be assured these are very good.
The texture is a little different from other biscotti’s. Sometimes I replace the anise flavor with orange and orange zest. Thanks for the recipe.Pat
Judy Hedlin says
This is a wonderful recipe. The timing is perfect, the amount of anise ( one tablespoon) is right on target. Thanks for sharing.
Diane says
Hi – looking to
Make these cookies but want to make more of a small drop cookie with this same flavor. Do you think this would work as a drop cookie?
Emilie Raffa says
Great question. I’ve never done a drop cookie version, so I’m unable to advise with specifics. But I do think it would work with some experimenting.
Maria says
I would love to try your recipe but unfortunately there are members of my family that cannot have eggs. My quedtion is -Can I make the recipe without the eggs?
Elaine DiMaggio says
These are delicious, but need to know exact flour amount as I felt I had to add a good 4-5 tablespoons more flour?
Also, can I add nuts, if so almond or walnuts?
Thank you!!
Emilie Raffa says
Hi there! It’s possible more flour was needed due to the brand of all purpose flour used. This is normal. Here’s why: due to varying protein %’s across the board, each brand of ap flour will absorb liquid differently. This equates to a stickier vs. drier dough (warm temperatures can also change the texture of the dough). Does that make sense? I typically test all my recipes with King Arthur flour which comes in at 11.7% protein. Next time, either stick with the brand you used, adding up to 5 tbsp. of extra flour. Or, play around with another brand for comparison. Hope this helps, Elaine.🥰
Elaine DiMaggio says
Thank you! I do use King Arthur flour all purpose and today I added an 1/2 cup more of flour plus 2 Tbsps. And it was perfect.
These are so good, we love them!!
Emilie Raffa says
That’s great! Thanks for sharing. I’m glad you like them!
Scheki says
I made dem for the funeral of my beloved cousin, for I know everyone loves them , for I loved my cousin too mush I made him my favourite biscuits and it tasted just perfect for the occasion
Alana Graves says
Love the recipe especially the anise flavor. To add a little crunch can I add pistachios or almonds? What about chocolate chips?
Would I need to adjust the measurements?
Emilie Raffa says
Too funny. I was just thinking about this recipe the other day (wondering if I should do another anise flavored Italian-style cookie) and then you commented! I guess that’s a yes;) You can add any of the above inclusions to the dough- sounds delicious. For amounts, I’d say anywhere from 2/3- 1 full cup. Use your judgement. No need to adjust the dough further. For extra flavor: lightly toast the nuts first, and then give them a rough chop.
Maria says
Do you think it would be possible to use sourdough discard with this recipe? Do you have any advice in doing so? Thank you so much for all that you do!
Meghan says
Love this recipe! Used it twice! Great as gifts❤️
Julial says
I am eating this tastey Anise treat right now. It is very good. I had Anise seed, so I substituted. Interesting after taste. Thank you –
Emilie Raffa says
Ooo, that sounds really good. The last time I had anise in a cookie or sweet treat was this thin, crispy Spanish flatbread on a cheeseboard (I forget the name!) and the flavor was so memorable. I’ll have to add some anise seed next time. Thanks for sharing!
Ann says
Sooo happy with the results. I used Anise Oil. Didn’t measure but I used quite a bit. They looked great. Perfect. Crunchy and sweet. Will be making this recipe often! Loved the Anise flavor
Emilie Raffa says
So glad you liked them! Thanks Ann!
Pat says
Hi Emilie, These cookies get a five star rating. Extremely tender for a biscotti. I used one tsp of anise oil in place of the extract and crossed my fingers that it would be ok, and not too strong. I am Italian so I am used to the sent and flavor of anise. Great cookies for Christmas treats.
Thanks, Pat
Emilie Raffa says
Pat, thanks so much for your feedback. I’m thrilled you liked the biscotti. Anise is interesting- you never know how strong it’s going to be! I happen to have a bottle of the oil too, which I open and inhale every time I take it out of the cabinet 🥰
Vicky says
Hi,
I used this recipe to make biscotti for the first time. The recipe
is easy to follow and they came out GREAT. Just what I
was looking for!
Do you have any recommendations on how to adjust the recipe if
I want to use less sugar and/or add sliced almonds?
Thanks so much!
Angie F. says
Hi! I would love to use some sourdough starter in this recipe. How would I modify to do that? Thank you!