Think you can’t bake fresh, homemade sourdough bread? This easy sourdough bread recipe—trusted by beginner bakers for over a decade—shows you how, step-by-step. No yeast. No kneading. Just simple ingredients and 10 minutes hands on time for soft, crisp sourdough bread at home.
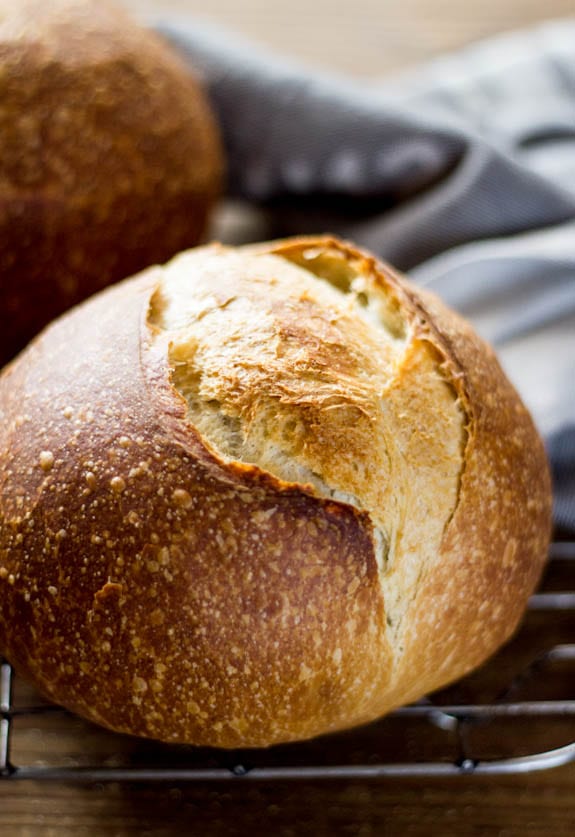
Reader review
“I have tried MULTIPLE sourdough bread recipes and this one has been the very first to make a successful (fully risen) loaf of bread. I am relatively new to sourdough and for some reason, the other recipes just didn’t produce good bread. These instructions and detailed explanations really make a huge difference to someone who is new to the world of sourdough.”
—Savannah
To anyone who thinks their sourdough bread isn’t good enough, I get it. Back in 2013, I set a goal: bake more bread. I tested, failed, succeeded (and tried again). What began with an easy no-knead artisan loaf eventually led to the holy grail: homemade sourdough bread.
Admittedly, I had beginner’s luck. My early scratch-made loaves were light, plump and airy, everything you want sourdough to be! And then? Down the rabbit hole I went: Hydration? Baker’s %? Proofing times?
Now, with 13+ years baking experience and a professional culinary background, I know what holds people back: the confusion, hesitation, comparison. I teach from a practical, straight forward perspective because sourdough is not just a written recipe; it’s an understanding.
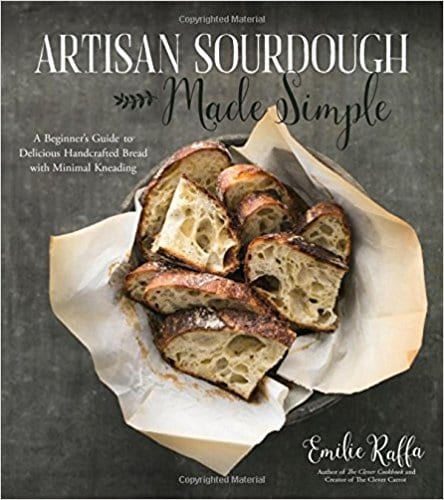
This sourdough bread recipe has been the most popular on my blog for over a decade, with millions of views. It also inspired my bestselling book Artisan Sourdough Made Simple (over 300,000 copies sold), a deeper dive into the world of sourdough bread recipes. So, if you’re at the end of your rope, and just want to make good bread, you’ve made it. Welcome to the journey.
What Sets My Recipe Apart:
- One bowl, 5 ingredients
- Olive oil = soft, plush crumb & crisp, golden crust
- No stand mixer
- No bread machine
- Flexible baker’s schedule
- Personalized support in the comments
But before we make bread, let’s discuss what drives it: your sourdough starter. Once you understand what it is, and how it works, your path will be crystal clear. Have questions? Ask in the comment section. I respond with personalized help.
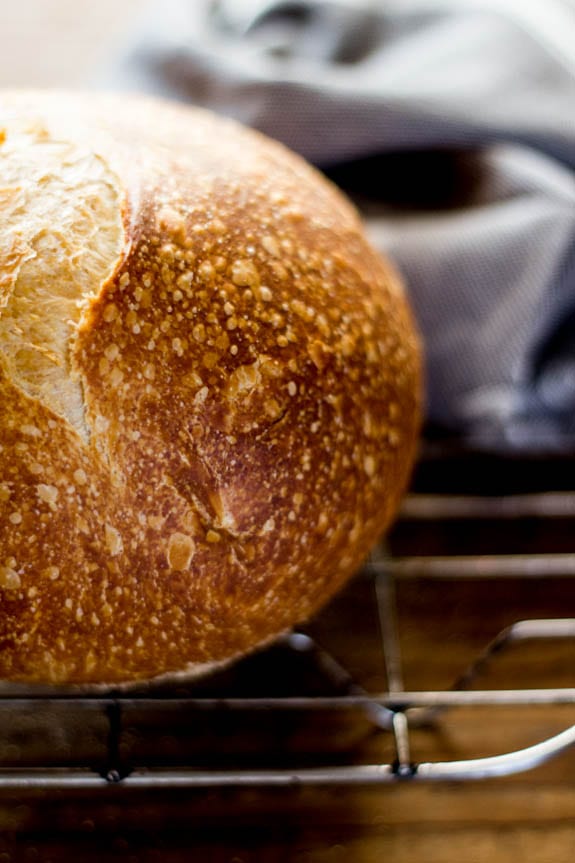
Where To Get A Sourdough Starter
A sourdough starter is a live fermented culture of flour and water. It naturally leavens bread dough without commercial yeast. There are all different types: homemade, purchased or gifted (ask a fellow baker!). I use two different starters at home: one I made myself, and a vibrant Australian starter gifted from my friend Celia.
But is doesn’t stop there. Once your have your own sourdough starter, it must be kept alive and well with regular feedings to maintain its rising power. Sourdough is not static; it’s a living process. Here’s my personal feeding schedule which you can adapt to suit your style:
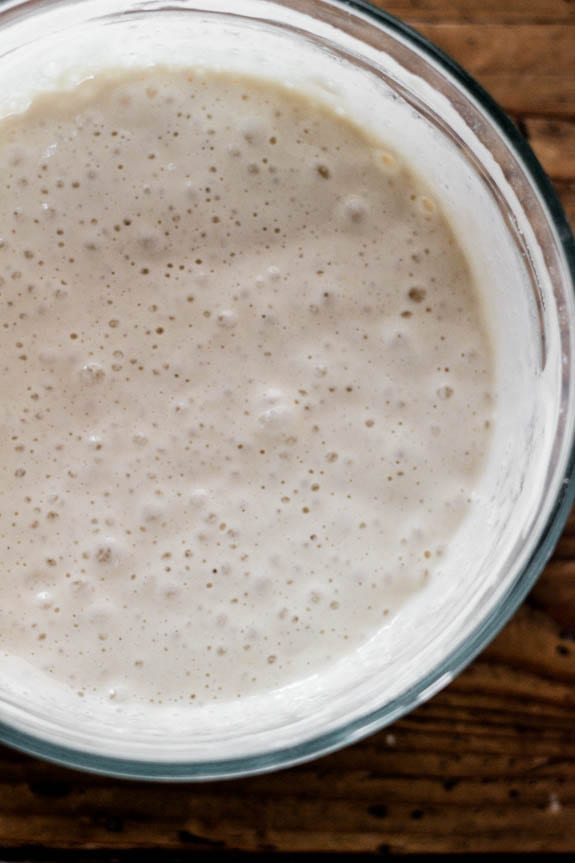
How To Feed Sourdough Starter
- Remove and discard half of your sourdough starter
- Feed what’s left in the jar with equal parts flour and water by weight (1:1:1 feeding ratio).
- Let rise at room temperature (loosely covered or airtight) ideally 75+F until bubbly, active and double in size (2-12 hrs). I use this sourdough starter jar.
Recommended Reading: Feeding Sourdough Starter: My Best Tips & Tricks
When Is Sourdough Starter Ready To Use?
Your fed starter is ready to use when it’s bubbly, active, and doubles in size. This can take 2-12 hours or more, depending on the temperature of your kitchen and the strength of your starter. My best advice? Be patient, plan ahead, and make sure your starter is in a warm place (ideally 75 F). The process is not instant.
Float Test: If you’re unsure whether your starter is ready, drop 1 tsp at peak height into a glass of water. If it floats to the top it’s ready to use. If it sinks, feed your starter again.
Storing Your Starter
Most people don’t realize that your feeding schedule is directly related to your baking preferences. If you only bake a few times a month, store your starter in the refrigerator and feed it once a week. If you bake often, store it at room temperature and feed it once a day.
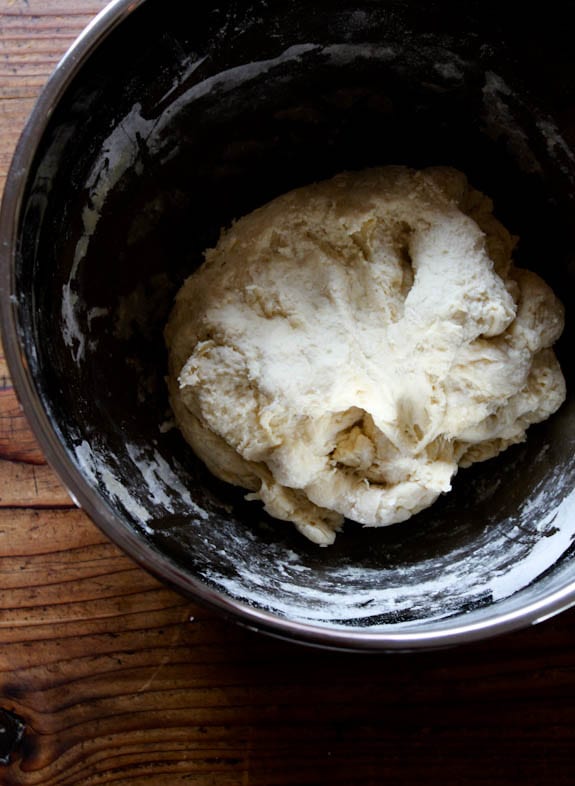
How To Make Sourdough Bread: Step-By-Step Recipe
To Start: Feed your starter until it’s bubbly and active first (remember this can take anywhere from 2-12 hours, so plan ahead). Then mix the dough. Detailed instructions follow below. For a printable recipe & sample baking schedule, scroll to the end.
Step 1: Mix The Dough
- Add water, sourdough starter, and olive oil to a large bowl. Whisk well to combine, making sure the starter is fully dissolved. Then add the bread flour and salt. Continue mixing (I use a fork at this point) until the flour is absorbed. The dough will feel rough and shaggy, which is normal.
- Cover the bowl and let rest (autolyse) for 30 minutes to 1 hour at room temperature. Then shape the dough into a rough ball. It doesn’t have to look perfect.
Tip: Weigh your ingredients with a digital kitchen scale. Measuring cups vary in size and don’t account for ingredient density which can lead to dry, dense, or overly sticky dough.
Why Autolyse Matters
Autolyse is the first rest after mixing bread dough. It jumpstarts gluten development without kneading, making the dough stronger, stretchier, and easier to shape I never skip it. For this recipe, rest for at least 30-45 minutes (or when time permits, I’ll do 1 hour for an even softer, more manageable dough). To learn more about common sourdough bread terms read my Sourdough Baking Glossary. I’ve included the only 12 you need to know!
A Note on Salt: Some bakers only add salt after autolyse, believing it slows down gluten development. I’ve followed that method for years, but now mix everything at once. It’s simpler, faster, and still makes excellent loaves (plus, you won’t forget to add the salt later on!). I’ll leave the choice up to you.
Want To Add Inclusions?
Mix in flavor additions after autolyse, when the dough is softer and more pliable. This is another reason not to skip the autolyse step. Alternatively, inclusions can be added during the first stretch and fold.
A few ideas:
- Roasted garlic
- Chopped olives
- Fresh or dried herbs (rosemary, thyme)
- Seed or nuts
- Cheese
- Dried fruit (raisins, cranberries)
- Jalapeños

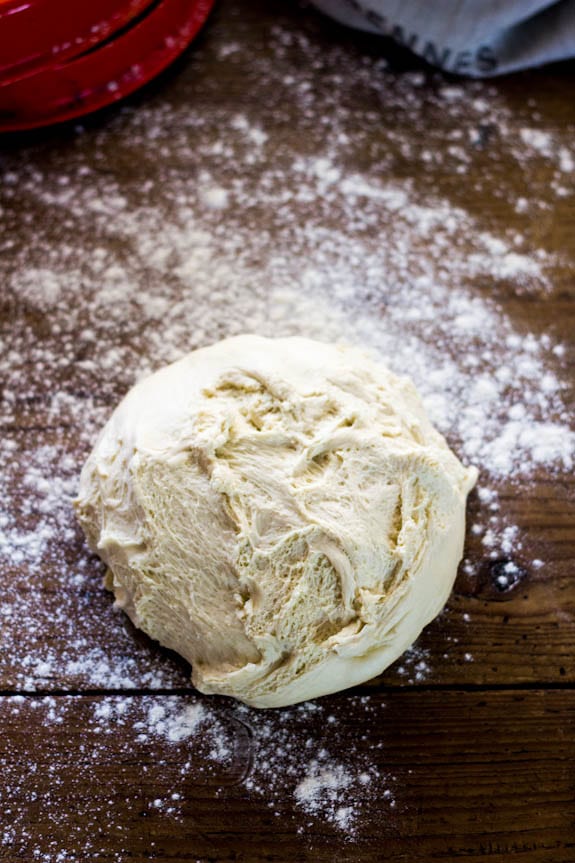
Step 2: Bulk Rise
Now the dough is ready to rise. Cover the bowl with lightly oiled plastic wrap so the dough doesn’t stick to the top, or transfer to a dough tub. Let rise at room temperature, about 68-70 F (20-21 C).
How Long Does It Take For Sourdough Bread To Rise?
The dough is ready when it’s puffy, slightly domed and nearly double in size. This can take 3-12 hours depending on room temperature, the quantity and strength of your sourdough starter, and seasonal conditions. All variables work together. See my example below:
For My Sourdough Bread Recipe (with ~150 g sourdough starter):
- In the summer: ~2-4 hours @ 80 F (26 C)
- In the winter: ~10-12 hours @ 68 F (20 C)
Diving Deeper: Temperature controls time. This is where I see the majority of beginner baker’s make mistakes- the temperature is overlooked. Sourdough takes longer to rise than yeasted bread, and it’s highly dependent on your specific environment. My kitchen might be 75 F. Yours? 68 F. Watch the dough, not the clock. For more details and troubleshooting read my companion article: Why Won’t My Sourdough Bread Rise?
Stretch And Fold The Dough (Optional Step)
About 30 minutes into the bulk rise, you can perform a series of “stretch & folds” to strengthen the bread dough. This step is not mandatory; however it has the potential to add height and structure to the finished loaf. Check out my how to stretch and fold sourdough guide to learn more, step-by-step. It’s easy and fun to do!
Step 3: Divide & Shape The Dough
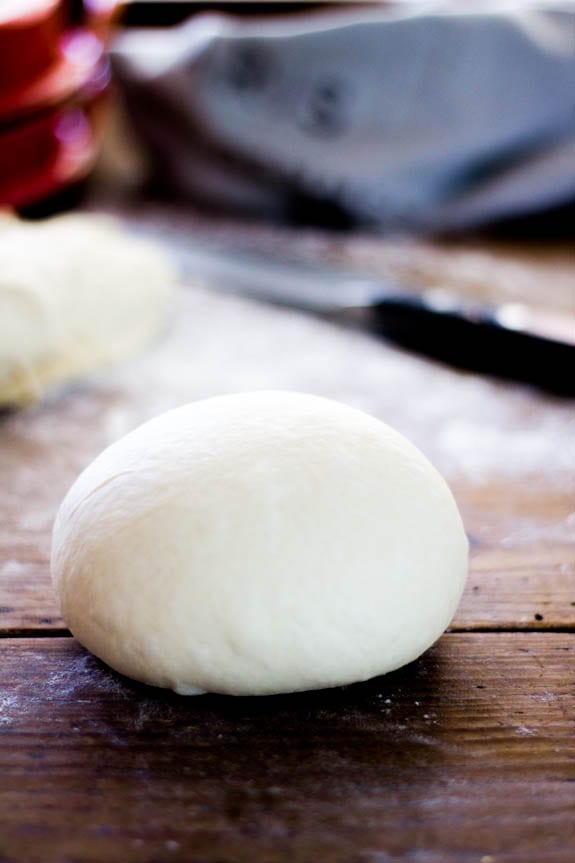
At this stage, remove the dough onto a lightly floured surface. For two smaller loaves, divide the dough in half. For a single, standard size loaf leave it whole.
How To Shape A Round Sourdough Boule (Loaf)
Starting at the top of the dough, fold it over toward the center. Give it a slight turn, and then fold over the next section of dough. Repeat until you have come full circle to form a tight round. This creates surface tension for better oven spring. You can also try the envelope-style fold.
Tip: I used to get so nervous when shaping bread dough because you only had one chance to get it right. So intuitively, I would practice using a piece of Play-Doh or with a kitchen towel to go through the motions at my own pace.

Step 4: Choose The Right Baking Pot
If you want bakery-style results, bake sourdough bread in a Dutch oven. Why? Pots trap steam which is the secret to homemade sourdough with bold rise and golden crust. Without steam, the crust will set too fast casing the loaf to harden, split or bake unevenly. I’ve been there and it’s not pretty.
What If You Don’t Have A Dutch Oven?
You’ll need another oven-safe pot with a lid to create steam. It must be able to withstand up to 450 F/232 C (lid and handles included).
A few options:
- Enamel roasting pan with lid (or sheet pan to cover)
- Cast iron skillet with upside down roasting pan to cover
- Covered sandwich loaf pans
- Clay Baker or Romertopf (soaked first)
- Preheated baking stone w/ metal bowl to cover
Here’s what happened to me: I tried the “no pot” baking route in the past, using just about everything from pizza stones, to baking sheets with no luck! The crust always hardened too quickly. Then I tried various steaming methods to remedy this (e.g. ice cubes in a hot pan, spraying my loaves with water) but my personal oven could not retain enough moisture. The environment was always too dry. For me, using a Dutch oven was the only reliable solution that worked with consistent results.
Step 5: Second Rise (Proofing)
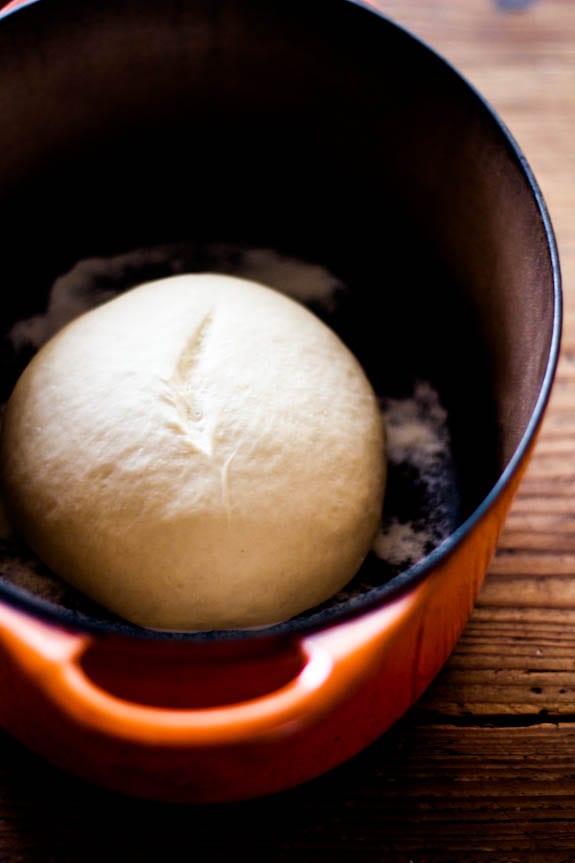
- After shaping, your dough needs to rise again. To do so, generously dust the bottom of your Dutch oven with cornmeal, or line with non-stick parchment paper to prevent sticking. Gently place the dough inside (see tip below)
- Let the dough rise for 30 minutes to 1 hour, or until it’s visibly puffy and no longer feels dense. It doesn’t need to double in size. While the dough proofs, preheat your oven to 450 F (232 C).
Tip: Want better shape and structure? Proof the dough in a floured, cloth-lined, 8-inch bowl or banneton instead of directly in the Dutch oven. This will contain the dough and hold its shape without spreading. Bread flour or rice flour is fine for dusting.
Step 6: Score The Dough
- Right before the dough goes into the oven, make a shallow slash down the center of the dough, about 2-3 inches long. Use a small serrated knife, sharp knife or bread lame. This lets the steam escape, and allows the bread to “bloom” or expand in the oven.
- Admittedly, this step is a bit nerve racking, so I don’t want to gloss over it. Be quick and confident. I’ll share what my sourdough mentor told me: “Slash with panache!”
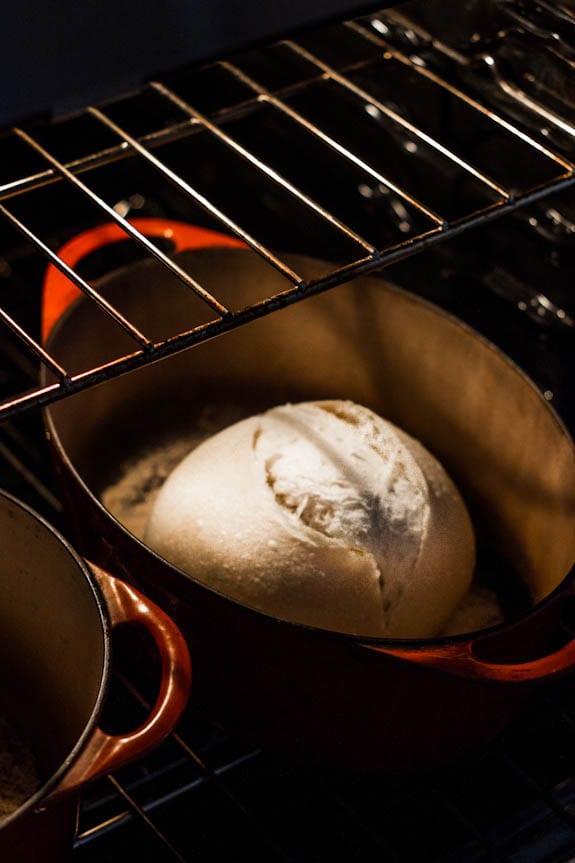
Step 7: Bake The Bread
You’re at the finish line now! Bake on the center rack (lid on) for 20 minutes. Then remove the lid. Your bread will look pale and slightly shiny. Then finish baking (uncovered) for 40 minutes or until the crust is deep golden brown. The internal temperature should be 205-210 F/96-98 C.
Tip: During the last 10 minutes of baking, crack open the oven door to let the moisture out. This creates a crispier crust. Or, remove the bread from the hot Dutch oven and bake directly on the oven rack. The latter creates the crispiest finish.
Step 8: Cool & Slice
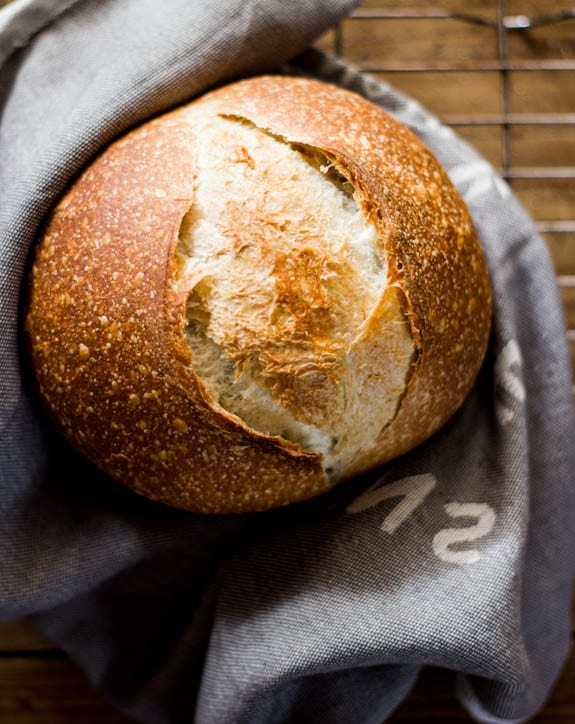
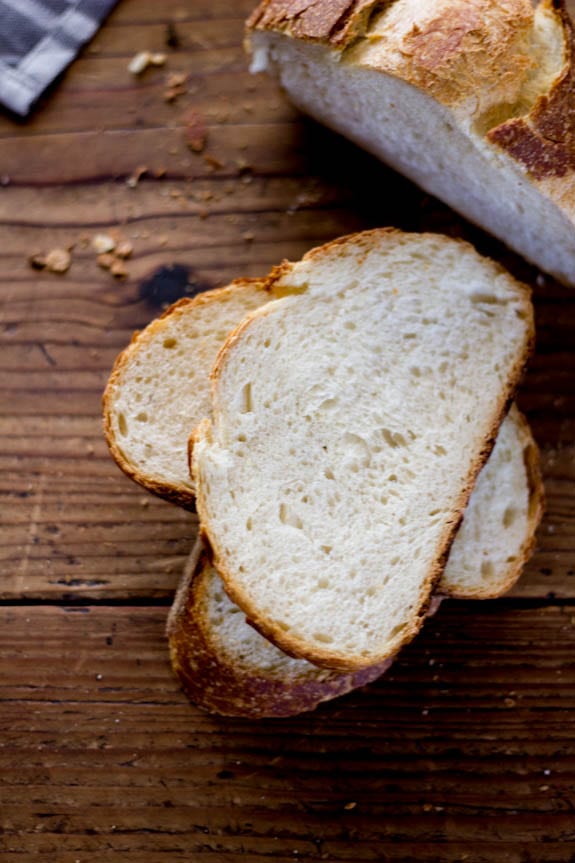
Cool the bread on a wire rack for at least 1 hour before slicing. Be patient! If you cut into it too soon, the texture will be damp and gummy. Life’s too short for sub par bread.
Final Thoughts
There are a gazillion sourdough bread recipes out there. No two loaves look alike. Start with this guide, master the basics and then branch out: try my golden sourdough focaccia recipe, this easy sourdough sandwich bread, or my one-bowl sourdough pancakes for breakfast! Once you have a few loaves under your belt, the process will become an imminent rhythm and you’ll become a sourdough pro in no time.
Sourdough Baking Schedule
- Friday Evening: Feed your starter, cover the jar, and leave it on the counter overnight. If you keep your starter in the fridge, it might need two feedings to perk back up (feed it in the morning & in the evening).
- Saturday Morning: Check your starter: if it’s alive and bubbling, you can make the dough to rise during the day. Or, feed it again in the afternoon to make the dough in the evening for an overnight rise. Remember to use the float test mentioned above to make sure your starter is ready to use.
- Saturday Morning/Evening (or whenever your starter is ready): Make the dough. Leave on the counter to bulk rise at room temperature. In the summer, if your dough rises quickly and you’re not ready to bake, cover the whole bowl with lightly oiled wrap and chill until ready to use.
- Sunday Morning: cut and shape the dough. Place in Dutch oven for second rise. Slash. Bake. Cool. Eat.
By signing up, you agree to receive emails from The Clever Carrot. Unsubscribe at any time.
Sourdough Bread Recipe for Beginners
- Prep Time: 13 hours
- Cook Time: 1 hour
- Total Time: 14 hours
- Yield: 1 loaf 1x
- Category: Sourdough Bread Recipes
- Method: Oven-Baked
- Cuisine: American
- Diet: Vegan
Description
New to sourdough? My easy beginner sourdough bread recipe makes the best artisan-style loaf at home with just 5 simple ingredients: bread flour, active sourdough starter, water, salt, and olive oil (my signature addition) known for creating a light, plush crumb and a crisp golden crust. Follow my clear, step-by-step instructions and video guidance to bake fresh sourdough bread with confidence (even on your first try!).
Ingredients
- 150g bubbly, active sourdough starter
- 250g warm water (see Note 2)
- 25g olive oil
- 500g bread flour (not all purpose flour)
- 10g fine sea salt
- fine ground cornmeal or non-stick parchment paper
Instructions
Make The Dough
In a large bowl, add the sourdough starter, water and olive oil. Mix with a fork to combine, then add the flour and salt. Continue mixing until the dough becomes stiff, then squish it together with your hands to incorporate all the flour. The dough will be rough and shaggy.
Cover the bowl with plastic wrap, reusable wrap, or very damp kitchen towel. Let rest (autolyse) for 30 minutes to 1 hour.
After resting, return to the bowl and work the dough into a rough ball, about 15 seconds.
Bulk Rise (First Rise or Bulk Fermentation)
Cover the bowl with lightly oiled plastic wrap. Alternatively, transfer the dough to a high-sided dough tub. Let it rise in a warm place, ideally 70-75 F. The dough is ready when it no longer looks dense and has almost doubled in size.
Note: The bulk rise time will be different for everyone. For example, in the summer, expect ~2-4 hours @ 80 F/ 26 C. In the winter, ~10-12 hours @ 68º F/ 20º C. Watch the dough and not the clock.
Optional Step: Stretch & Fold The Dough
During the bulk fermentation, you can do a series of ‘stretch & folds’ to strengthen the dough. Start 30-45 minutes in: lift a portion of the dough, stretch it upwards, and fold it over itself. Rotate the bowl ¼ turn and repeat until you’ve come full circle (1 set). Do 1-2 additional sets, spaced ~1 hour apart. Click here for a step-by-step video tutorial.
Note: Dough made with 250g water will feel stiffer; 300-325g water will be more stretchy and elastic. Let it rest longer in between sets if it resists stretching.
Shape The Dough
Remove the dough onto a lightly floured surface. Starting at the top, fold the dough over toward the center. Turn slightly, and then fold over the next section. Repeat until you have come full circle. Flip the dough over, seam side down. Gently cup the sides and rotate in a circular motion to tighten the shape. The goal is to build surface tension to create a tight ball (too much flour will cause the dough to slide around).
Second Rise
Now the dough needs to rise again. If you’ve used 250g water, you can do a free-form second rise in the Dutch oven (if not, see note below). Line the pot with a piece of parchment paper (this is what I do) or coat with cornmeal. Place the dough inside, cover and let rise for about 30 minutes to 1 hour. It’s ready when slightly puffy, but not double in size. Preheat your oven to 450 F/ 232 C.
Note: If your dough contains more than 250g water, skip the free-from rise. Your dough will spread. Instead, use a floured, cloth-lined, proofing basket to help hold its shape.
Score The Dough
Right before baking, make a shallow 2-3 inch slash (or longer) in the center of the dough using a bread lame, razor blade, or small sharp knife. The cut should be ~1/4-inch deep.
Bake The Dough
Place the bread in the oven on the center rack (lid on) and reduce the temperature to 400 F/ 204 C. Bake for 20 minutes, then remove the lid, and continue to bake (uncovered) for an another 40 minutes, until deep, golden brown. All ovens are different; feel free to make minimal adjustments to these temperatures.
Check for doneness with a digital thermometer: 205-210 F/ 96-98 C for sourdough.
Remove the bread from the hot Dutch oven, and cool on a wire rack for at least an hour before slicing.
Notes
- Weigh your ingredients with a digital scale for best results
- For a more soft and pliable dough, increase the water up to 300 g- 325 g total. Use a floured, cloth-lined bowl or proofing basket (instead of the Dutch oven) for the second rise.
- You will need a 5 1/2 or 6 quart Dutch oven for baking
- This recipe was tested with King Arthur Bread Flour, Gold Medal Bread Flour, Pillsbury Bread Flour


Comments
Kathy Fountain says
You’ve helped me understand the terminology of sourdough and the repetition of feeding it to prepare starter for baking, and I’ve successfully baked many loaves since. Thank you! What are the best beeswax bags for storing or do you recommend something else?
Elizabeth A Taylor says
I haven’t made this yet, but can you use sugar in sourdough?
Emilie Raffa says
Hi Elizabeth! This recipe doesn’t include sugar (it’s a lean dough made). However, I put a pinch in my sourdough sandwich bread recipe and my sourdough enriched dough for cinnamon rolls.
Elspeth says
I rate Emily extremely highly. I was about to give up after hundreds of abortive attempts at sourdough. Fortunately I had bookmarked her many years ago, before embarking on my series of fiascos, and came across her in one of my recipe files by accident whilst looking for something else. I gave myself one last try, and success! I am so very pleased. I am still a novice but Emilie has given me the confidence to keep going. Her books have been purchased, together with a Brod and Taylor proofer. I heartily and strongly commend her to you.
Julie Spiro says
I was gifted a sourdough starter with complex instructions and, even though I am an experienced baker, I was nervous about the time and effort sourdough baking would require. However, I followed Emilie’s instructions and my loaf turned out perfectly! Better yet, it didn’t require an entire weekend commitment.
Marcus J Martinez says
Just a random question and maybe you mentioned it but is this recipe for a traditional rectangular loaf shaped pan or a larger round one. I just bought the rectangular cast iron and am just getting into this so any help is appreciated. So just want to make sure ai am using the correct amounts for this size of pan.
Cindy says
I made this recipe and it turned out amazing. I am not use to a low hydration dough but followed the recipe and trusted; so glad I did. This is best sourdough boule I have ever made. This is the taste and texture I have been looking for in home made bread. Thank you for this recipe and all the helpful instructions and explanations. I am making this bread again today. I look forward to more of your recipes.
Allison says
Hello! I have made this dough 3x now and it comes out lovely – my first truly successful sourdough bread. Thank you!
I have a question – is there any way to adapt this to use a regular loaf pan? I’m sure that’s sourdough blasphemy :D but I really prefer a more standard ‘bread loaf’ slice shape in the end rather than the big rounds.
Rhonda says
for some reason I can’t get my starter to work well. I’ve tried whole grain Spelt flour and normal all purpose white flour. I have a proofing box and still can’t get a good result. Do you have any ideas? I’m wondering if they are using some sort of anti fungal or something in the flour. I would love to know what you think.
Anna-Maria says
Hi. Not sure where to send the question but for this recipe, what size banneton should be used for shaping and also what size Dutch oven ?
Thanks so much :)
Donna says
How quanty starter ,water and flour in a small loaf?
Elyse says
If I was to cold proof this (won’t have time to bake but want to make the bread) where do I put it into the fridge? when I take it out does it need to warm up before cooking?
Mandy says
Hi Elyse!
I have made this recipe several times now and have cold proofed 3 times. After the bulk ferment, stretch and fold, I have put in the fridge on a sheet pan for 10-16 hrs. Baked right from the fridge!
Mandy
Sheila A says
Lovely, easy sourdough! I will make this over and over!
Diana J Greenburg says
Hi, Emilie–As I mentioned in an earlier comment, I’m a huge fan. I’ve made many of your breads from your book and enjoyed them very much. I have a question about the pumpernickel; it’s got great flavor, but the bottom comes out too dark. Do you have any tips? Thanks! – Diana
Melina says
Hi,
Thank you for this recipe. My first ever truly successful sourdough. Recipe is simple, helpful for new bakers to understand certain processes of sourdough.
Mine was a little less airy (so I need to leave it to proof more) do you think this means I need to do a longer bulk fermentation? Or once it is formed.
I have a half rye half plain flour starter which I would like to use here. Do you think I have to tweak the recipe. I know rye flour is trickier, less manageable and requires less water but I think 250g is already a low hydration, so not sure if I should do less water. Really appreciate any help you can give me!
Thank you agaim.
Elaine says
I’ve tried to make the starter but my starter didn’t rise much at all. My kitchen just isn’t warm enough. Any tips
Erin says
Hi! This was me – I recently started putting my starter in the microwave with the door ajar so its light offers a warmer space. It doubled in size once I started doing this!
Lorelei L says
I have more of a question. My dough was really stiff particularly when I was trying to do the folds now I think I should’ve let it sit longer between them? And after baked it was really dense. I only did the 250 mils of water. I wonder if I should’ve added more?
Any advice appreciated