Let’s bake my easy sourdough focaccia recipe, step-by-step. No kneading, no shaping, no Dutch oven. Just golden crisp edges, a light airy crumb, and a simple overnight rise naturally leavened with active starter. Adapted from my bestselling book Artisan Sourdough Made Simple.
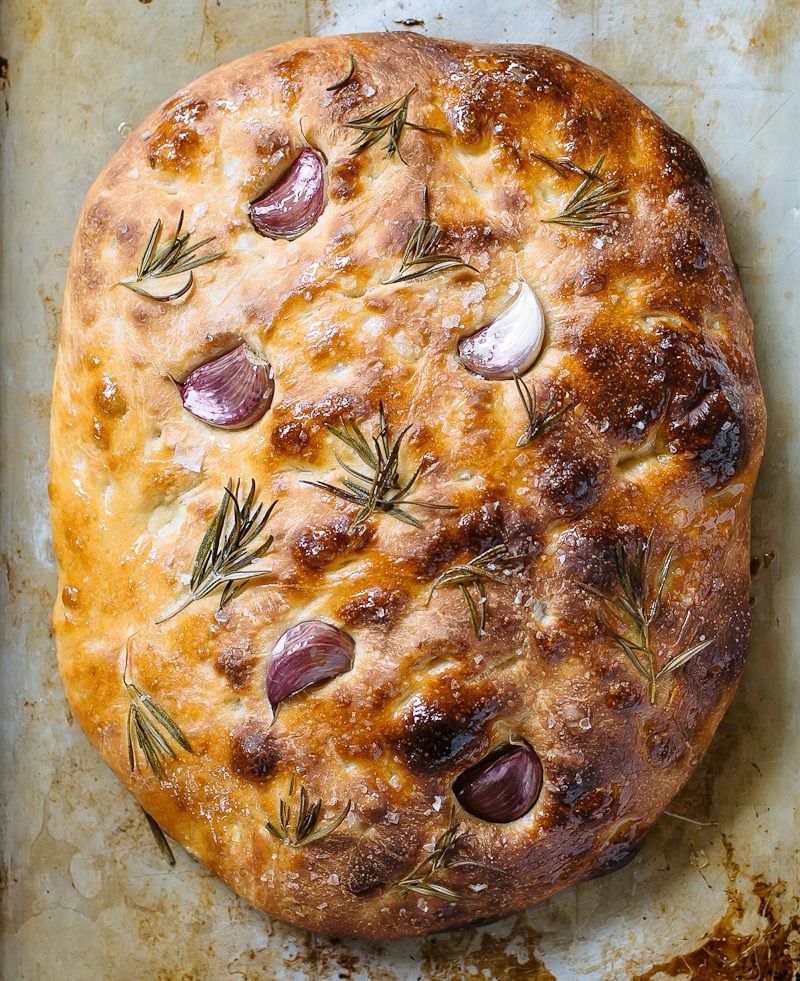
If you’re new to sourdough bread and want an easy, no-knead recipe to expand your repertoire, my sourdough focaccia is you next move. Crisp edges, soft center and perfect, tangy flavor.
Adapted from my book Artisan Sourdough Made Simple, I often recommend this recipe to beginners- there’s no kneading, no scoring, no Dutch oven. Just a handful of ingredients, a bread pan (or not) and some hands off time to let the dough rise. You can start right now.
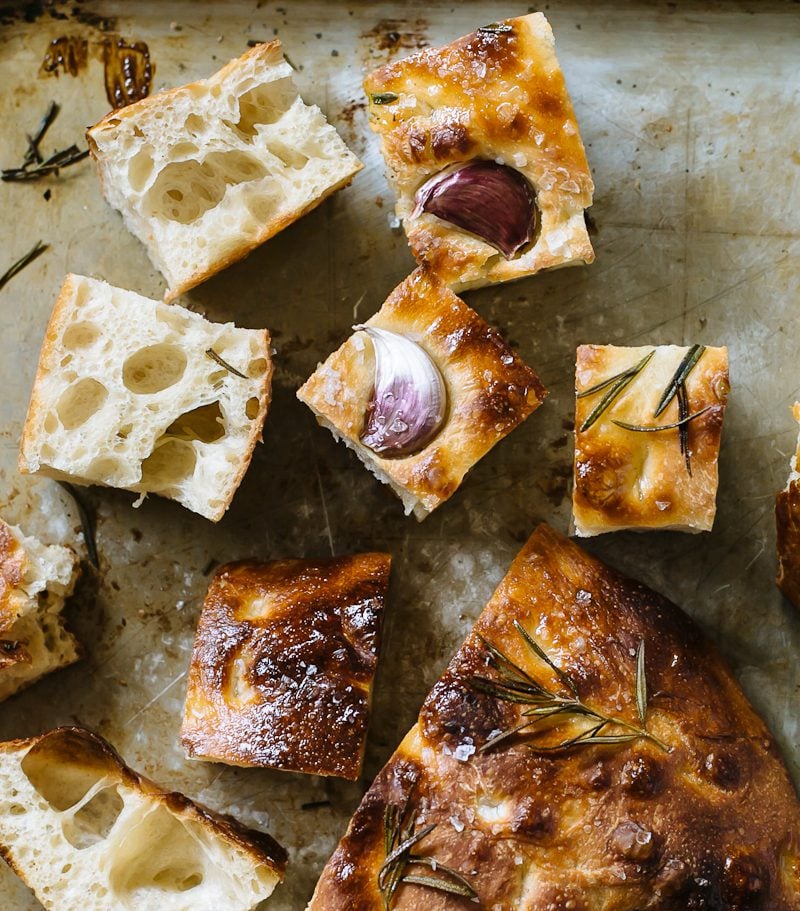
At home, I make sourdough focaccia at least once a week to serve alongside cozy soups and sourdough pasta dishes. Leftovers become golden homemade croutons, fluffy breadcrumbs or sourdough pizza crust (more sourdough bread recipes here). That aside, poking soft, squishy focaccia dough is wildly therapeutic! Let’s make it together, step-by-step.
How To Get A Sourdough Starter For this Recipe
A sourdough bread recipe of any kind cannot be made without a sourdough starter.
You have two options: make one from scratch (see my beginner sourdough starter recipe), buy one online or get some from a fellow baker. Even bakeries sell starters. If you already have one, and need assistance for ongoing care, read my companion articles, Feeding Sourdough: My Best Tips & Tricks and Troubleshooting Sourdough Starter.
My Sourdough Focaccia Tips
Tip #1: Plan ahead. Feed your starter a few days in advance prior to making the focaccia dough. This will ensure a vibrant starter that’s strong enough to make the dough rise.
Tip #2: Use regular olive oil (no extra virgin). It has a higher smoke point and is less likely to burn the top and bottom of your focaccia.
Tip #3: Pick the right pan. Sourdough focaccia can be baked on a regular rimmed sheet pan or a rectangular metal pan (e.g. brownie pan). If using the latter option, I suggest this non-stick pan by Lloyds which I’ve been using for years. It’s truly non-stick and makes the crispiest crust!
How to Make Sourdough Focaccia {Step-By-Step Recipe}
Step 1: Make The Dough
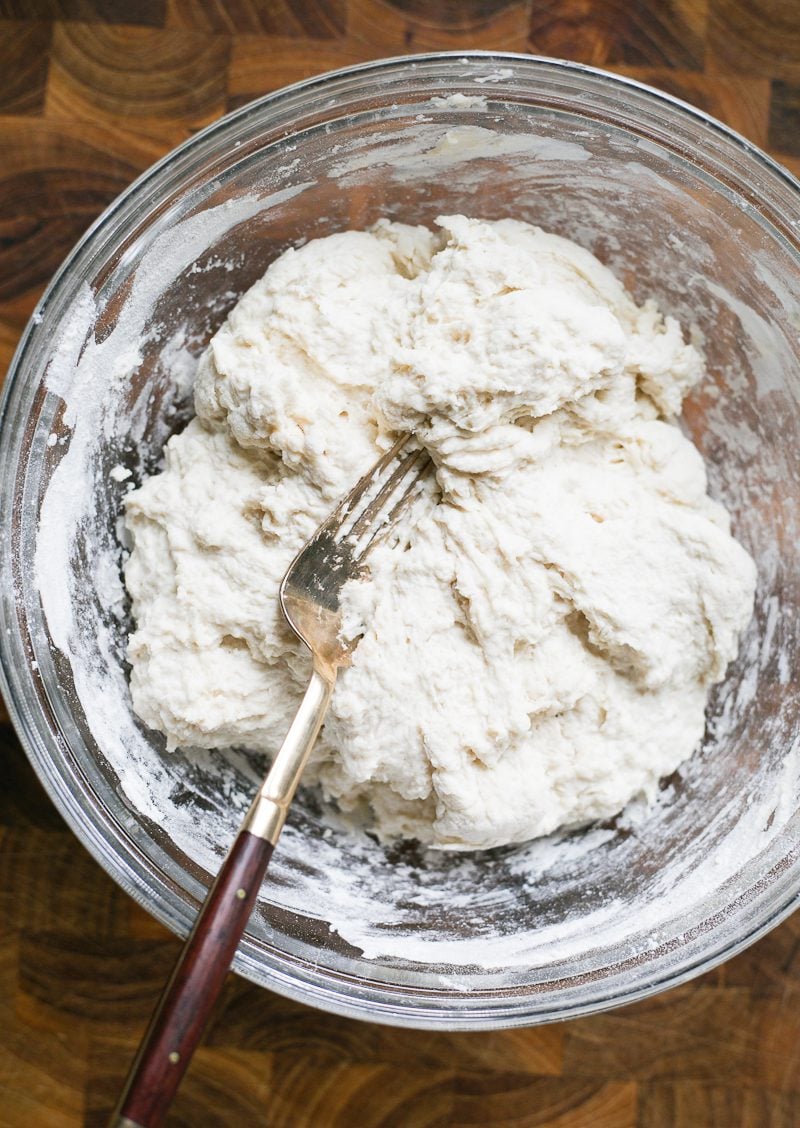
In the evening: whisk the sourdough starter, water and honey together in a large bowl (I use a fork for mixing). Add the flour and salt. Mix to combine and then finish by hand to form a rough dough. It will be wet and sticky.
Cover and let rest for 30 minutes to 1 hour. Timing is flexible here. Then work the dough into a ball. Again, it will be sticky!
When finished, transfer the dough to a lightly oiled dough container or just keep it in the same mixing bowl. It’s up to you. The next step is to let the dough rise.
Step 2: Bulk Rise (Overnight)
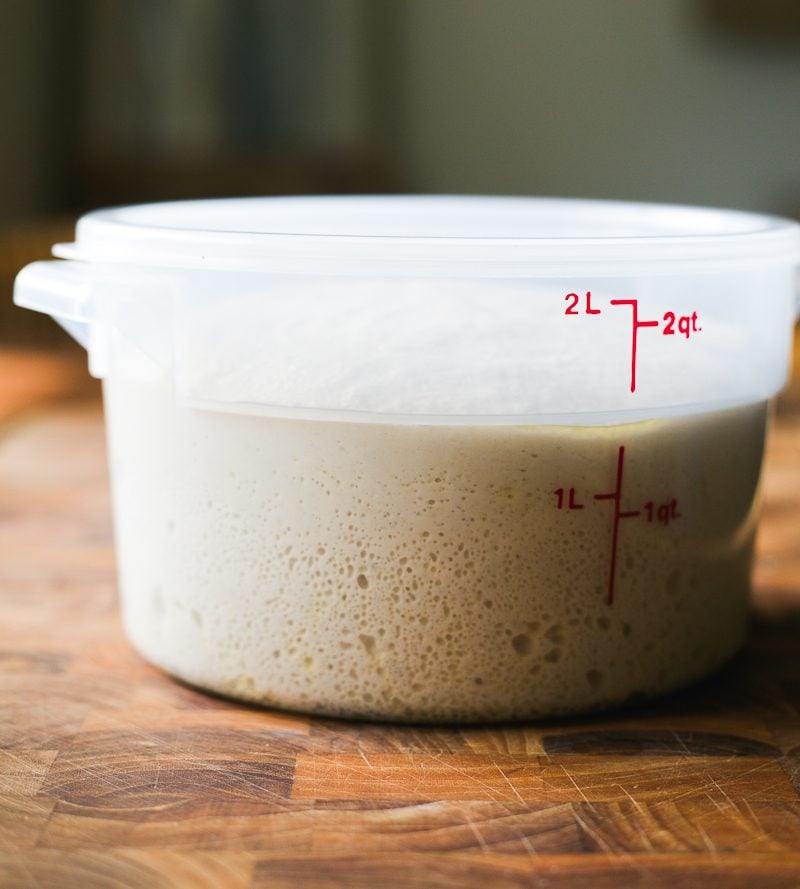
Rest the dough at room temperature and let rise overnight on your countertop. For focaccia, the dough should double or triple in size. This will take approximately 12+ hrs @ 68 F (20C).
Note: the warmer the temperature, the faster the dough will rise. So for example, if your current room temperature is 80 F (27 C), the 12+ rise time mentioned above would not apply to your specific environment. Not even close. The rise time would be shorter, say 3-4 hrs. Watch the dough, not the clock!
Diving Deeper: Why Won’t My Sourdough Bread Rise?
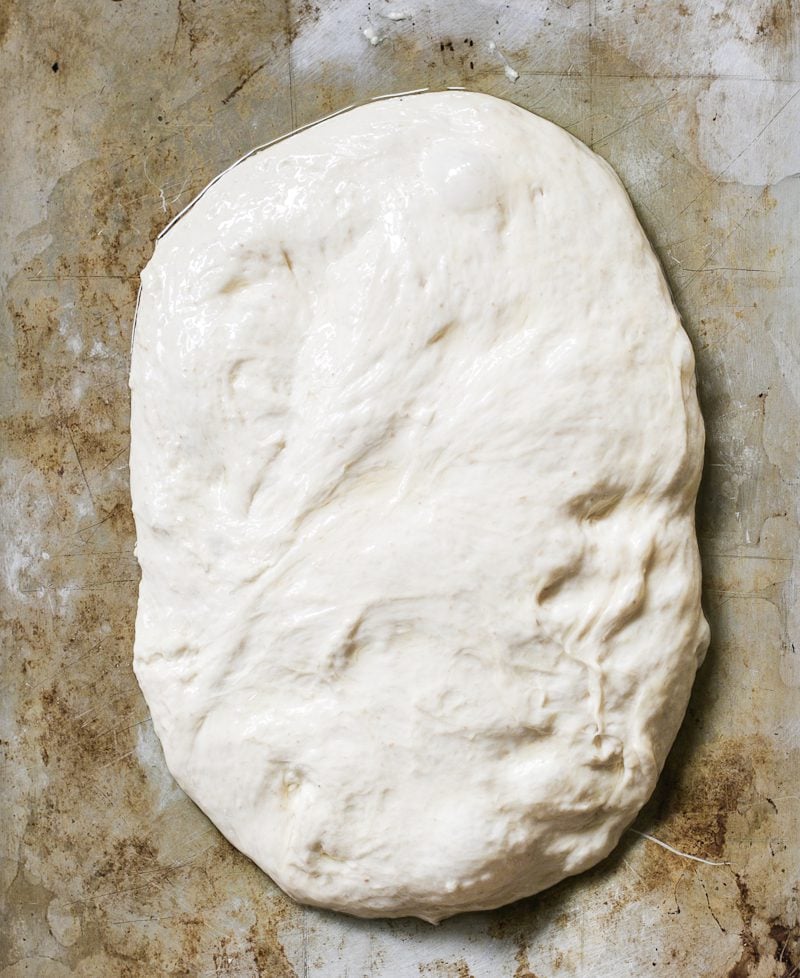
Step 3: Second Rise (In The Pan)
In the morning: oil a rimmed sheet pan. I use my hands to evenly coat the bottom and sides. Then place the dough onto the pan and flip it over to coat both sides. You do not need to pull or stretch the dough to fit the pan. The dough needs to relax first, which happens naturally in the next step.
Cover the dough (I use an inverted sheet pan instead of wrap. It doesn’t touch the dough). Let rest for 1 1/2 to 2 hours or until puffy. Preheat your oven to 425 F (220 C).
Note: I like to rest my dough in a warm spot, usually on top of the oven while it preheats. The dough becomes more soft and bubbly.
Tip: Instead of a sheet pan, you can bake sourdough focaccia in a non-stick rectangular pan instead (9 x 13- inch or 10 x 14-inch).
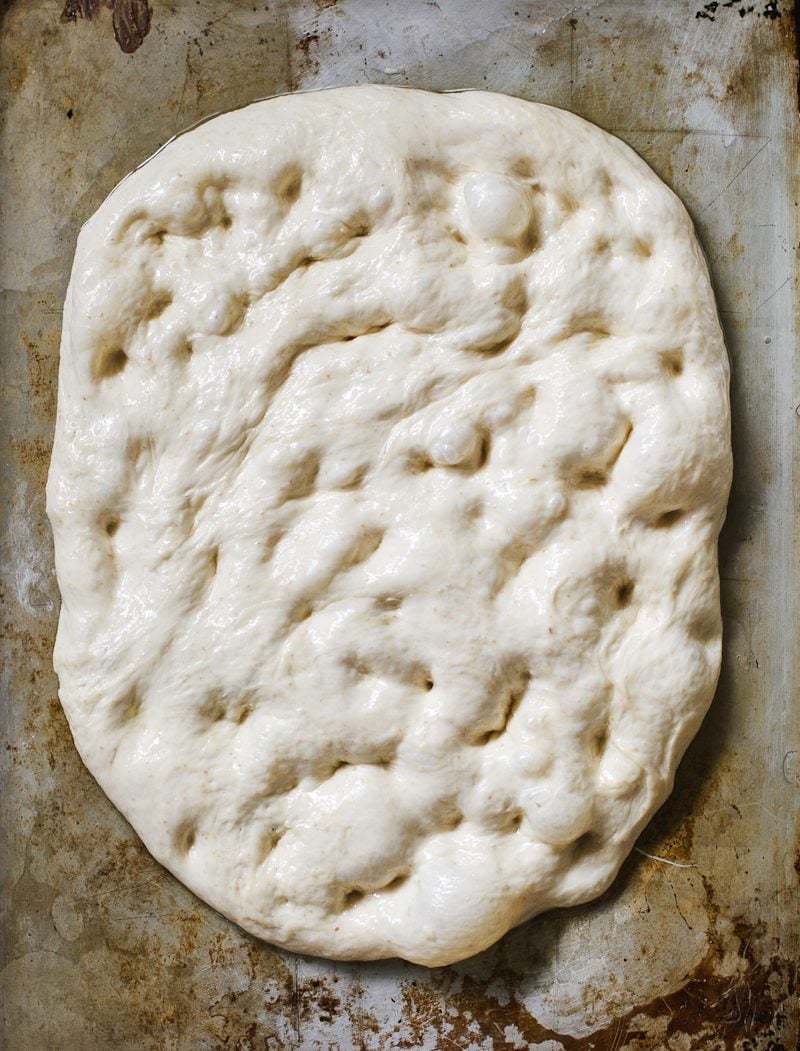
Step 4: Assemble The Focaccia
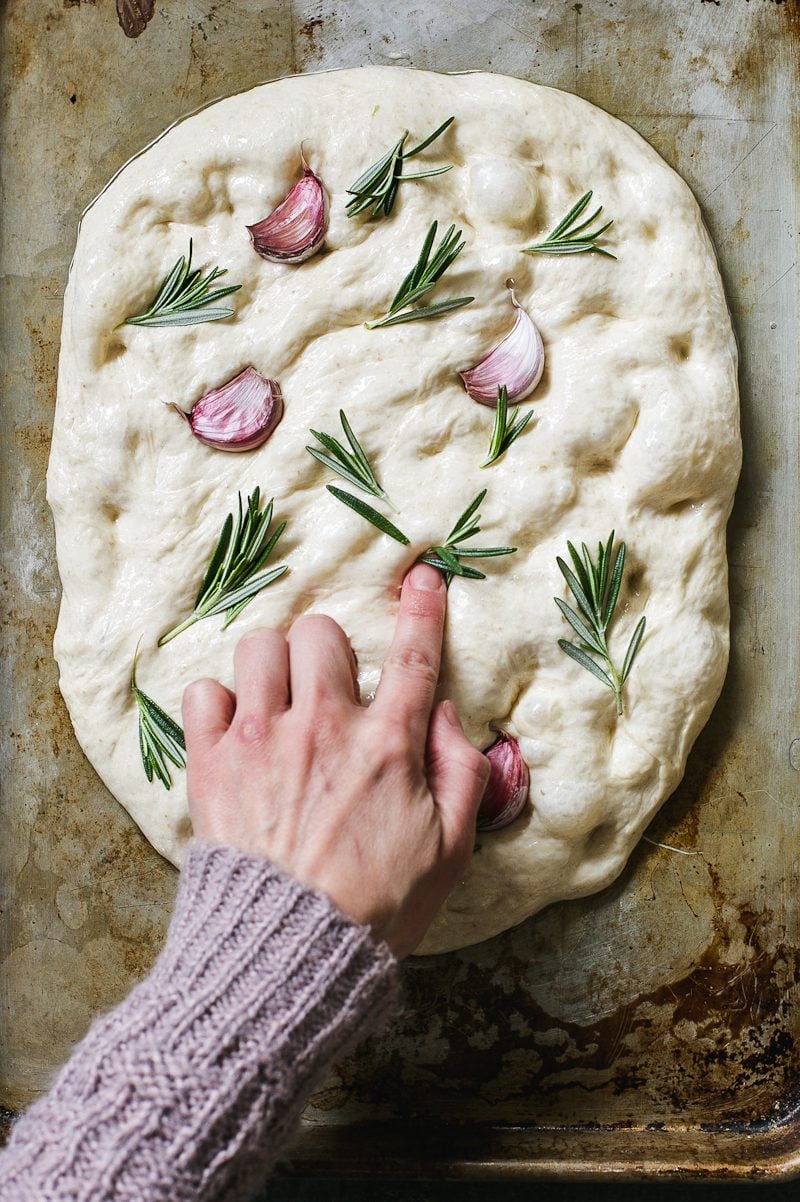
Right before baking, gently dimple the dough with oiled fingertips. As you dimple, the dough will naturally begin to stretch outward. Continue (gently!) until you’ve created a rustic rectangular or oval shape. The dough won’t go all the way to the corners and sides of the sheet pan, which is fine.
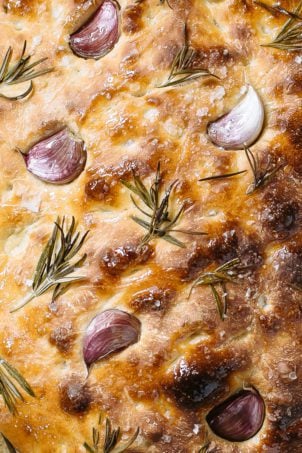
If using toppings, press them into the dough. As the dough rises it will puff up, so the toppings need to be well anchored. Press down deeper than you’d think. Otherwise they will pop out!
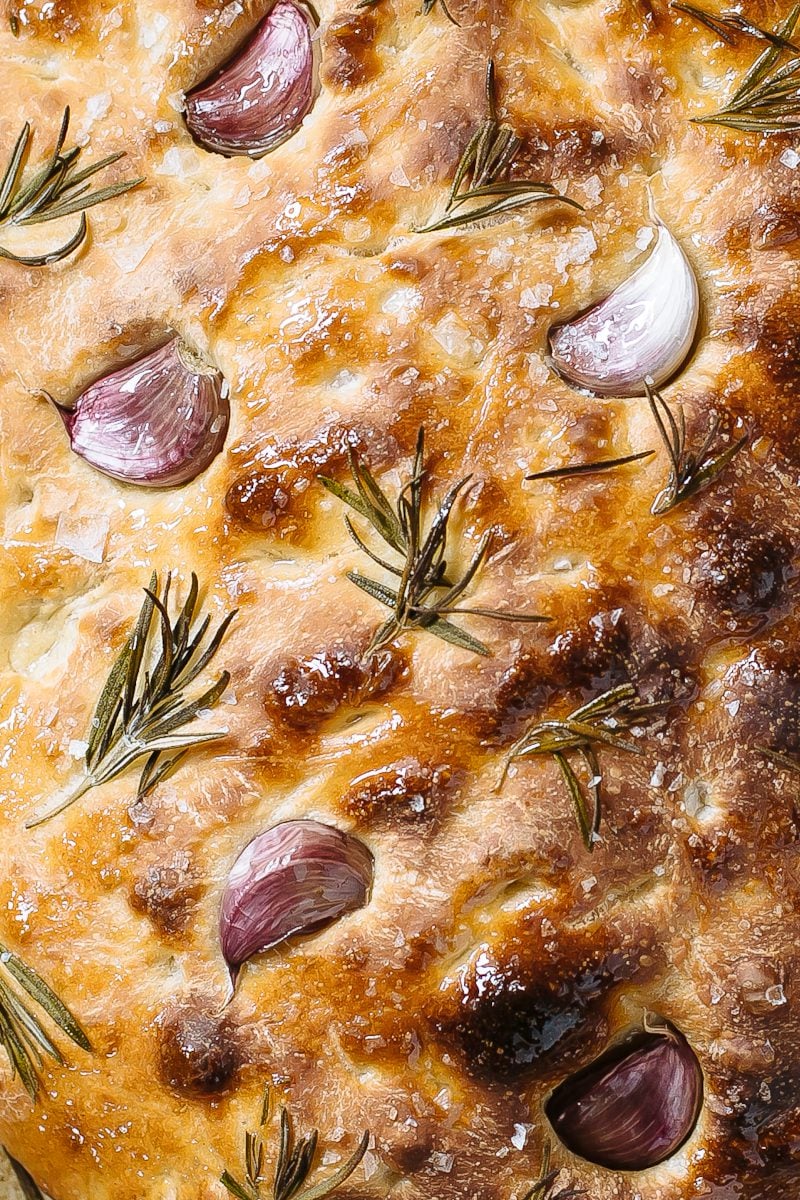
Step 5: Bake The Focaccia
In the oven, set the dough on the center rack. Bake the focaccia for 25-30 minutes or until golden brown. Remove and cool on a wire rack so the underside does not steam for at least 30 minutes. Cut into wedges or squares, and serve warm with dipping oil, if preferred. Delicious!
How to Par-Bake Sourdough Focaccia
Want to prep ahead and bake later? Par-baking is a game changer for serving fresh, warm bread at dinnertime. And it’s perfect for stress free entertaining. Here’s how:
- Bake for 15-18 minutes at 425 F (220 C). The crust should be set but pale, with a golden bottom.
- Cool completely on a wire rack to prevent the underside from steaming.
- Wrap and store at room temperature for up to 6 hours.
- Finish baking in the pan for 12-15 minutes, until golden and crisp.
Sample Sourdough Baking Schedules
The key to sourdough is timing. Here are 2 sample baking schedules to follow and adapt according to season. In my experience, the overnight method is best in cooler temperatures (the dough can survive a long rise without becoming over proofed in the morning). The daytime method is best in warmer temperatures when the dough rises faster. As a rule of thumb, temperature controls time and ultimately: your baking schedule.
Fall/Winter (overnight method)
- 4-6:00 PM: Feed starter
- 8:00 PM: Make the dough
- 8:30 PM: Let rise overnight (bulk rise)
- 8:30 AM (the next day): Inspect the dough. Does it need more time to rise? If so, give it more time, otherwise continue on.
- 9:00-11 AM: Second Rise
- 11:30 AM: Par-bake or Bake.
Spring/Summer (daytime method)
- 8 AM: Feed starter
- 10 AM: Make the dough
- 10:30 AM: Let rise during the day (bulk rise)
- 3:00 PM (onwards): Second rise
- 5:00 PM: Par-bake or Bake
What To Bake Next?
If you haven’t tried it yet, have a go at my beginner sourdough bread recipe for a golden, crackly loaf with a plush interior crumb, my glossy, NY-style sourdough bagels and the highly popular: soft and gooey sourdough cinnamon rolls that you’ll need a hundred napkins for.
By signing up, you agree to receive emails from The Clever Carrot. Unsubscribe at any time.
Beginner’s Guide To Sourdough Focaccia Bread
- Prep Time: 15 hours
- Cook Time: 30 minutes
- Total Time: 15 hours 30 minutes
- Yield: 1 large focaccia 1x
- Category: Sourdough Bread Recipes
- Method: Oven-Baked
- Cuisine: American
- Diet: Vegetarian
Description
Master the best easy sourdough focaccia bread—soft, fluffy, and naturally leavened with bubbly, active sourdough starter. This step-by-step recipe includes an overnight rise, no kneading, and simple tips for par-baking the dough. Adapted from my bestselling book Artisan Sourdough Made Simple.
Ingredients
- 50–75 g bubbly, active sourdough starter
- 375 g water (see Notes below)
- 20 g honey (optional)
- 500 g bread flour or all purpose flour (see Notes below)
- 9 g fine sea salt
- 2–3 tbsp olive oil, for coating the pan
- Assorted Toppings (optional): rosemary, garlic cloves, flaky seat salt, tomatoes, olives etc.
Notes:
- Thoughts on Flour: You can use bread flour or all purpose flour to make sourdough focaccia. Comparatively speaking, bread flour yields a slightly chewier focaccia with a higher rise. All purpose flour creates a more tender focaccia. The choice is up to you. If you prefer to use all purpose flour, I do recommend King Arthur brand. Coming in at over 11.7% protein, this flour is stronger than most all purpose flours, which means it can handle a higher quantity of water without the dough becoming a gloppy mess. It’s actually stronger than most bread flours! If you cannot access this flour, make the following changes to ensure success: decrease the water to 325-350 g (start small and work your way up) OR use King Arthur bread flour with 375 g water instead.
- Thoughts on Sourdough Starter (quantity): When the weather is cold, I’ll use a higher amount of starter to give the dough a boost when doing a long, overnight rise. I’ve given you a range so you can decide what suits you best.
- For Baking: You will need a rimmed sheet pan or non-stick rectangular pan (9×13-inch or 10×14-inch)
Instructions
Before you begin: decide when you want to make the dough. The instructions (below) outline a long, overnight rise @ 68-70 F (20-21 C) Alternatively, you can rise the dough during the day. Please refer to the sample schedules in the post above and choose what suits your needs.
- Make the Dough: In the evening: whisk the sourdough starter, water and honey together in a large bowl (I use a fork for mixing). Add the flour and salt. Mix to combine and then finish by hand to form a rough dough. It will be wet and sticky. Cover and let rest for 30 minutes to an hour. Timing is flexible here. Then return to the bowl and work the dough into a ball.
- Bulk Rise: Cover the bowl of dough with lightly oiled plastic wrap (or transfer the dough to a lightly oiled dough container). Let the dough rise overnight at room temperature, approximately 68-70 F (20-21 C) for about 12+ hours. The dough will double in size (or more) when ready. Note: if the weather is warmer than 68- 70 F (20-21 C) the dough will rise faster than 12+ hrs. Please adjust your timeframes accordingly.
- Second Rise: In the morning, pour 2 tbsp. of olive oil onto a rimmed sheet pan (or 1 tbsp. olive oil if using a non-stick rectangular pan). Use your hands to evenly coat the bottom and sides. With your oiled hands, remove the dough onto the pan, and then flip it to coat both sides. Cover and let rest for 1 1/2- 2 hours or until very puffy (I use an inverted sheet pan to cover the dough). Preheat your oven to 425 F (220 C). Note: I like to rest my dough in a warm spot, usually on top of the oven while it preheats. The dough becomes soft and bubbly.
- Assemble the Focaccia: Right before baking, gently dimple the dough with oiled fingertips. I start at the bottom of the pan and work my way to the top. As you dimple, the dough will naturally begin to stretch outwards. You should end up with a rustic rectangular or oval shape, about 14 x 9-inches (36 x 23 cm) or larger. The dough won’t go all the way to the corners and sides of the sheet pan- this is OK. Note: If using a rectangular pan, the dough will naturally fill the shape of the pan.
- Add Focaccia Toppings (optional): Press your preferred toppings into the dough. As the focaccia rises, the dough will puff up. The toppings will pop out if not properly anchored. If using garlic, I keep the cloves wrapped in their papery peels to prevent burning. Remove and discard the peels before eating.
- Bake the Focaccia: Place the dough onto the center rack. Bake for 25-30 minutes or until crisp and golden brown. Remove from the oven and cool on a wire rack before cutting. TIP: To par-bake focaccia dough: Bake for approximately 15-18 minutes @ 425 F (220 C). The crust will be set, very pale in color and golden underneath. Remove the focaccia from the pan and cool on a wire rack. Once completely cool, wrap in plastic wrap and store at room temperature for up to 6 hrs. To finish, return to the pan and bake for 12-15 minutes.
- To serve, cut the focaccia into wedges or squares and enjoy warm!


Comments
Lisa Reimer says
My family cannot get enough of this! Great recipe!!
Olivia says
Hi! I’ve been loving this recipe on a sheet pan, but I was wondering: since I don’t have a rectangular non-stick pan, could I use two 9-inch metal cake pans? If so, should I change the timing or temp at all? I think it would be tastier if it was a bit thicker with more crust!
Susan johnson says
Beginner here. I just fed my starter after it being in fridge for a week. Do I now keep it out of fridge til I make the focaccia tomorrow. I had 25 g of starte and added 50 g of flour and water. Will that be enough starter? Tia
Ashley says
Hi! I had to tell you, I have been using this recipe as my pizza dough base for about a year, and it gets RAVE reviews!!! My mom, who is super picky about pizza crust, prefers this over any other crust! I follow the recipe exactly and par bake, then put all my toppings on and finish the bake. It is AMAZING! Thanks!!!
Phyllis says
When making focaccia do I need to do the stretch and fold method?
Sarah says
I made it and before the bulk rise I did a few stretch and folds to make it more of that dough ball but I didn’t do any other s/f and it turned out amazing :)
Dean Moull says
How does this freeze? Any recommendations on defrosting / reheating?
Stephanie Alessi says
I make this recipe all the time and everyone raves about it! Thank you!
Would love your opinion on how to convert it to a recipe that is for an 8×8 pan!
TJ says
Best to do the second rise in a pan with parchment paper. It will stick quite bad the pan, even after using lots of oil.
Barbara DeMers says
Finally got my starter to rise correctly and I’m gonna make a cinnamon sugar focaccia! Riding over night!
Julia says
Love this recipe, so easy to make and delicious. Only difference was chilli flakes and I brushed on olive oil when I took it out of the oven
Andrea says
The focaccia turned out perfect! I added a bit of shredded sharp cheddar, sliced fresh tomatoes, some sundried tomatoes, rosemary sprigs and oregano for toppings.
The dough rose a lot so I could have divided the recipe into two pans, but overall it turned out perfect.
Michael Braun says
O notice in the pictures the garlic cloves are unpeeled. IS there a reason. Does peeling change something?
Em says
I think it prevents them from burning
Robin says
I have never posted to one of these recipe sites before. I absolutely HAD to for this one! This bread was amazing! And so easy to follow the recipe! My husband said he needs to lock himself in the bedroom so he won’t eat it all. I used EVOO because that’s all I had. There were no burning issues. Baked it 22 minutes. I decorated mine with veggies and herbs to make it look like a flower. Definitely making this many times in our future!
Thank you Emilie!
suzette kern says
for the bulk rise, can I do that overnight in the refrigerator? if yes, how long? thanks
Emilie Raffa says
Hi Suzette! Sourdough (dough) of any kind, doesn’t rise as quickly in the fridge compared to doughs made with instant yeast. So, the answer is yes, you can let the dough rise in the fridge. But it probably won’t double. If time permits, I’d bulk the dough at room temperature for a few hours to give it a boost and then transfer the dough to the fridge, possibly leaving it overnight. The next day, give it more time to puff up as needed, or go straight to the next step.
raphaela dernocoure says
Why do you par bake it? Whats the benefit if you do it this way
Emilie Raffa says
Hi there! Parbaking is optional. It’s a prep ahead tip. Parbaking allows you to cook it through, and then brown it before serving so your focaccia is piping hot and fresh.