Learn how to feed, maintain, and care for a successful sourdough starter in 3 easy steps. Tips shared for choosing the best flour, the right jar, and how to keep it alive (without the stress).

Without fail, the most intimidating aspect of sourdough baking is understanding how to feed and maintain your sourdough starter.
Without a strong starter, you can’t make sourdough bread, sourdough focaccia or anything else with a lofty rise. I discuss this in detail in my bestselling book Artisan Sourdough Made Simple. However, I’ve written a quick guide below so you can tackle this now.
First, let’s qualify the following: this post assumes you already have an established starter, either made from scratch, purchased or gifted to you. You need trusted instructions on how to feed and maintain it for optimal use. Sound like you? Read on.
Here, you’ll find sourdough starter feeding instructions (at a glance) and (in depth) depending on how much instruction you need. I’ve also included tips on how to store & maintain your sourdough starter for optimal use. There’s a lot to cover, each section is connected to the next, so let’s begin with the basics: a simple definition and why ongoing care is important.
What Is Sourdough Starter?
In simple terms, a sourdough starter is a live fermented culture of flour and water. When it becomes bubbly and active, a small portion is used to make bread dough rise without commercial yeast.
Why Feeding Matters
Most bakers, especially beginners, don’t realize that you can’t just create a sourdough starter and walk away.
Expect to feed your starter every time prior to making bread dough and while not in use. Just like watering a plant or feeding a pet, it needs support from you. Here’s how to do it.
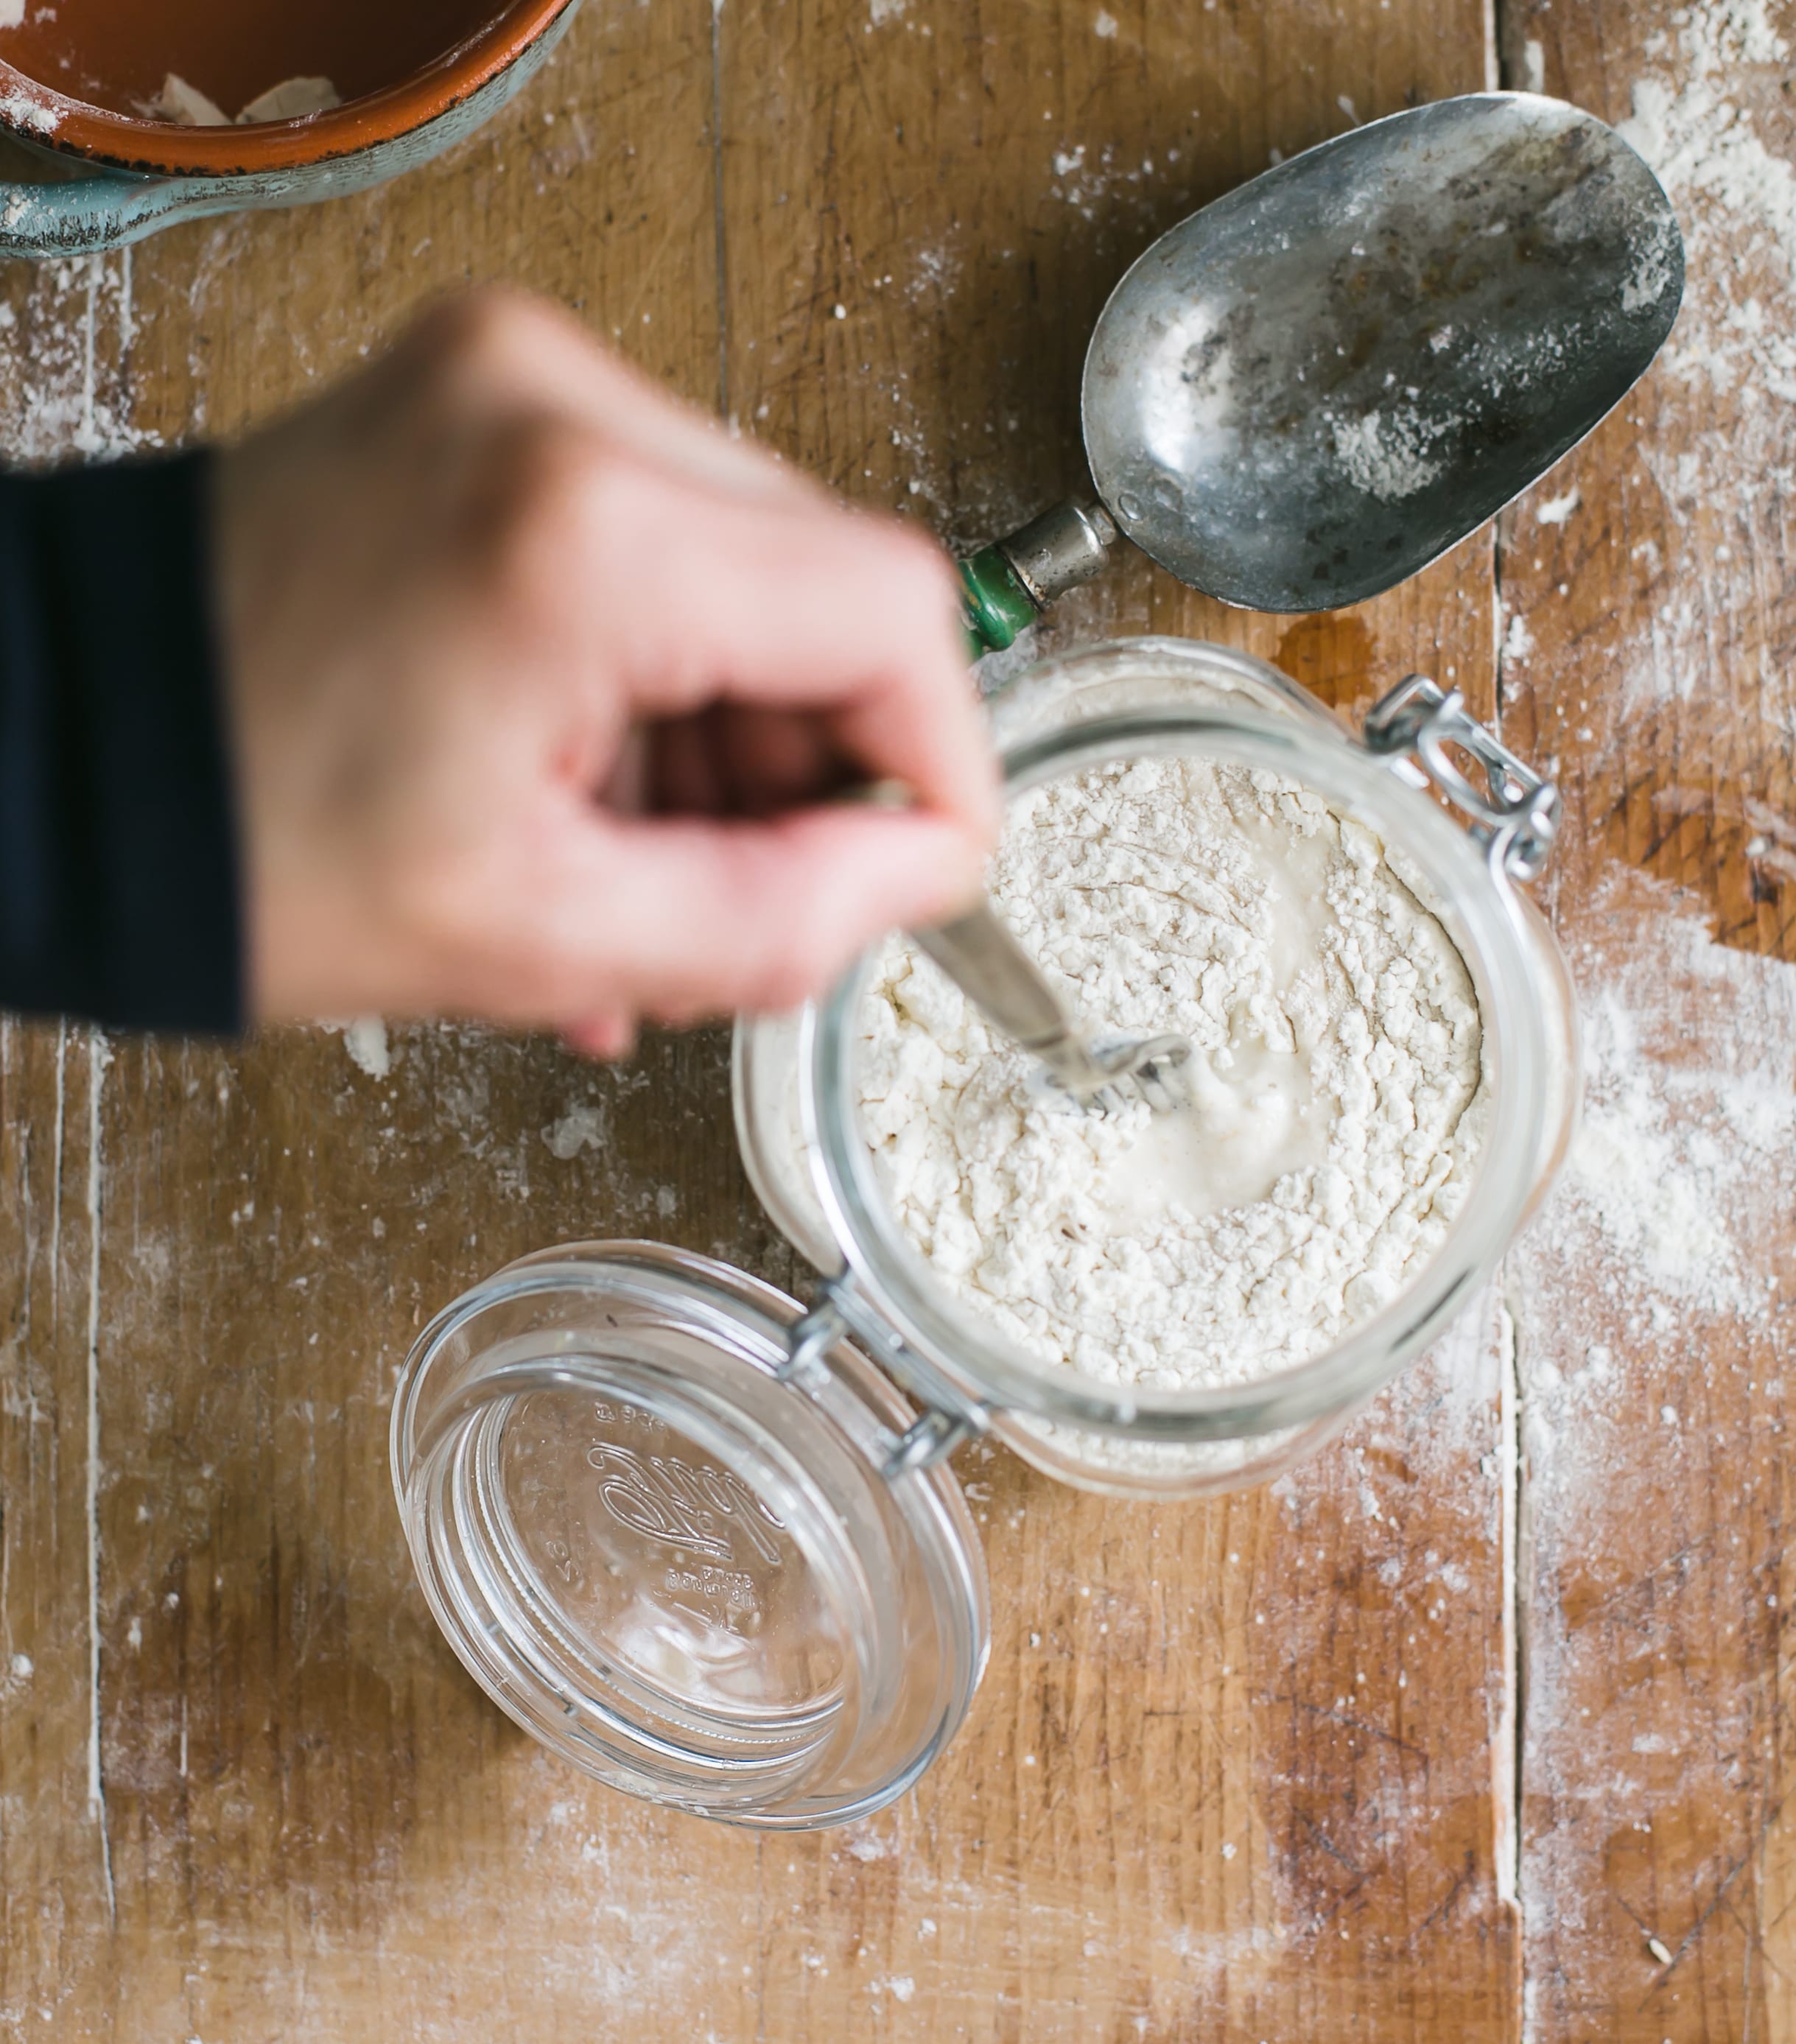
How To Feed Your Sourdough Starter (At A Glance)
- Remove and discard half of your sourdough starter.
- Feed what’s left in the jar with equal parts flour and water by weight (1:1:1 feeding ratio).
- Let rise at room temperature (loosely covered or airtight) ideally 75+ F, until bubbly, active and double in size (2-12 hrs).
Understanding The Sourdough Starter Feeding Ratio
So, what you’ve just read above is the mechanical 3-step feeding process.
But the question is, exactly how much flour and water do you need to feed your starter?
Bakers feed their sourdough starter by ratio. Not specific amounts. Why?
Because all bakers work with different quantities of starter to begin with. I might have 250 g of starter, you might have only 50 g. Feeding by ratio streamlines the process for everyone, allowing you to scale up or down to suit your preference.
Let’s unpack this a bit more…
There are several types of feeding ratios in sourdough. The most common feeding ratio is 1:1:1 (sourdough starter: flour: water) also known as a 100% hydration starter. That’s what you’re going to learn here. It’s an excellent starting point for most recipes including my famous sourdough bread recipe for beginners.
Here’s how it works: Let’s say you have 40 g of sourdough starter in a jar. To feed it, you would add 40 g of flour + 40 g of water for a total of 120 g (1:1:1). This is referred to feeding with equal parts by weight. You need a scale for this, not measuring cups, which go by volume.
Let’s quickly re-cap: we’ve defined sourdough starter, why feeding matters, feeding at a glance and touched on feeding ratios. Now, we’re going to discuss how to feed in depth which dives into the “why’s” behind the process.
Feeding Sourdough Starter (In-Depth)
Step 1: Remove and Discard
Discarding some of your sourdough starter is done before feeding for a few reasons: to refresh the acidity levels, to keep it balanced, and to control its overall growth in size. This step is important. The amount discarded doesn’t always have to be half. Just a portion. To do so, pour off or scoop out the discard with a spoon. Where does the discard go? If it’s extremely smelly or discolored, it goes in the trash. If it’s in good condition, you can save it to make a sourdough discard recipe.
Example: You have about 120 g of sourdough starter in a jar. Remove approximately half, about 60 g. The sourdough discard is in good condition so you can save it to make my fluffy sourdough pancakes.
But please don’t feel pressured to use the discard right away; the focus of this post is to teach you how to feed your starter. My intent is a simple introduction to possibility.
Before you begin: it’s best to establish a regular feeding time. Morning or evening; the time itself doesn’t matter. What does matter is consistency. Feeding your starter at roughly the same time each day helps you learn how quickly it will rise and fall. For example, if you want to make dough at 7 PM (and your starter takes about 5 hrs to rise), feed it at 2 PM.
Step 2: Feed The Starter
Back to the jar. You now have 60 g starter left. Feed what’s left in the jar with equal parts flour & water by weight following the 1:1:1 feeding ratio (sourdough starter: flour: water) or another feeding ratio of your choice (i.e. 1:2:2, 1:3:3 or 1:5:5).
Mix well with a fork or small rubber spatula, scraping down the sides until it turns into a thick, lump-free batter. Place the lid on top, loosely covered or airtight.
Texture is key. While feeding ratios are helpful, use them as a guide only. It doesn’t have to be exact. This is because your starter will look different on different days, due to the following variables: type/brand of flour used, temperature, flour absorption rate etc. So, if you’ve followed the feeding ratio and your starter is too thick, add more water to thin it out. If it’s too thin, add more flour. The texture is always adjustable. It should look like thick pancake batter.
Step 3: Rise & Activate
Place your starter in a warm spot to activate, ideally 75-80 F. The warmer it is, the faster it will rise.
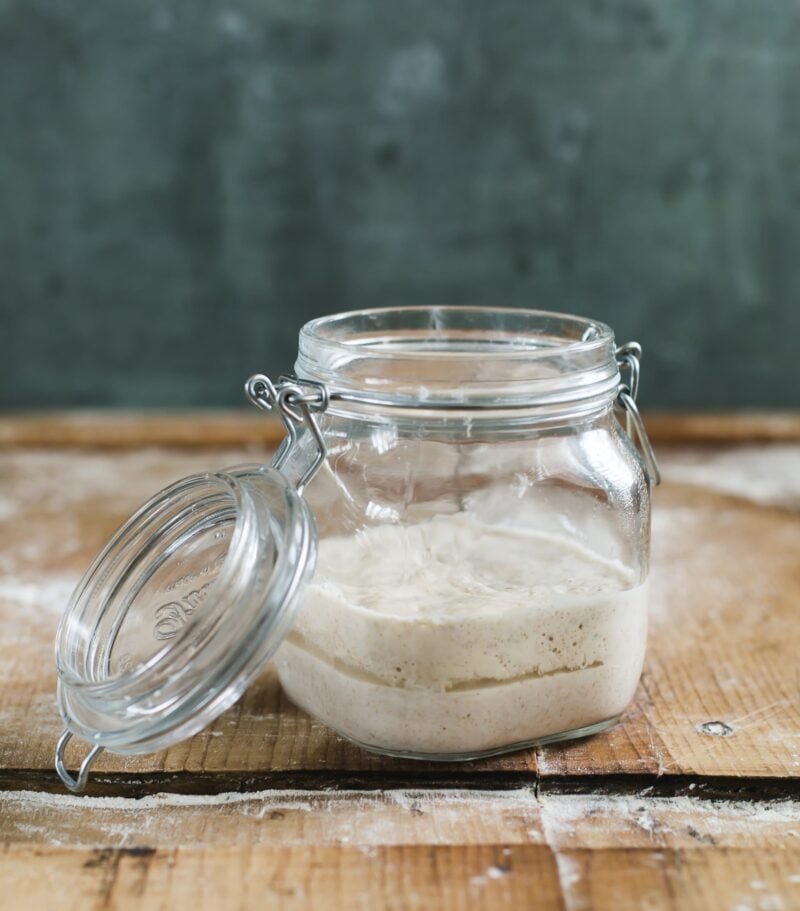
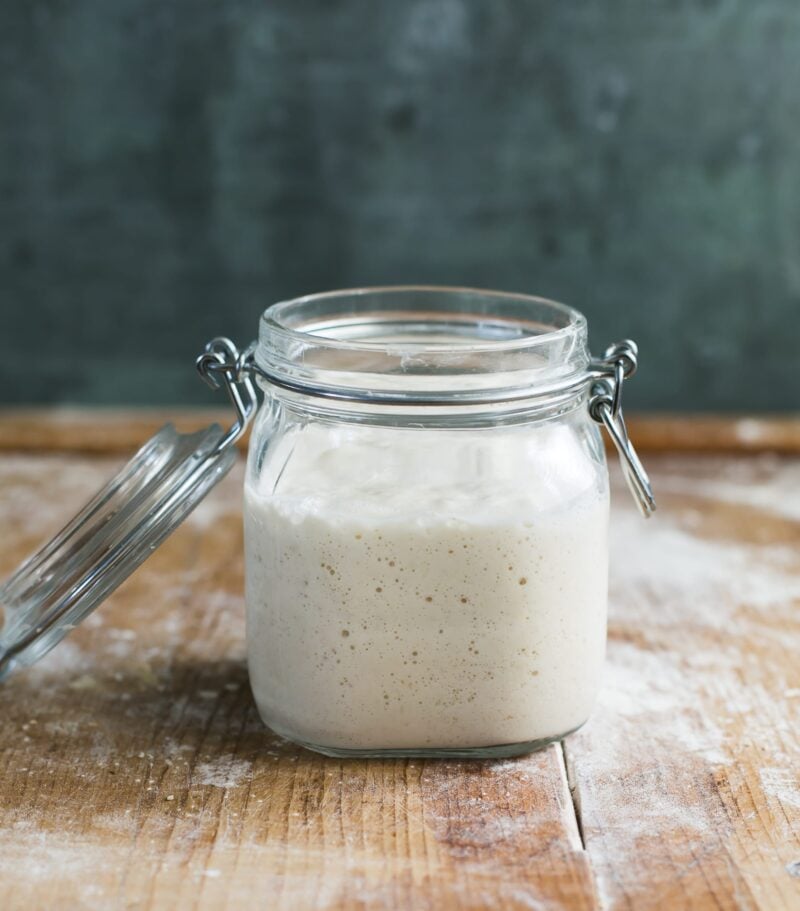
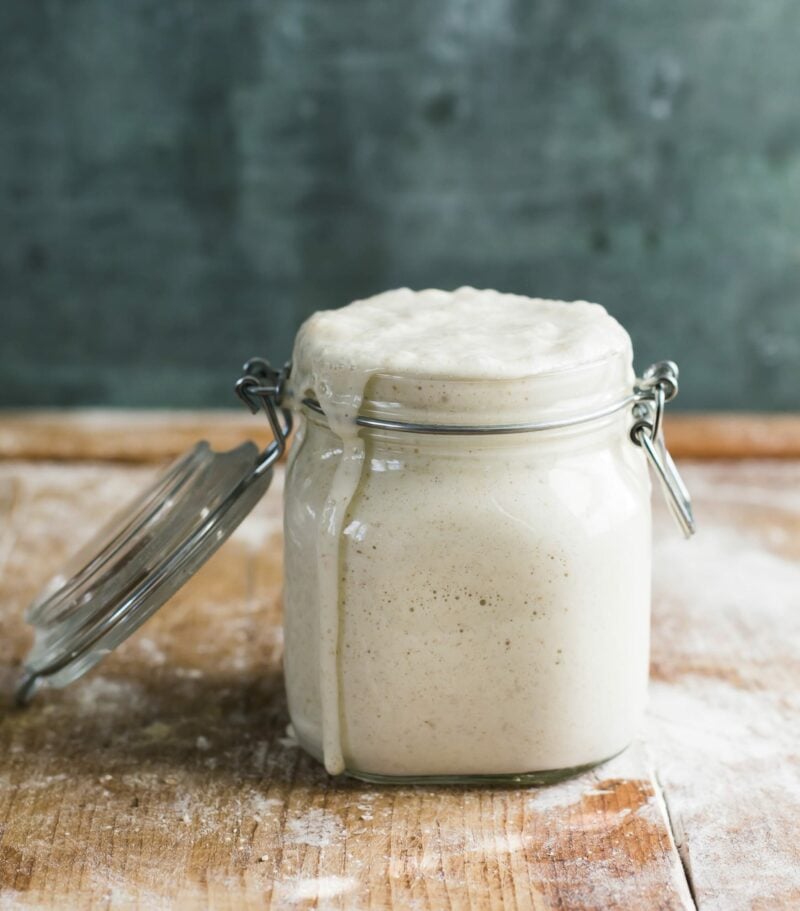
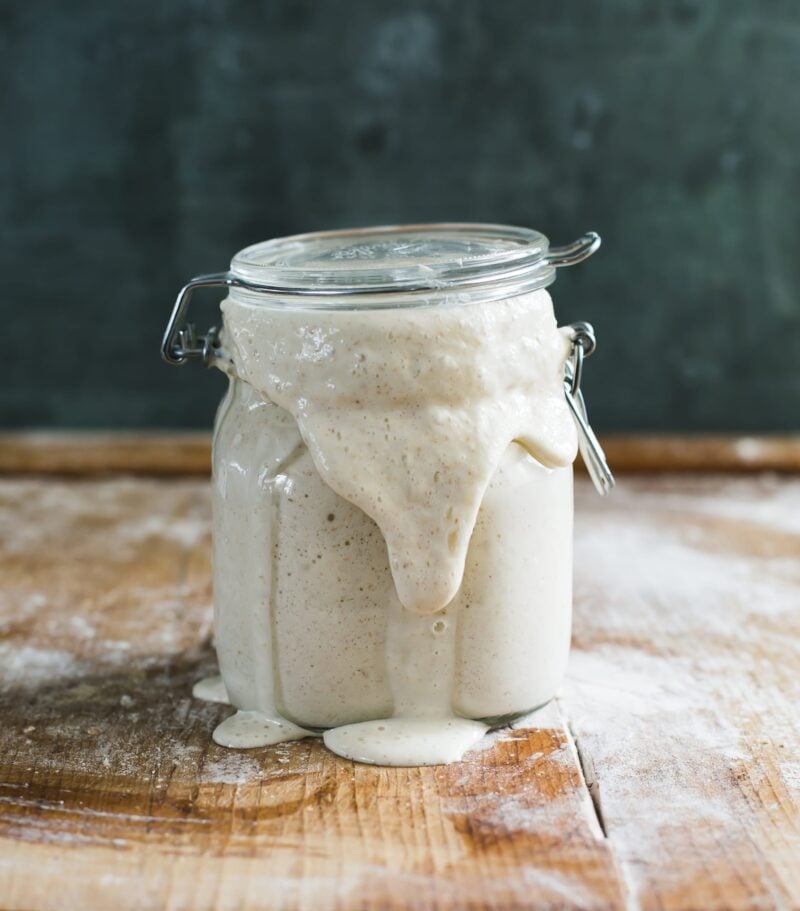
Your starter is active when it shows the following signs: it doubles in size, small and large bubbles appear on the surface and throughout the culture, the texture is spongy or fluffy and smells pleasant. This can take anywhere from 2-12 hrs. depending on the strength of your starter, the quality of your flour, and of course, your surrounding environment.
What goes up must come down. An active sourdough starter, one that has doubled in size, will eventually fall back down. This is normal. There’s nothing wrong with your starter when it falls; it’s just past peak. It will only stay fully risen for 1-2 hours (this varies). Use your starter to make bread dough when it’s at peak height.
How To Store Sourdough Starter
Your feeding and maintenance routine is directly related to where it’s stored and how often you plan to bake.
- Room Temperature: if you bake a few times a week, keep your starter at room temperature. You’ll need to feed it (1x) per day, even when not in use. Storing at room temperature, especially if it’s warm, will make it ready to use faster.
- In the Fridge: if you bake only once a week or once a month, store your starter in the fridge. Feed it (1x) per week to maintain its strength. You do not need to bring it to room temperature first before feeding it; just remove it from the fridge, feed it and put it back. When ready to use, feed the cold starter at room temperature until it perks back up. Use warm water. Find a warm spot. Remember, the warmer it is, the faster it will rise.
A Few Things To Pay Attention To:
If you forget to feed your starter, it’s totally normal. Everyone does this. It’s not dead, and no, you didn’t ruin it. Keep feeding it in a warm spot. Starters are more resilient than you’d think. They need time and patience.
I’m often asked about flour. What’s the best one for feeding your starter?
For white flour starters, use good-quality unbleached all purpose flour or bread flour (my preference is the latter). These flours are inexpensive, easy to find, and reliable for starter growth. For whole wheat starters, use whole wheat flour. For rye starters, use rye flour etc.
For variety, some bakers prefer to use a 50/50 blend of whole wheat and white flour for an enzyme boost (starters love enzymes). This is fine too. See what works best for your taste, your budget, and convenience level.
Just do me one favor: when choosing flour, always consider how the starter will be used.
For example, a 100% whole wheat starter might not work for Soft Sourdough Cinnamon Rolls because the unsifted bran will make the dough heartier, rather than light and airy. On the flip side, it might be more desirable for Light Whole Wheat Sourdough to really amplify the nutty, wholegrain taste.
Bottom line: be consistent. Starters like routine. If your starter likes a certain flour, don’t change it.
Let’s move on to starter jars. Does it need to be airtight?
Currently, I use a 3/4 L jar with a latch top. I love it. I prefer glass over plastic, it’s easy to clean and it doesn’t absorb any weird smells or chemicals. Oftentimes, I switch things up and use jam jars, glasses and/or whatever else is clean!
Regarding the lid: it can be airtight or loosely covered. It depends on the baker. For example, when I want my starter to bubble up fast, I keep it airtight. But if the jar is not large enough for the starter to grow, it might burst through the lid. Always keep an eye on it. Or, rest the lid on top of the jar without securing it. This way, the jar is technically still covered but it won’t break as the starter rises.
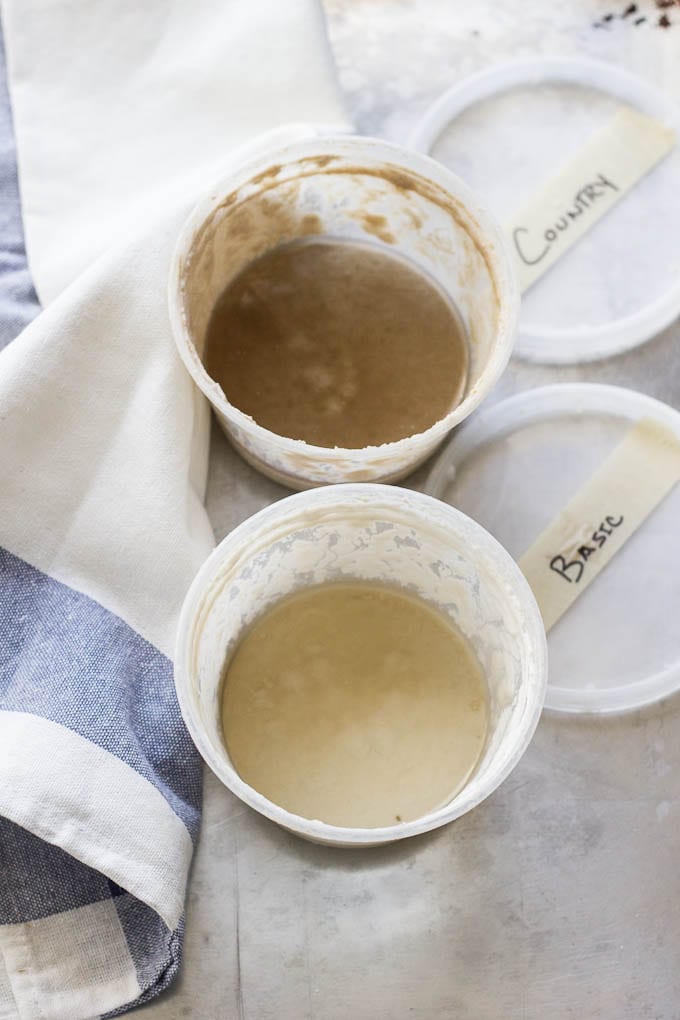
Finally, at some point, you’ll experience a dark, grayish liquid on the surface of your sourdough starter. Don’t stress. Hooch is just a sign that your starter needs to be fed. Simply pour it off, removing any discolored starter underneath and give it a fresh feeding. The image below features two different starters I keep in my fridge: Country Starter (fed with 50/50 white flour + whole wheat) and my Basic Starter (all white flour).
By signing up, you agree to receive emails from The Clever Carrot. Unsubscribe at any time.
Feeding Sourdough Starter: My Best Tips & Tricks
- Prep Time: 5 hours
- Total Time: 5 hours
- Yield: 1 cup 1x
- Category: Sourdough Starters
- Method: No-Cook
- Cuisine: American
- Diet: Vegetarian
Description
Learn how to feed and maintain a successful sourdough starter in 3 easy steps! Tips shared for choosing the best flour, the right jar, and how to keep it alive (without the stress).
Ingredients
- Sourdough Starter
- Jar with lid (I use this one)
- Digital Kitchen Scale
- Bread flour or all purpose
- Water, filtered or regular quality tap water
Instructions
*Note: Before you begin, establish a regular feeding time. Morning or evening; the time itself doesn’t matter. What does matter is consistency. Feeding your starter at roughly the same time each day will train it to rise and fall predictably. This way, you’ll know when it’s ready to use. For example, if you want to make dough at 7 PM (and your starter takes about 5 hrs to rise), feed it at 2 PM.
- Remove and discard half of your sourdough starter from the jar.
- Feed what’s left in the jar with equal parts flour and water by weight (1:1:1 feeding ratio). You need a digital kitchen scale for this. Because we all work with different quantities of starters, this 1:1:1 feeding ratio is best understood by example. So, if you have 60 g of starter in the jar, feed it with 60 g flour + 60 g water. If you have 30 g of starter, feed it with 30 g of flour and 30 g of water. Mix well with a fork, scraping down the sides as needed. Cover the jar with a lid. The lid can be airtight or loosely placed on top- your choice. Note: if the jar is airtight, the pressure will build up fast. Keep an eye on the jar so it doesn’t burst.
- Let your starter rise at room temperature, ideally 75+ F (the warmer it is, the faster it will rise), until bubbly, active and double in size (2-12 hrs). When your starter is at peak height, it’s ready to use. Eventually it will fall back down, and become inactive again. Then, you’ll need to repeat the feeding process.


Comments
MammaT says
So I’m a beginner. I’ve never worked with starter before. It took me about six weeks for my starter to finally rise. Unfortunately, I didn’t see it until it fell back down. So I’m guessing at this point I would feed it again so that it rises? If it rises again, is it ready to be used at this point? Or how many more feedings do I have to to give it before I can start using it? Thank you for all your help.
Natasha Rominski says
You are amazing. Your writing style and description is fantastic. As an analytical, I struggle wanting to know everything and you are making this so digestible! Thank you!
Rob Bass says
Hi Emilie,
Your recipes & other tips/tricks are great.
I’ve made more than one starter which have all been successful.
The’ve been lost due to not enough attention, but that’s about to change.
I make a multigrain sourdough loaf regularly & it’s always successful. The family love it & it disappears fast.
Just a note about feeding the starter: I feed starter about once a week or more often if I need to bake more often. I keep about 500g in a glass jar/bottle with large diameter lid. Have a few latch-top ones, but also use screw-on lids. When I decide to feed it, I discard about 10 to 15% of starter & add that weight of flour & water back into the jar. Generally a bit more flour than water, but essentially same amounts. Then in winter wait for a sunny day & put jar in full sun. It normally takes about 4 hours to double in size. Sometimes it more than doubles. Summer is much better for baking sourdough recipes. So I’m not quite in agreement with your percentages. I wouldn’t discard 250g of starter to feed one. So either I must keep less starter or be content to have stacks of discard. This isn’t always practical, so lately have been dumping 50 to 75G starter.
What do you think is the best solution…. given my miserly method is preferred.
Karen Granatier says
My sour dough starter is established, and in the fridge. I want to have more, so don’t want to discard half. Is that ok? Also, not sure how to take in the ‘tare weight’ as it is in a mason jar.
Tony says
Why is it so important to discard half your starter as opposed to separating it and feeding both?
Barbara says
I’m trying to strengthen my sour dough starter. It takes 10-12 hours to reach its peak and it doesn’t look that impressive when it does. I changed my ratio yesterday from 1:1:1 to 1:3:3 hoping that will help. Did I mess up by doing that? I also added 12 grams of wheat flout
Charmaine Kruger says
If I decide to make 16 ciabattas in stead of 4 for instance, can I just keep feeding my starter dough with equal amounts of water and flour without discarding?
Judith Romero says
Thanks for this recipe very detailed and precise.
Terri says
Hi Emilie,
I did your water test of my starter that has doubled in size and appears active to me, but it sunk in the glass of water. Does this mean it is still rising and I need to wait and check it again?
Also, if my starter more than doubled, have I over fed it?
Emilie Raffa says
Hi Terri! If your starter doubled and appeared active, it most likely was. I don’t think it needed more time to rise. It might have sunk because it was done after peak height? While the float test is a helpful indicator of readiness, like any test, it’s not always 100% accurate.
Georgie Josey says
Brilliant breakdown for beginners, you read so much what to do and what not to do. This is simple and easy to follow thank you
Jill Zahra says
Hi Emilie, thank you so much for this post. It is very thoughtful and answers a lot of my questions. However, I am hoping you can help me with one to get me out of the starting gate. I was recently gifted a starter and have stored it in the fridge for a week. I know I need to feed it but I’m not sure if I have to remove half of it before I do so if it’s just being put back into the fridge. If it’s been in the fridge and I want to make discard bagels, do I feed it and let it rise and then remove the discard when it falls? Sorry, but I have no idea what I am doing! Thanks for your help.
Dar says
Hi Emilie, I store my sourdough starter in the fridge. I feed it every 2 weeks 1:2:2 ratio. 10g starter + 20g filtered water + 20g all purpose flour. When I am ready to bake, I feed 20g starter + 40g filtered water + 40g AP flour and it peaked after 6 hours at room temp. I followed your sourdough sandwich bread recipe with 12 hour fermentation at room temp and 2nd proofing. How do I reduce the sour taste/smell from the sourdough bread? Thanks. Darlene
Leah says
Hello Emilie, thank you for this explanation it makes everything super simple and easy to understand. My only question is, is whether its normal for my starter to have a bad smell and hooch for a few days even after I remove it, discard and feed.
Thank You
Jeanne Monroe says
Hey Emile, thanks for such a clear explanation of how to make the sourdough starter and continuing the feeding of it and all the why’s and everything, my only question is when you go to weigh it and you wanting to take off half of it to discard, when it’s on the scale isn’t that also weighing the jar? So wouldn’t the contents be less than what the weight is showing is on the scale? Do you need to subtract the jar weight and then tally up the weight of the starter? Thanks, Jeanne
Joni F says
You either have to subtract the weight of the jar (if you know what it is) or weigh the starter out of the jar.
Barbara W says
if i have been feeding my sourdough starter with bread flour for the past two months can i just switch to feeding it with regular flour? I use king arthur bread flour and all-purpose flour.