Learn how to make fresh homemade lasagna noodles (from scratch!) with easy, step-by-step recipe & video instruction using my master pasta dough recipe. Tips shared for storing, freezing and drying homemade lasagna noodles for maximum use.
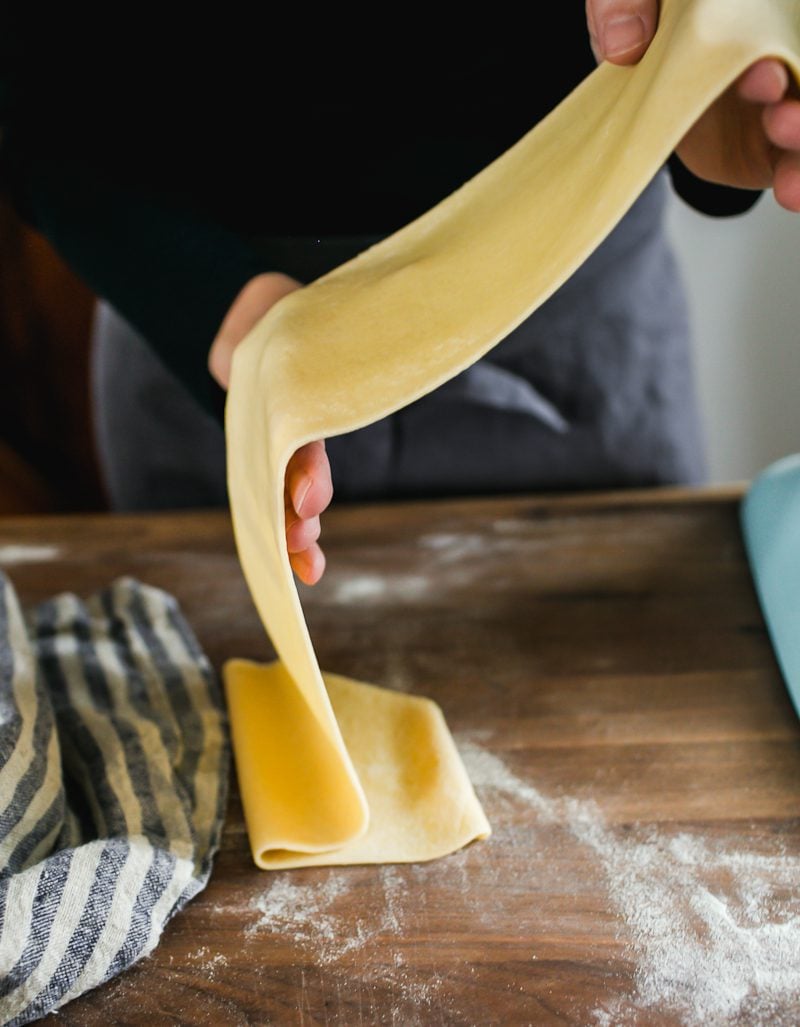
Once you’ve mastered fresh homemade pasta or sourdough pasta try making silky, homemade lasagna noodles for the ultimate lasagna experience.
Compared to the typical boxed or “no boil” option, the taste and texture is restaurant quality exquisite, especially when used to make my classic lasagna Bolognese with béchamel sauce.
What To Expect
My recipe and method is broken down into 3 main steps: making pasta dough, rolling pasta dough into sheets and cutting sheets into lasagna noodles. You’ll end up with enough lasagna noodles to fit a standard 9×13-inch pan (or something similar) which feeds up to 6 people.
The lasagna noodles can be made in advance and stored at room temperature, refrigerated or dried out until ready to assemble. I use my Kitchen Aid stand mixer with the roller attachment in the instructions below. However, a hand-crank pasta machine works well too.
My Best Lasagna Noodle Tips:
- Make space. You’ll need a large, clutter-free work surface to roll out the dough (the kitchen table is ideal) Don’t overlook this tip. Rolled out pasta sheets can measure up to 3ft. long.
- Lasagna noodles need to be thin (but not too thin!). The correct thickness is approximately .60- 1 mm thick. If the noodles are too thin, they will soak up all the sauce (and the lasagna will be dry). Too thick, and they won’t cook properly. Fresh pasta absorbs more liquid than regular dried pasta. Remember that.
- Different pasta machines/attachments have different settings. Refer to the specific instructions that came with your machine. For example, setting #4 or #5 on the Kitchen Aid, which is recommended for lasagna noodles, is not the same as other brands.
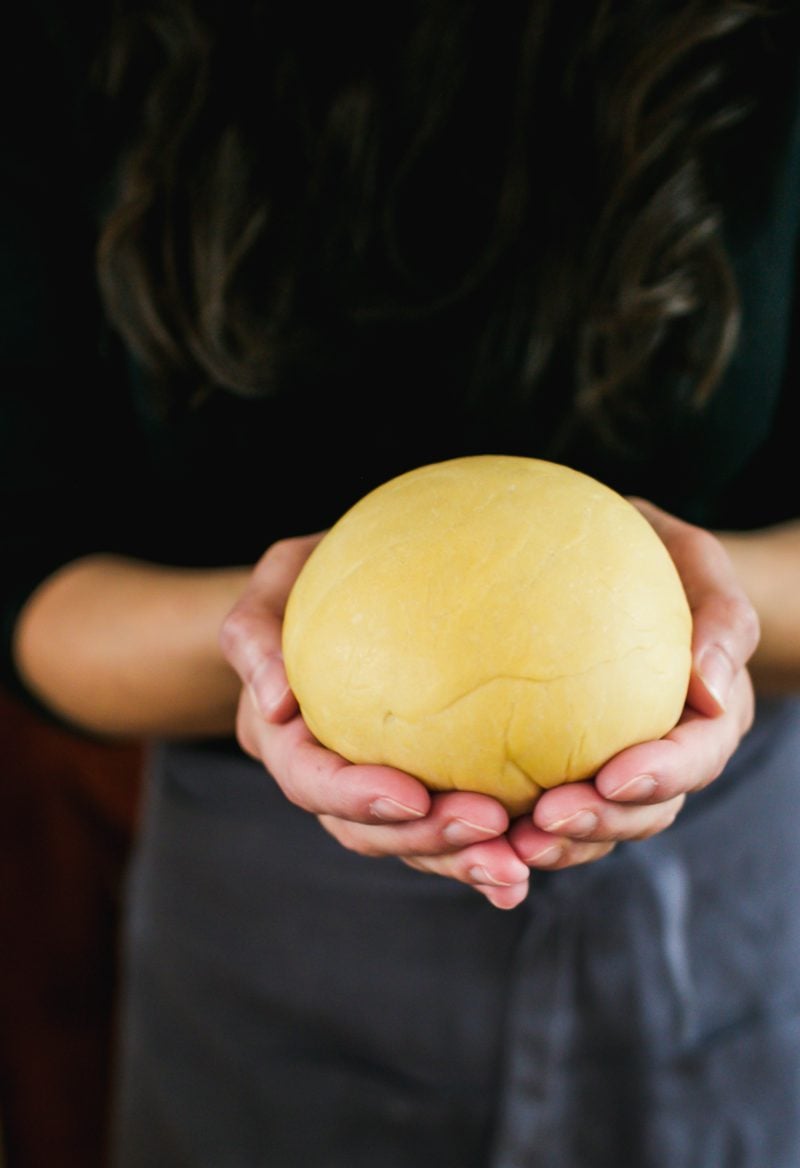
Step 1: Make Pasta Dough
I do this in the food processor. It’s the fastest method! Process the flour and eggs to form dough, about 15-20 seconds. Remove to your work surface and cover for 5 minutes to relax the gluten.
Then knead dough for 1-2 minutes to form a smooth ball (don’t worry about technique here, the food processor does most of the kneading for you). Cover and rest again for 30 minutes to 1 hour.
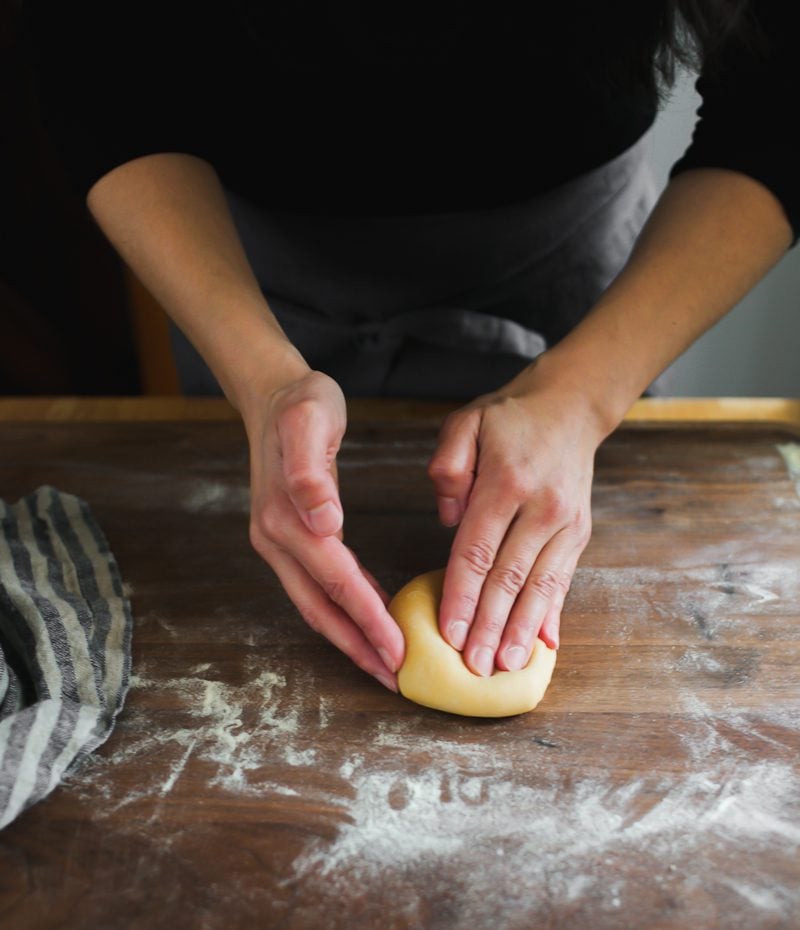
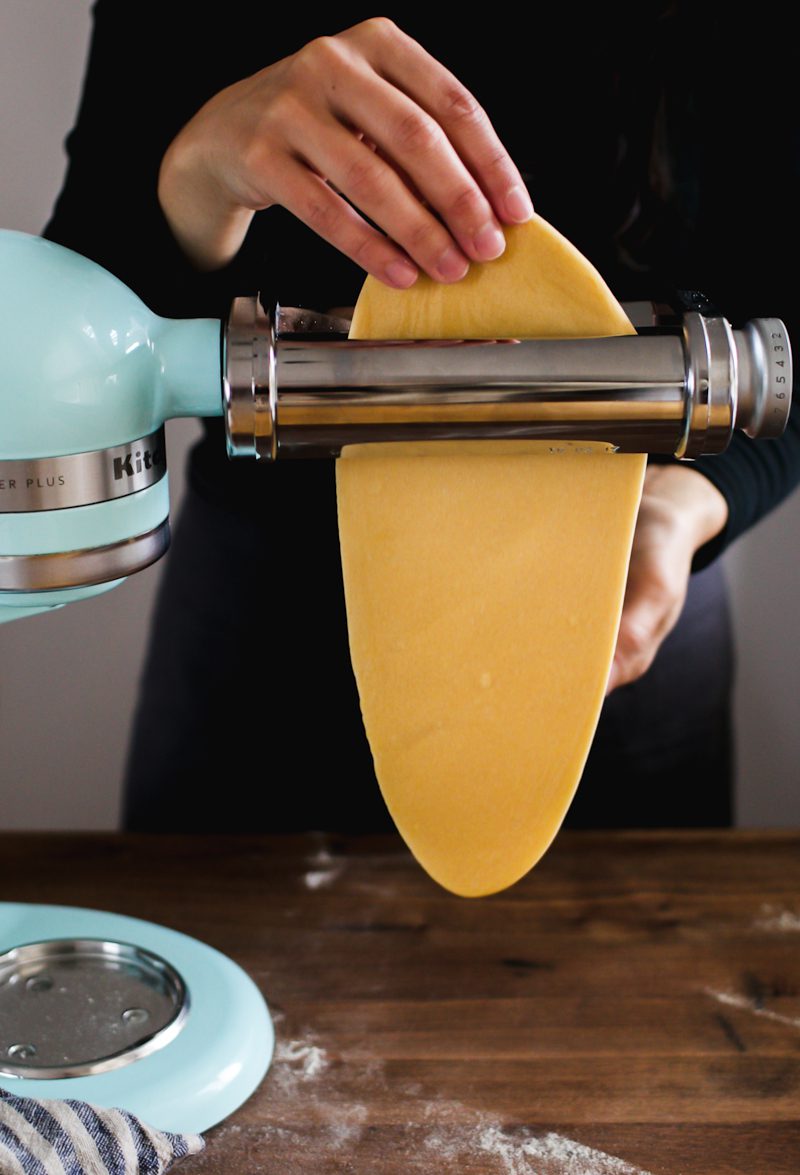
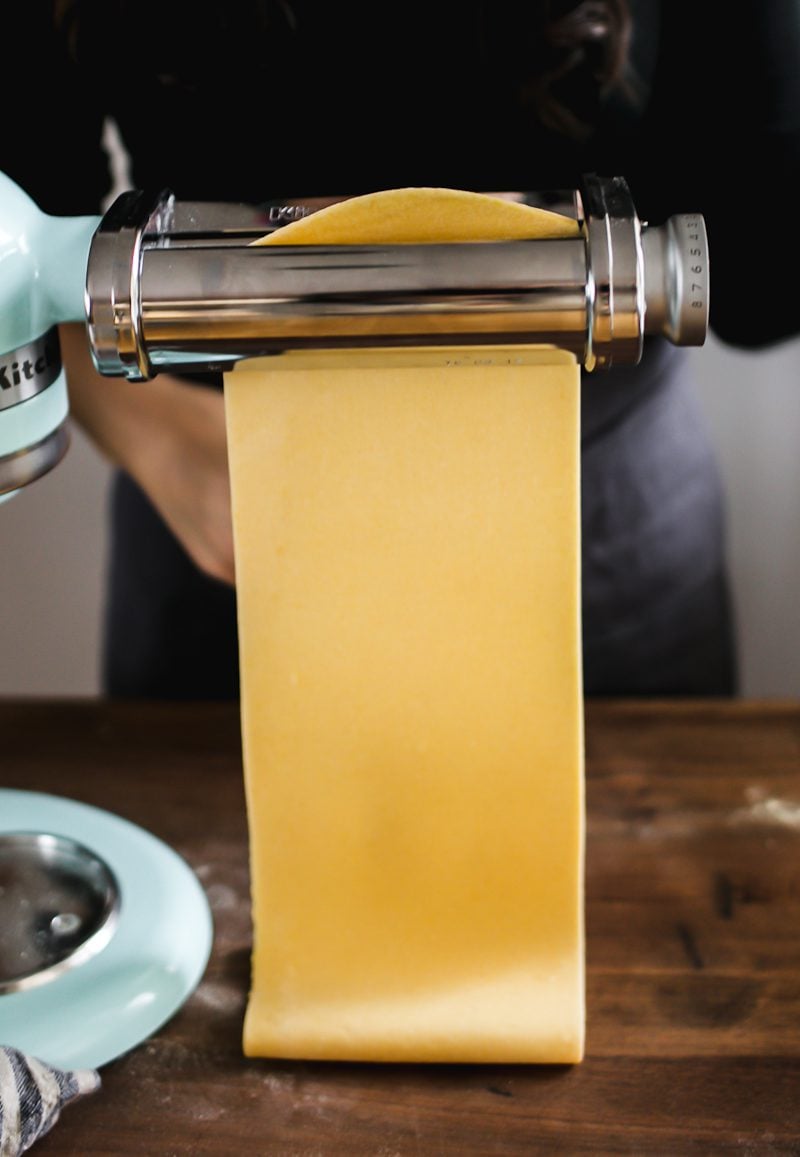
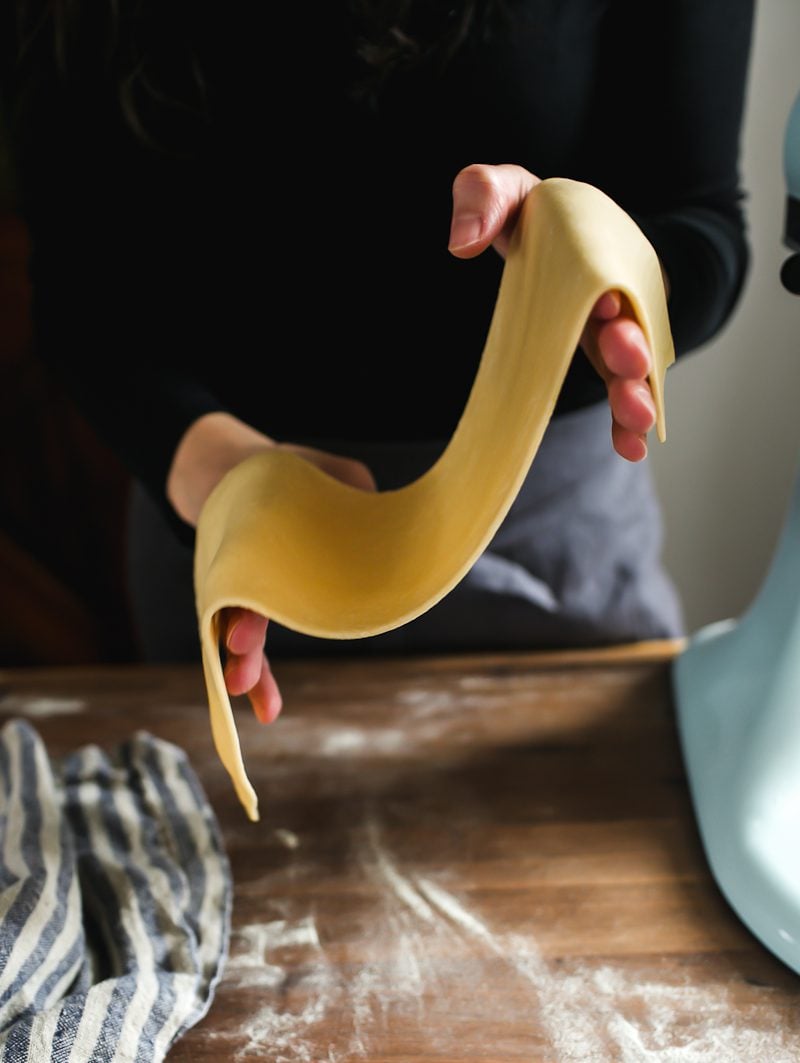
Step 2: Roll Dough Into Sheets
Now, cut the pasta dough into 4 equal pieces. Flatten one piece to fit the width of your pasta machine (re-wrap or cover the remaining pieces so they don’t dry out).
Roll the dough into thin sheets. Start with “#1” on the Kitchen Aid attachment. Send it through 2-3 times. Then continue rolling through settings #2-4 (2x on each setting) until the pasta sheet is slightly translucent and you can see your hand underneath.
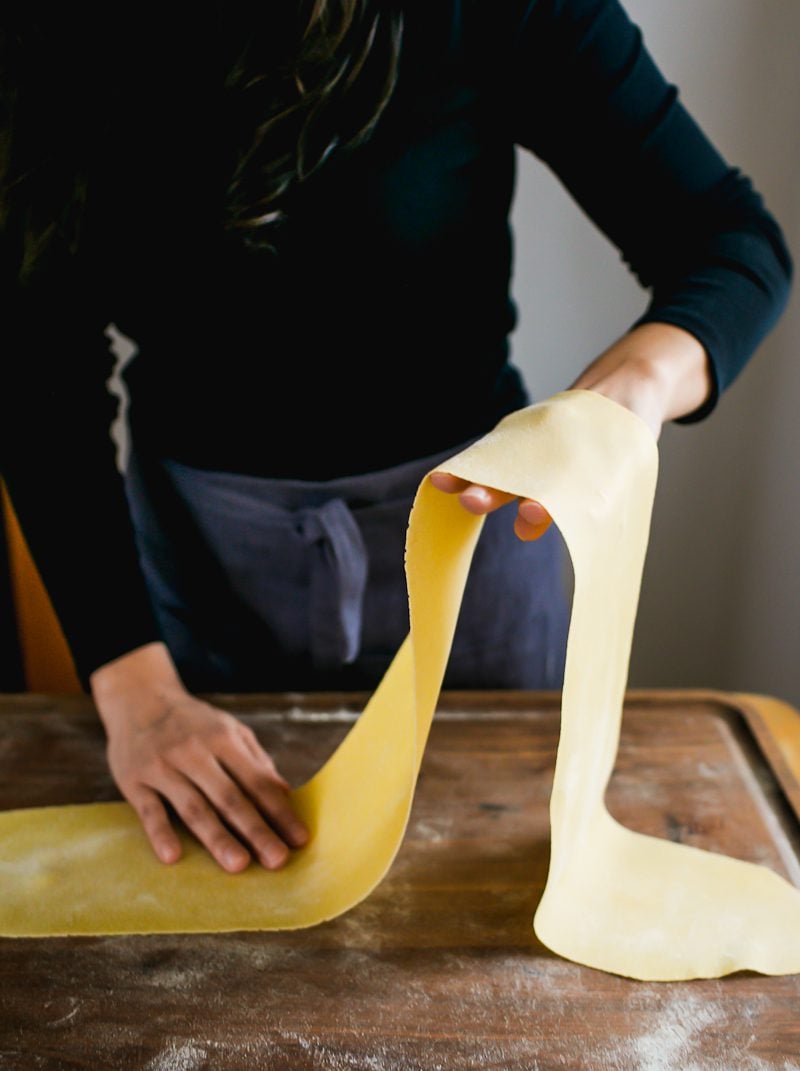
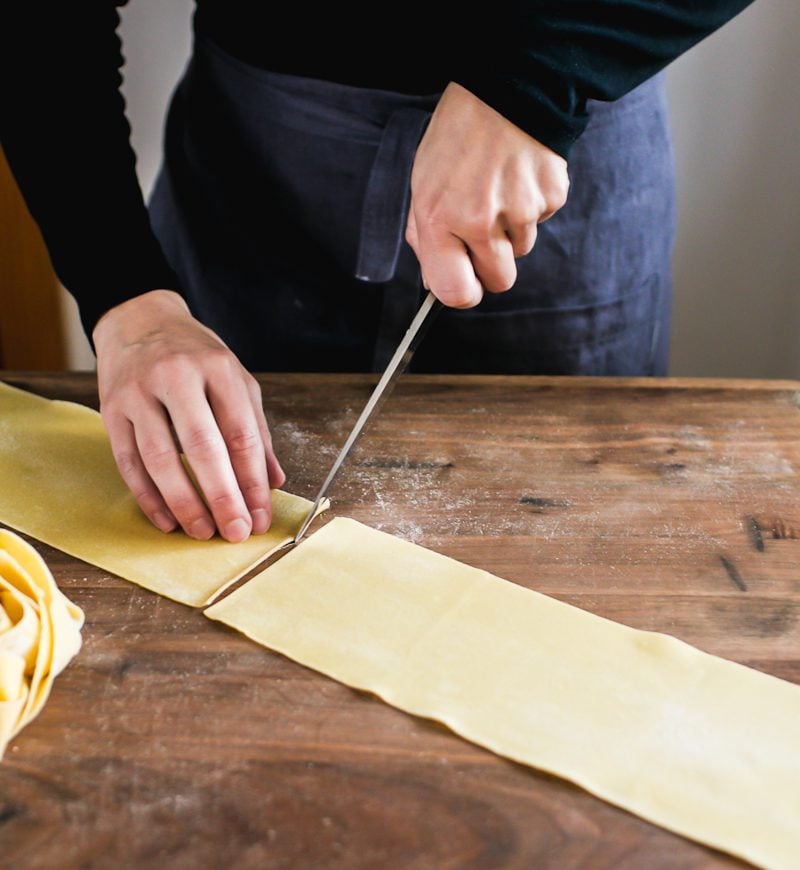
Step 3: Cut Sheets Into Lasagna Noodles
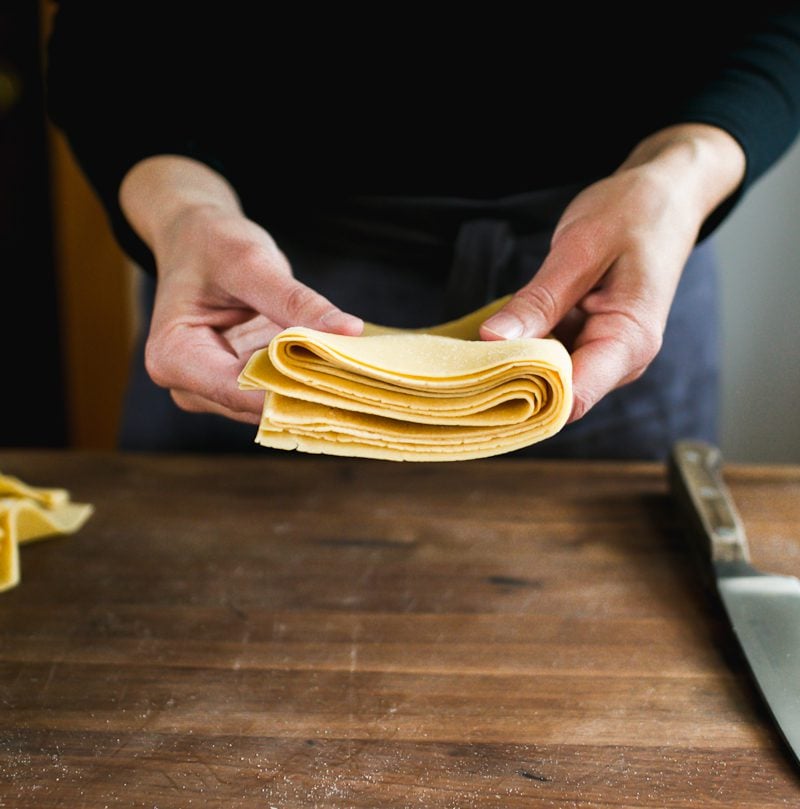
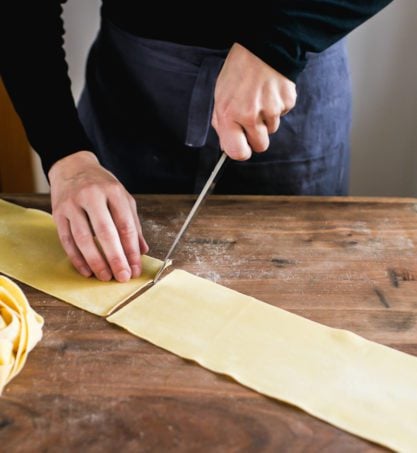
Trim the pasta sheet to fit the dimensions of your baking pan.
For reference, I can get about (3) 5×12-inch long lasagna noodles from one rolled out pasta sheet, approximately 38 inches long. Your length and width will differ slightly from mine. This is normal. The goal is to end up with 10-12 cut lasagna noodles.
To Cook (Or Not To Cook)
The debate is all over the place on this one. According to the Internet, you don’t have to boil fresh lasagna noodles prior to making lasagna.
But experts Marcella Hazan and the Pasta Grannies disagree. Par-boiling is a must. Why? Because fresh pasta absorbs more liquid than dried pasta, par-boiling gives fresh lasagna noodles a head start on absorption (instead of soaking up all your lasagna sauce). What do you think? I’ll let you decide on this one. The instructions are included in the recipe below.
By signing up, you agree to receive emails from The Clever Carrot. Unsubscribe at any time.
Beginner’s Guide to Fresh Homemade Lasagna Noodles
- Prep Time: 1 hours 30 minutes
- Total Time: 1 hour 30 minutes
- Yield: 10–12 lasagna noodles 1x
- Category: Homemade Pasta
- Method: Handcrafted
- Cuisine: Italian
- Diet: Vegetarian
Description
Soft, silky, homemade lasagna noodles are at your fingertips! My recipe and method yields enough lasagna noodles to fit a standard 9×13-inch pan (or something similar) which feeds up to 6 people. You’ll end up with approximately 10-12 lasagna noodles. Make sure to read my tips below!
Ingredients
Pasta Dough
(1x) Fresh Homemade Pasta Dough (ingredients below) or Sourdough Pasta
- 300 g Tipo 00 Flour*
- 3 large eggs*
- 1 large egg yolk
- Olive oil
- Semolina flour, for dusting
*Note: For the Tipo 00 flour, I recommend Molino Grassi or Caputo. For the eggs & yolk, the total combined weight (cracked) should be 185 g. Because eggs size vary, make up the difference, if needed, with an extra egg yolk or olive oil. Olive oil makes the dough more soft, supple and satisfying to work with.
Equipment
- Kitchen Aid Stand Mixer (w/ roller attachment) OR Hand-Crank Pasta Machine to roll the pasta dough into sheets.
- Parchment paper (5 pcs). I like pre-cut sheets for convenience
- Sheet pan
- Digital scale
Lasagna Noodle Tips:
- Thin Pasta Sheets = More Lasagna Noodles. The thinner you roll the dough, the longer the pasta sheets will become which will give you more lasagna noodles in the end. Why? It depends on the type/brand of Tipo 00 flour you’re using, how relaxed the gluten is, and if the dough was rolled out properly. For example: when I use Molino Grassi Tipo 00 flour, my pasta sheets are about 36-38 inches long, and I can easily cut 12 lasagna noodles from the full batch of pasta dough. When compared to Anna Tipo 00 flour, which is not my favorite, I can only cut a total of 8 lasagna noodles no matter how long I let the dough rest and relax.
- Different Pasta Machines/Attachments Have Different Settings. To achieve a desired thickness for pasta dough, please refer to the specific instructions that came with your pasta machine. For example: setting #5 on the Kitchen Aid, which is recommended for lasagna noodles, is not the same thickness as setting #5 on the Marcato Atlas hand-crank pasta machine.
- Use Pre-cut Parchment Paper. This step might seem insignificant, but it’s a huge time-saver when layering the lasagna noodles. The parchment paper can be reused.
Instructions
Step 1: Make Pasta Dough:
Add the flour and eggs to a food processor fitted with the metal blade. Process to form dough, about 15-20 seconds. Remove to your work surface and cover with an upturned bowl for 5 minutes. Then knead the dough into a smooth ball, about 1-2 minutes. Cover again, and let rest for 30 minutes to 1 hour relax the gluten. Use this downtime to set up your work station in the next step.
Set up your work station: Choose a large, clutter-free work surface to spread out (I like the kitchen table). Dust your work surface and the pasta machine/roller with semolina flour to prevent sticking. Line a sheet pan with parchment paper, no overhang. Cut 4 additional pieces of parchment paper to layer in between the lasagna sheets as you roll them out; set aside.
Step 2: Roll Pasta Dough Into Sheets:
Cut the pasta dough into 4 equal pieces. Flatten one piece into an 5×8-inch long disc (re-wrap or cover the remaining pieces so they don’t dry out). A rolling pin helps with this step.
Send the disc through the roller on the widest/lowest setting. This is “#1” on the Kitchen Aid attachment. Send it through 1-2 more times. Note: remember, if using a hand-crank pasta machine, refer to their specific instructions for rolling pasta sheets for lasagna. The process is the same, but the settings might be different.
Continue to roll the dough through settings #2-4 (2x on each setting), dusting with semolina flour in between if the pasta gets sticky. You can also cut the sheet in half if it gets too long. The pasta sheet is ready when it’s slightly translucent and you can see your hand underneath, about .60 mm thick. For even thinner noodles, go up to setting #5.
Step 3: Cut Lasagna Noodles:
Trim the pasta sheet to fit the dimensions of your 9×13-inch baking pan. Place onto your parchment-lined sheet pan in a single layer. Cover with another sheet of parchment paper so they don’t dry out.
Repeat to roll and cut the remaining 3 pieces of pasta dough, layering in between the remaining pre-cut sheets of parchment paper. You’re looking to end up with 10-12 lasagna noodles total. When finished, select a storage option below.
How to Store Lasagna Noodles
- At Room Temperature (1 hr.): arrange lasagna noodles on a parchment-lined sheet pan in a single layer. Cover with another sheet of parchment paper so they don’t dry out. Layer and repeat, ending with parchment paper on top. Cover tightly with plastic wrap and store at a moderate room temperature for up to 1 hour. Alternatively, use an airtight container.
- To Refrigerate (12 hrs): arrange lasagna noodles in between layers of parchment paper as indicated above. Chill up to 12 hours. Fresh pasta tends to oxidize and discolor after this timeframe. However, this will not effect the taste.
- To Freeze (1 month): arrange lasagna noodles in between layers of parchment paper in an air-tight container. Freeze up to 1 month. Defrost before using; they are easier to handle without breaking.
How to Dry Lasagna Noodles
Line (2) wire cooling racks with kitchen towels. Arrange semolina-dusted lasagna noodles on top in a single layer. It’s important for the air to circulate underneath the lasagna noodles. Let air-dry, at room temperature, for up to 24 hours. The exact drying time will vary according to season (i.e. faster in winter, slower in summer). The lasagna noodles are fully dry when they snap in half with a clean break. Store in an airtight container for up to 1 month.
How To Par-Boil Lasagna Noodles: Plunge 2 lasagna noodles into a pot of boiling, salted water. Par-boil for 30 seconds or so. With a slotted spoon, transfer to a colander and immediately run under cold water to wash the starch off (otherwise the noodles will stick) and to halt the cooking process. Place onto clean kitchen towels, separated, to dry. Use right away or store in an airtight container, separated by layers of parchment paper to use later on.

Comments
Heather Allen says
After you dry them for 24 hours, do you have to boil/cook them before making the lasagna?
Cathy says
Lasagna with homemade noodles is a definite game changer! Can I par-boil the noodles and assemble the lasagna the same day only to cook the lasagna the next day?
Denise Stiles says
Emilie~ Thank you for posting with savor.
If you were to measure your lasagna pan would you measure the bottom or the top of the pan. And, would you freeze a fresh spinach pasta lasagna recipe? I am in the habit of freezing lasagna for company for ease. I would not preboil the pasta.
Annette says
Can this be assembled a day ahead and then baked?
Evan says
Thanks for the informative video.
I wish I could watch you demonstrate the final step: cutting the noodles into strips. Do you use the scalloped pastry cutter tool and how wide do you like to make them.?
Jessica says
This is the easiest pasta dough recipe I’ve tried so far. Despite not needing to knead by hand endlessly, the pasta had incredible chew. We are going to be eating a whole lot more fresh pasta now!
Cari Roth says
Can you use dried homemade noodles in a lasagna without parboiling? That step is the hardest IMHO.
Jean says
Hi I would like to make lasagna noodles with this recipe. Is it necessary to dry them? I do not have a drying rack. Can I put them on parchment paper dusted with semolina to dry out or is there something else you recommend?
Magnolia says
Nope. I made them without drying and then came out perfect! Some people like to parboil some don’t, if your sauce isn’t very wet, you should parboil, if your sauce is very wet you can skip this step.
Kristal Mathis says
Hello! I made them for the first time and dried them. I’m assuming I need to boil them before I use them in the lasagna?
Carlos Calvo says
Great recipe and instructions.
I altered it just a bit, but essentially followed the recipe.
Grazie!
Joanna says
Do I have to use Semolina flour or can I just use all purpose flour?
Emilie Raffa says
You can use all purpose flour, it’s just more absorbent compared to semolina. But it will work!
Michael S says
Thank you SO MUCH! I made this today and it was fun and turned out great! You helped to make something intimidating easy to understand and do with your great step-by-step instructions and pictures. Thank you for your help and sharing your talents! They and you are a true gift!
Marilyn Grimaldi says
I really appreciate the information you add to the recipes. Everyone is not on the same skill level. Thank you
Missy says
This is the exact same recipe I’ve used for years! If the house is drier I may add a little more olive oil or even a bit of water. This recipe is very forgiving and customizable by adding basil and other herbs/spices Great post very detailed!! I have tried using all semolina and thats a headache! This is much easier
David says
Just wanted to thank you for putting together these super clear instructions (and video). Using the Tipo 00 flour as recommended made the pasta so easy to work with and I added very little flour to keep the dough from sticking when rolling. Usually my cooking efforts never resemble the video instructions (like when stretching pizza dough) but with this recipe my noodles ran through the rollers in a silky smooth process just like your video.
Like one of the other commenters I was a little confused about the amount of olive oil so I read through the instructions more carefully and saw the 185g weight for eggs + olive oil. I had to add 5g of oil to my egg mix.
I also appreciated that you added instructions on cooking fresh lasagna noodles. I used the par-boiling method as recommended. The noodles came out well so no complaints there.
Thanks again.