Learn how to make ultra-creamy, 4-ingredient homemade ricotta in under 1 hour including straining time. Follow my step-by-step recipe instructions and video. It’s light, fresh and creamy!
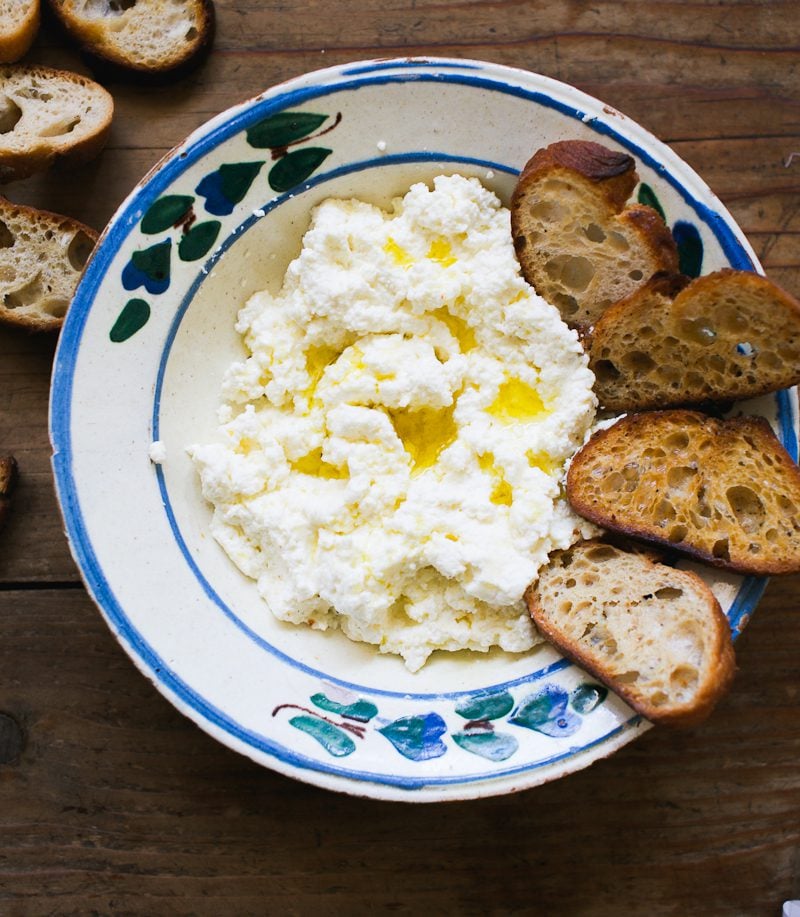
Made with nothing more than whole milk, lemon juice, cream and salt, this fluffy, homemade ricotta was an instant hit.
Compared to store-bought, it’s a totally different beast: creamier, less grainy, and not nearly as wet. The texture is curiously cloud-like, with a light and delicate taste. How?
This post simplifies the process, step-by-step: just four ingredients, no special tools, and less than 1 hour from start to finish.
And here’s what I know: whether folded into my one-bowl Italian almond cake, dolloped on homemade pasta with pomodoro, or tucked into ravioli, it’s guaranteed to make anyone weak in the knees.
Why This Recipe Works:
- Whole Milk & Cream. I use a simple combo to emulate the richness of sheep’s milk, the traditional milk used in Sicilian ricotta. My ratio is 3:1 (milk to cream).
- Resting for 10 minutes before straining is key— it ensures a light, delicate and fluffy ricotta.
- Small batch recipe. Ricotta is best fresh, and doesn’t last long in the fridge (about 4 days). This recipe makes about 1 heaping cup (265 g).
But Please, Don’t Call It Cheese.
I don’t care what the internet says. Technically, ricotta isn’t cheese. Here’s why: ricotta means re-cooked. After making a cheese like Pecorino, the leftover whey is heated a second time, until the curds float. The curds are then strained to make ricotta. So it’s a by product of cheesemaking, not a fermented cheese.
Modern homemade versions (like this one) skip the whey entirely. Instead, you heat the whole milk and lemon juice to form curds. Same result. Easier method. I learned this reading American Sfoglino. You’ll be re-creating that same process here.

Ingredients (And What To Look For)
- Whole Milk (not ultra pasteurized): I recommend whole milk for the creamiest texture. 2% or 1% milk will work, but it won’t be as rich. Avoid ultra pasteurized milk. It won’t curdle properly. Choose good-quality pasteurized milk, regular or organic. This recipe was successfully tested with Whole Foods 365 Organic Milk, Horizon Milk (please check the label- some cartons are a mix of pasteurized & unpasteurized) and Trader Joe’s Organic Milk.
- Cream: Heavy cream or whipping cream works well. Surprisingly, ultra-pasteurized cream is fine here.
- Lemon Juice: The acidic ingredient that curdles the milk and cream. It does not impart a tangy taste unless you add more than what’s indicated in the recipe. Substitute with white vinegar or red wine vinegar.
- Salt: I prefer just a pinch, about 1/4 teaspoon of fine sea salt to enhance the creamy flavor.
How To Make Homemade Ricotta {Step-By-Step Recipe}
Step 1: Heat Your Base Mixture
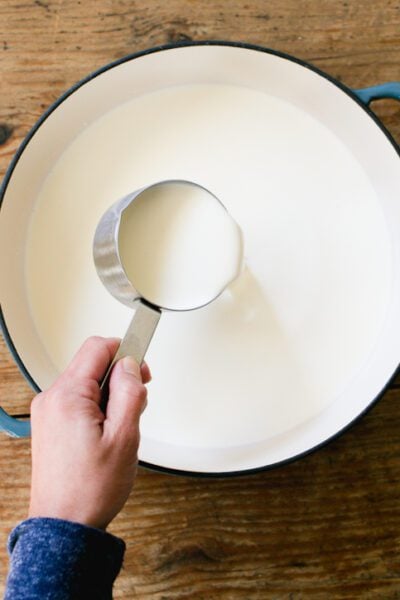
Combine the milk, cream and salt in a heavy bottom pot. Bring to a rolling, gentle boil— about 200-206 F/ 93-97 C. Stir slowly in a figure-eight motion to prevent sticking or scorching, which can make the ricotta taste bitter.
Tip: Don’t boil aggressively, or you’ll end up with tough, rubbery ricotta.
Step 2: Add Lemon Juice & Let It Rest
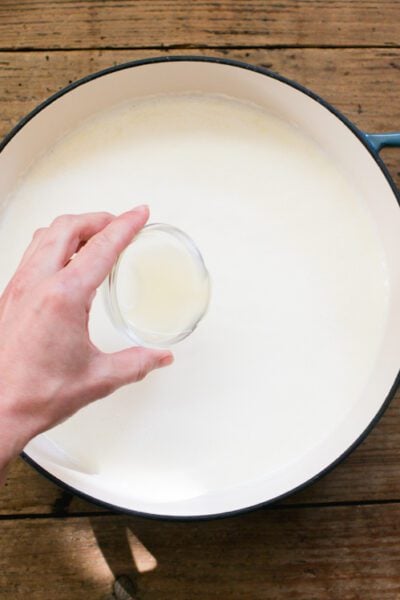
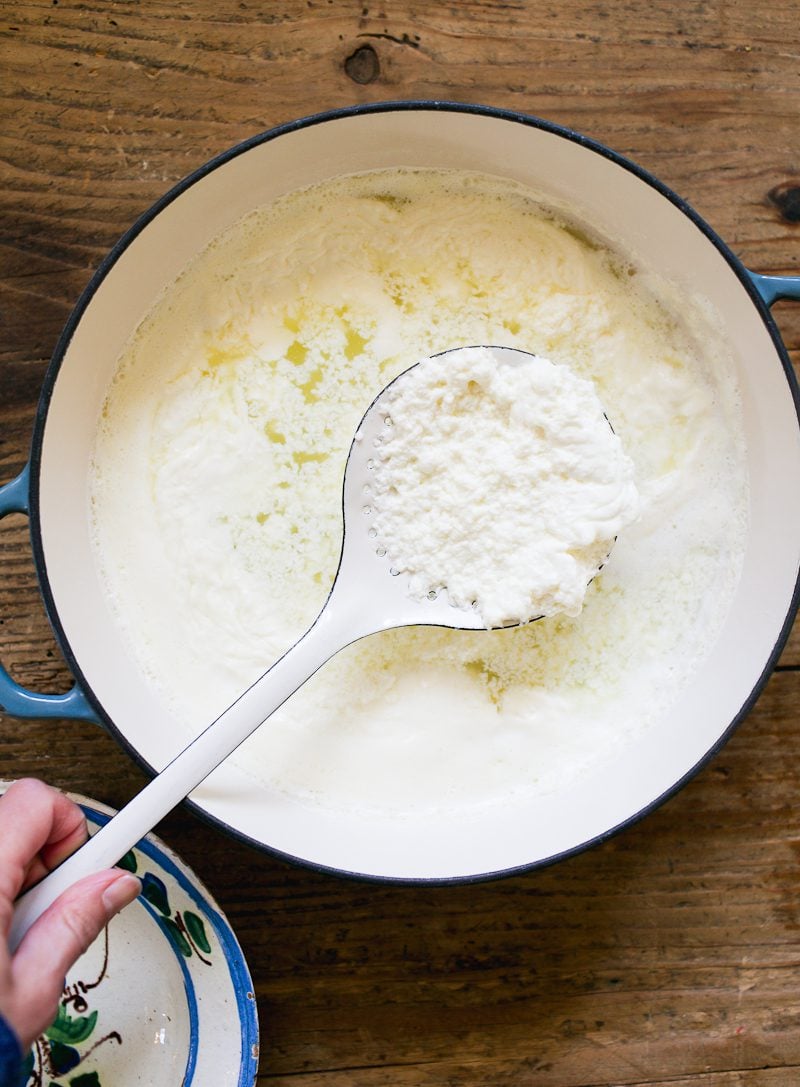
The next steps happen fast. Do not walk away! Add the lemon juice, stir twice, and turn off the heat. Let it rest (untouched) for 10 minutes. Do not stir. During this time, fluffy curds will start to form and float to the surface.
Step 3: Strain The Curds
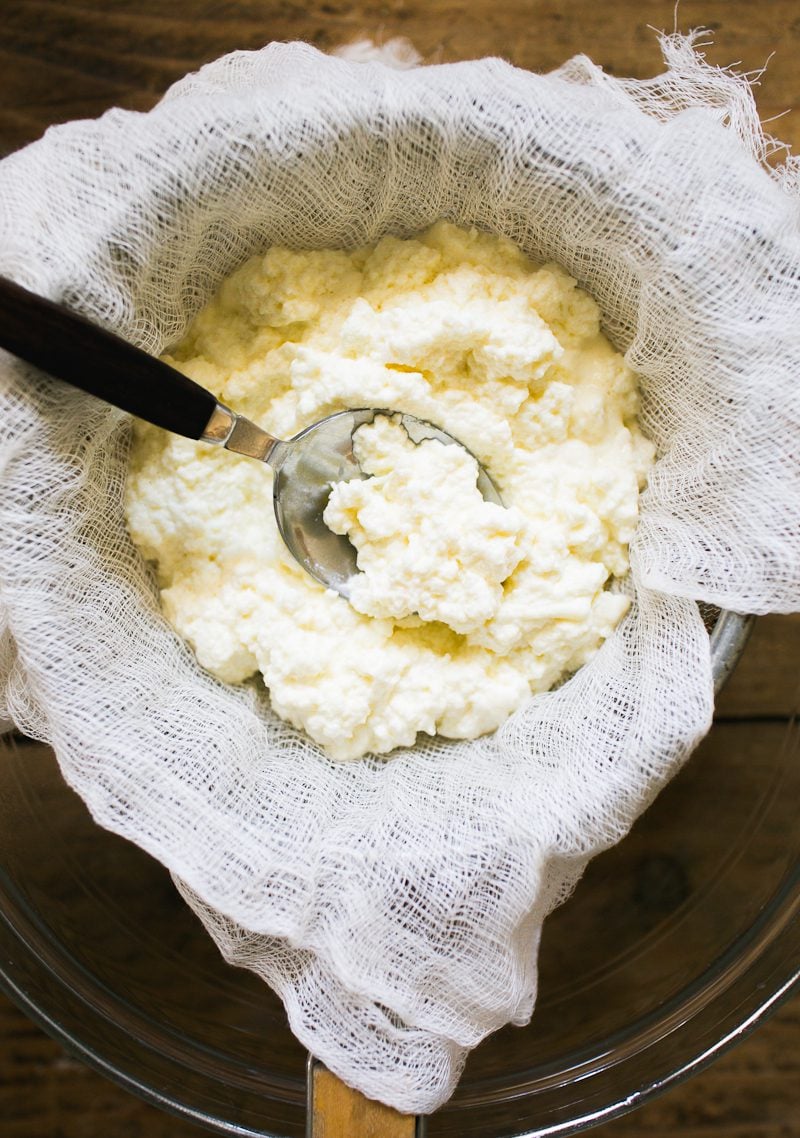
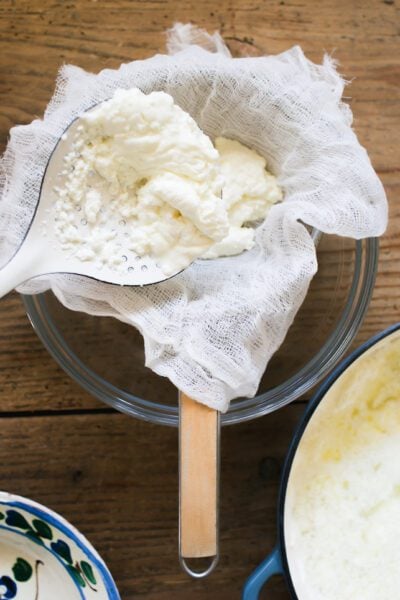
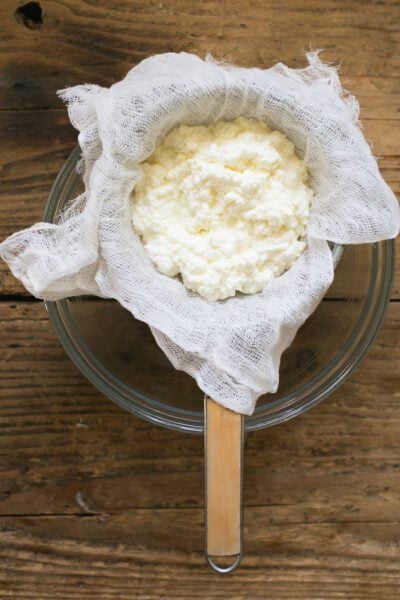
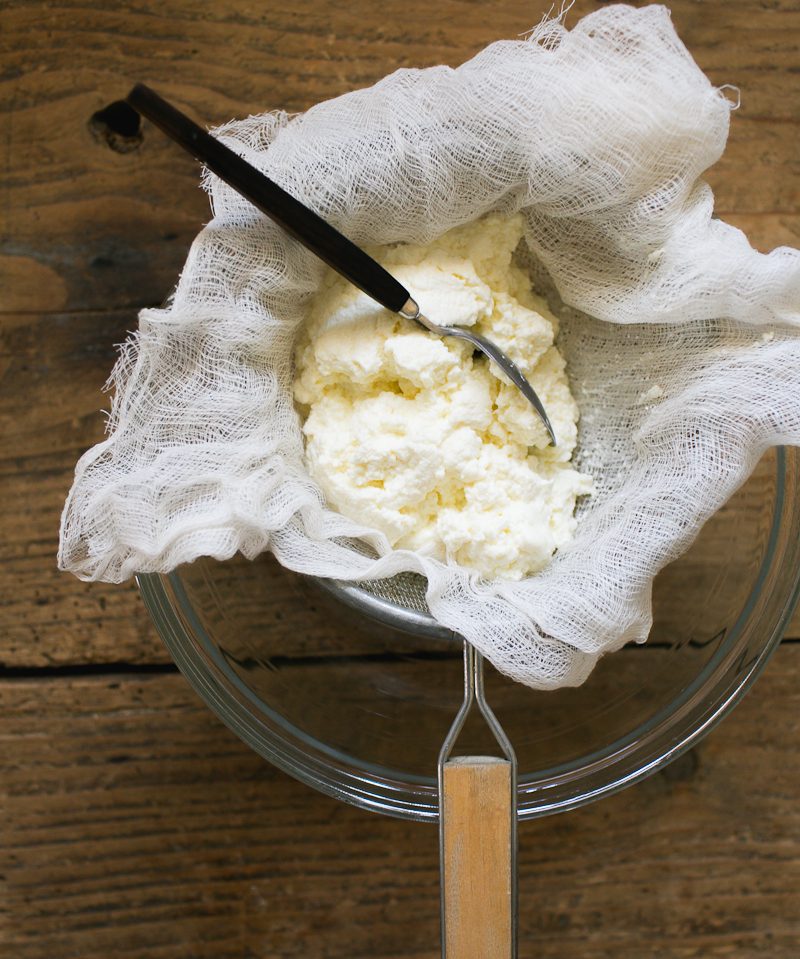
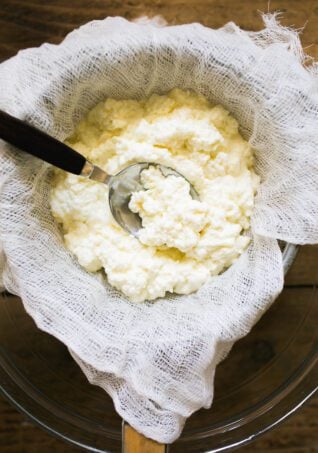
With a slotted spoon, gently transfer the ricotta curds to a cheesecloth-lined strainer set over a large bowl. Let strain for about 10-15 minutes for light and fluffy ricotta.
Tip: For drier ricotta, strain it longer. The texture will still be spreadable; just different. The desired consistency is ultimately up to you.
Step 4: Serve Warm or Chilled
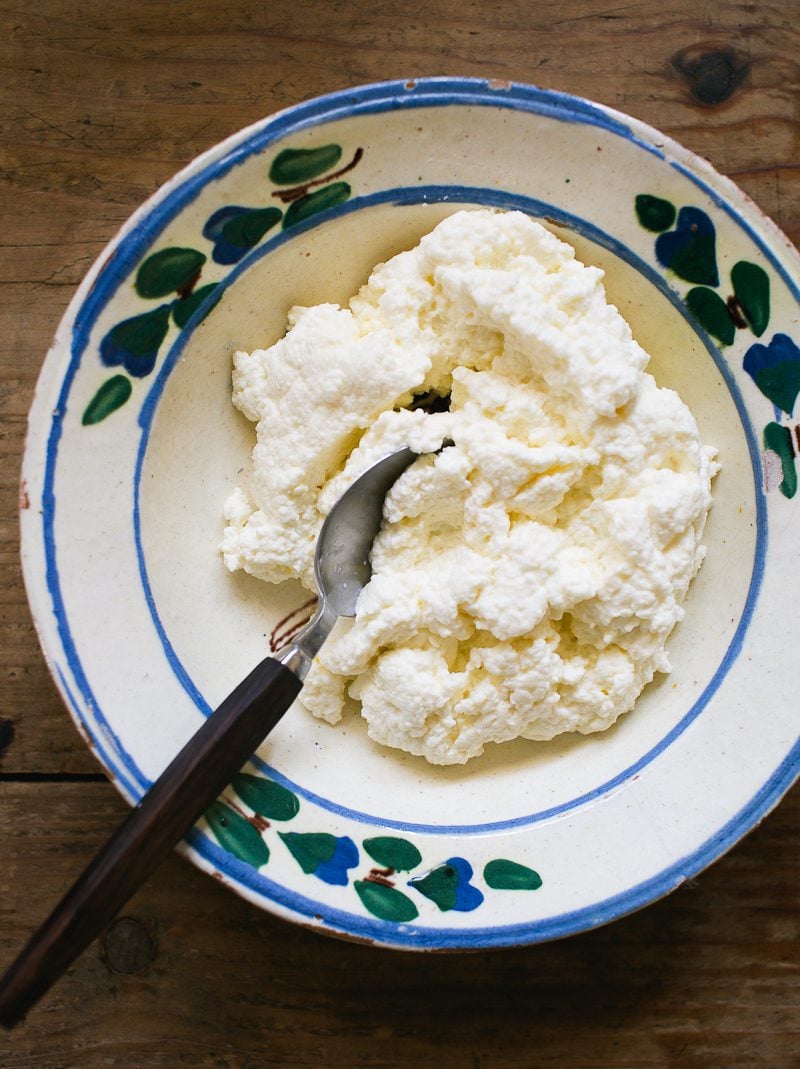
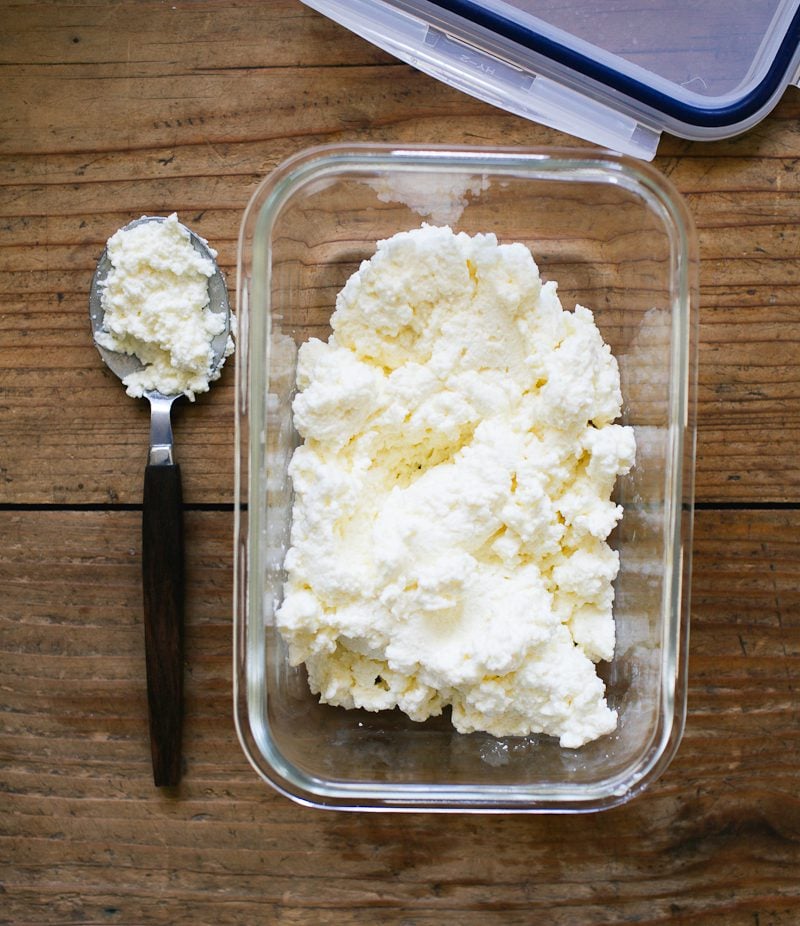
Once strained, the ricotta will be warm and cloud-like. Use right away, or transfer to an air-tight container and refrigerate for up to 4 days.
Good To Know:
- Understand texture. When the ricotta is strained at room temperature, it will be light, fluffy and warm. When chilled in the refrigerator, it becomes more creamy, slightly dense and cold. Both textures and temperatures can be used for a wide variety of ricotta recipes and dishes.
- Use a thermometer (optional). Most ricotta recipes recommend heating the milk and cream to a specific temperature. Use a digital thermometer to double check. If you don’t have one, just look for visual clues: the mixture should come to a rolling boil, with frothy bubbles around the sides and in the center of the pot.
- Save your cheesecloth. Wash used cheesecloth in mild, soapy water and rinse clean. Drape over the back of a chair to air-dry.
- Don’t use ultra pasteurized milk! I mentioned this earlier, but I’m going to say it again just in case you missed it! Ultra pasteurized milk doesn’t not curdle properly for ricotta. Use regular pasteurized milk instead.
To Make It Ahead:
Ricotta can be made up to 4 days in advance and stored as indicated above. Compared to freshly made ricotta, the texture will be more firm due to extra chilling time in the refrigerator. Use the ricotta cold or bring to room temperature first.
What To Do With Leftover Whey?
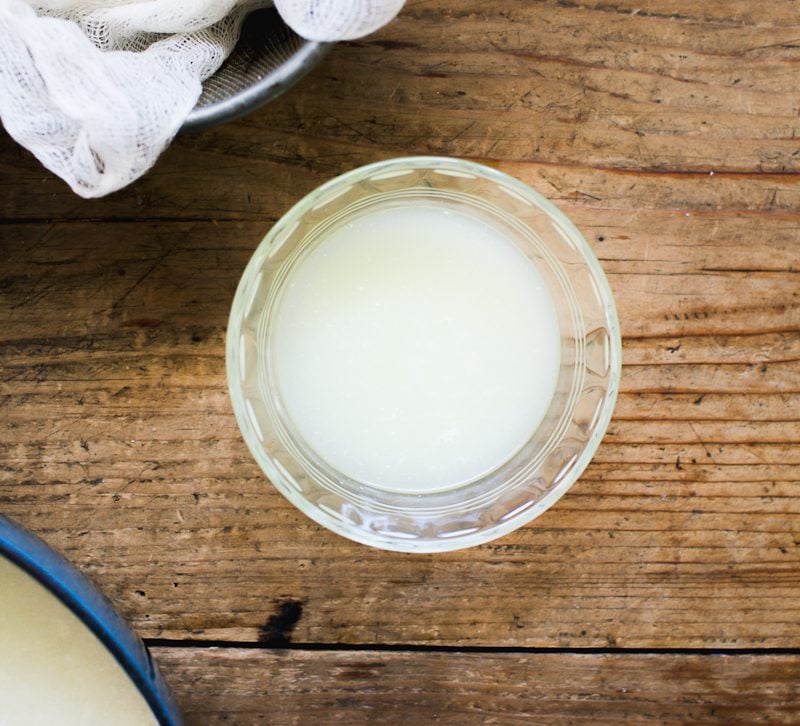
After straining the ricotta, you’ll get leftover whey at the bottom of the bowl. You can either toss it, or make something else. Taste it first. It’s a little tangy and salty, so I recommend adding whey to recipes where this flavor profile makes sense: sourdough bread, sourdough focaccia and/or sourdough pizza crust. Additionally, it can be used in smoothies and to ferment vegetables if that’s your thing! Whey will last for a few months in the fridge or freezer; however I like to freeze mine right away (I’ll forget about it otherwise).
By signing up, you agree to receive emails from The Clever Carrot. Unsubscribe at any time.
Ultra-Creamy Fresh Homemade Ricotta {+Video!}
- Prep Time: 25 minutes (resting + strain time)
- Cook Time: 10 minutes
- Total Time: 35 minutes
- Yield: 1 heaping cup (265 g) 1x
- Category: Homemade Ricotta
- Method: Boil
- Cuisine: Italian
- Diet: Vegetarian
Description
This easy, ultra-creamy, 4-ingredient ricotta recipe is super simple to make. All you need is milk, cream, lemon juice and salt, plus cheesecloth and a fine mesh strainer. Ready in less than 1 hour, including straining time. This is a small batch recipe, about 1 cup, which is perfect for most recipes, like cookies and ravioli filling- no waste. Method adapted from American Sfoglino.
Ingredients
- 3 cups whole milk (DO NOT USE ultra pasteurized milk)
- 1 cup cream (ultra pasteurized is fine)
- 1/4 tsp fine sea salt
- 2 tbsp fresh lemon juice, strained
Notes, Tips & Substitutions:
- Read the entire recipe a few times before starting. Some of the steps happen quickly!
- Do not use ultra-pasteurized milk; it won’t curdle properly.
- White or red vinegar can be used instead of lemon juice.
- If doubling the recipe, you won’t be able to drain the mixture in a 7 or 8 inch strainer; it won’t fit. Work in batches and adjust your strain time accordingly. Or use 2 strainers if you have them.
Instructions
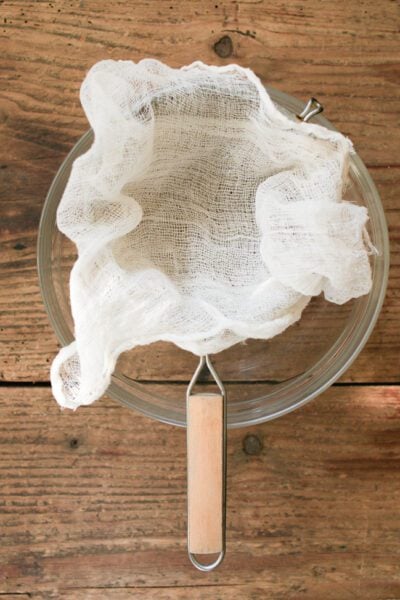
- Line a fine mesh strainer with a double layer of cheesecloth. Set over a large, deep bowl.
- In a heavy bottom pot, add the milk, cream and salt. Adjust the heat to medium-high.
- Bring the mixture to a rolling boil, approximately 200-206 F/ 93-97 C. Do not boil aggressively; the ricotta will be rubbery. Tip: stir the mixture frequently as it begins to heat up. Do this with a wooden spoon in a “figure 8” motion so nothing sticks to the bottom of the pot. Scorched milk = bitter ricotta. The mixture is heated correctly when you see frothy bubbles along the sides and larger bubbles in the center. Use a digital thermometer to check (optional). Once the mixture has come to a boil, the next steps happen quickly and in succession. Do not lolly-gag around!
- In this order: immediately add the lemon juice. Stir only one or two times to distribute. Turn off the heat. Do not stir; the mixture will start to curdle. Let it sit (untouched) on the warm turned off burner for 10 minutes. Small and large curds will float to the surface.
- Using a slotted spoon, transfer the curds into your lined strainer to drain.
- Strain at room temperature, about 10-15 minutes for light and fluffy ricotta. If you want a drier texture, strain for longer. The ricotta will get more firm when stored in the refrigerator; take this in account when estimating your straining time.
- Portion the ricotta into an air-tight container. Store in the fridge, for up to 4 days. Enjoy!

Comments
Soroor says
Can I halve the recipe?
Emilie Raffa says
Hi there! I haven’t tried it, but I don’t see why not.
Bryan Pickup says
I reckon you forgot to mention when the salt is added Emilie!
Bryan
Emilie Raffa says
Hi there! If you are referring to the video, salt is mentioned around the 40 second mark. It’s also included in the written instructions below. Hope this helps, Bryan!
Alicia says
Great recipe! Very easy and the end product was perfection. Thank you.
Emilie Raffa says
You’re very welcome! Thanks for your feedback Alicia.
Nata says
Have you ever added something to the ricotta such as basil or lemon zest? Would you do it while cooking or after straining and putting in the fridge. I would love to know if you have added to your ricotta to make specific flavored ricotta. Loving your site! So glad I found it!
Emilie Raffa says
Hi there! Oh yes. It’s divine. I’ve done both: thin, shredded basil ribbons + lemon zest = absolute perfection (throw in a dollop of strawberry preserves and it’s really absolute perfection). I add them to the finished strained ricotta, not during the cooking process to keep the color and flavor bright.
Joyce Harko says
Could you use a coffee filter in place of the cheese cloth?
Sae says
The whey is much thicker than water. I don’t think a coffee filter would work.
Emilie Raffa says
This is a great idea. I haven’t tested, so I’m sure about exact specifics. Although admittedly, I’ve used double-lined, high quality paper towels in a pinch with good results.
Carissa says
I used 2 fine mesh strainers nested and I think it worked better than cheesecloth, and with less “waste” stuck to the cheesecloth.
Emilie Raffa says
This is a great idea. Thanks for sharing!
Meghan says
Absolutely delicious!!! I didn’t realize what a difference homemade vs store bought ricotta made. I was worried at first because the ricotta looks kinda runny in the straining phase, but it turned out great after sitting in the fridge.
Emilie Raffa says
I know. Isn’t it great? Such a treat. And yes: it does look runny during the process. But it’s the kind of thing you have to trust and keep going. I’m glad you enjoyed it.
Liz Chatfield says
what should I do if no curds form, can I reheat the mixture with the lemon in?
Kelly says
Thank you!!!
Johna says
I just finished making this ricotta and it’s so light and creamy! Thanks for sharing the recipe and techniques! I’m using it with a mixed berry compote , tucked inside some sourdough crepes I made! This is a fantastic website girl! Well done
Emilie Raffa says
Yum. Yum. Yum. This sounds SO GOOD! Thanks for sharing! (runs to go make crepes now…)
Steven says
So ricotta is the same thing as Indian paneer but with more retained liquid plus added salt? I had no idea.
Jess Haygood says
Just made a batch because I am making it for a spasangna tonight. (Left over skeddi with meat sauce formed into lasagna). This recipe is excellent, and it turned out pretty dang good for my 1st go. Didn’t have a wooden spoon handy, oh well. I have a glass top stove so I had to intermittently remove from burner to prevent scorching. You mentioned a firmer product when straining longer, so I went for a 20 minute strain. THANK YOU!!
Jess Haygood says
Coming back to say this is about my 10th time making this recipe because my family LOVES Italian foods, and I’ve learned how to sweeten it for bagels and fruit dips! Amazing!
A. Cassidy says
It is so simple and so delicious. I love that this recipe only have a few ingredients and the ricotta turned out so creamy. I’ll never buy ricotta cheese at the store anymore. Thanks!
Molly Milner says
3rd time making this recipe….LOVE IT!!!!!
Anne Wilson says
Can you make this with lactose free ingredients
Jenn says
Can you make this with lactose free milk? Please say yes, lol