Have questions about sourdough? This troubleshooting guide offers practical tips and tricks to achieve a bubbly, active sourdough starter.
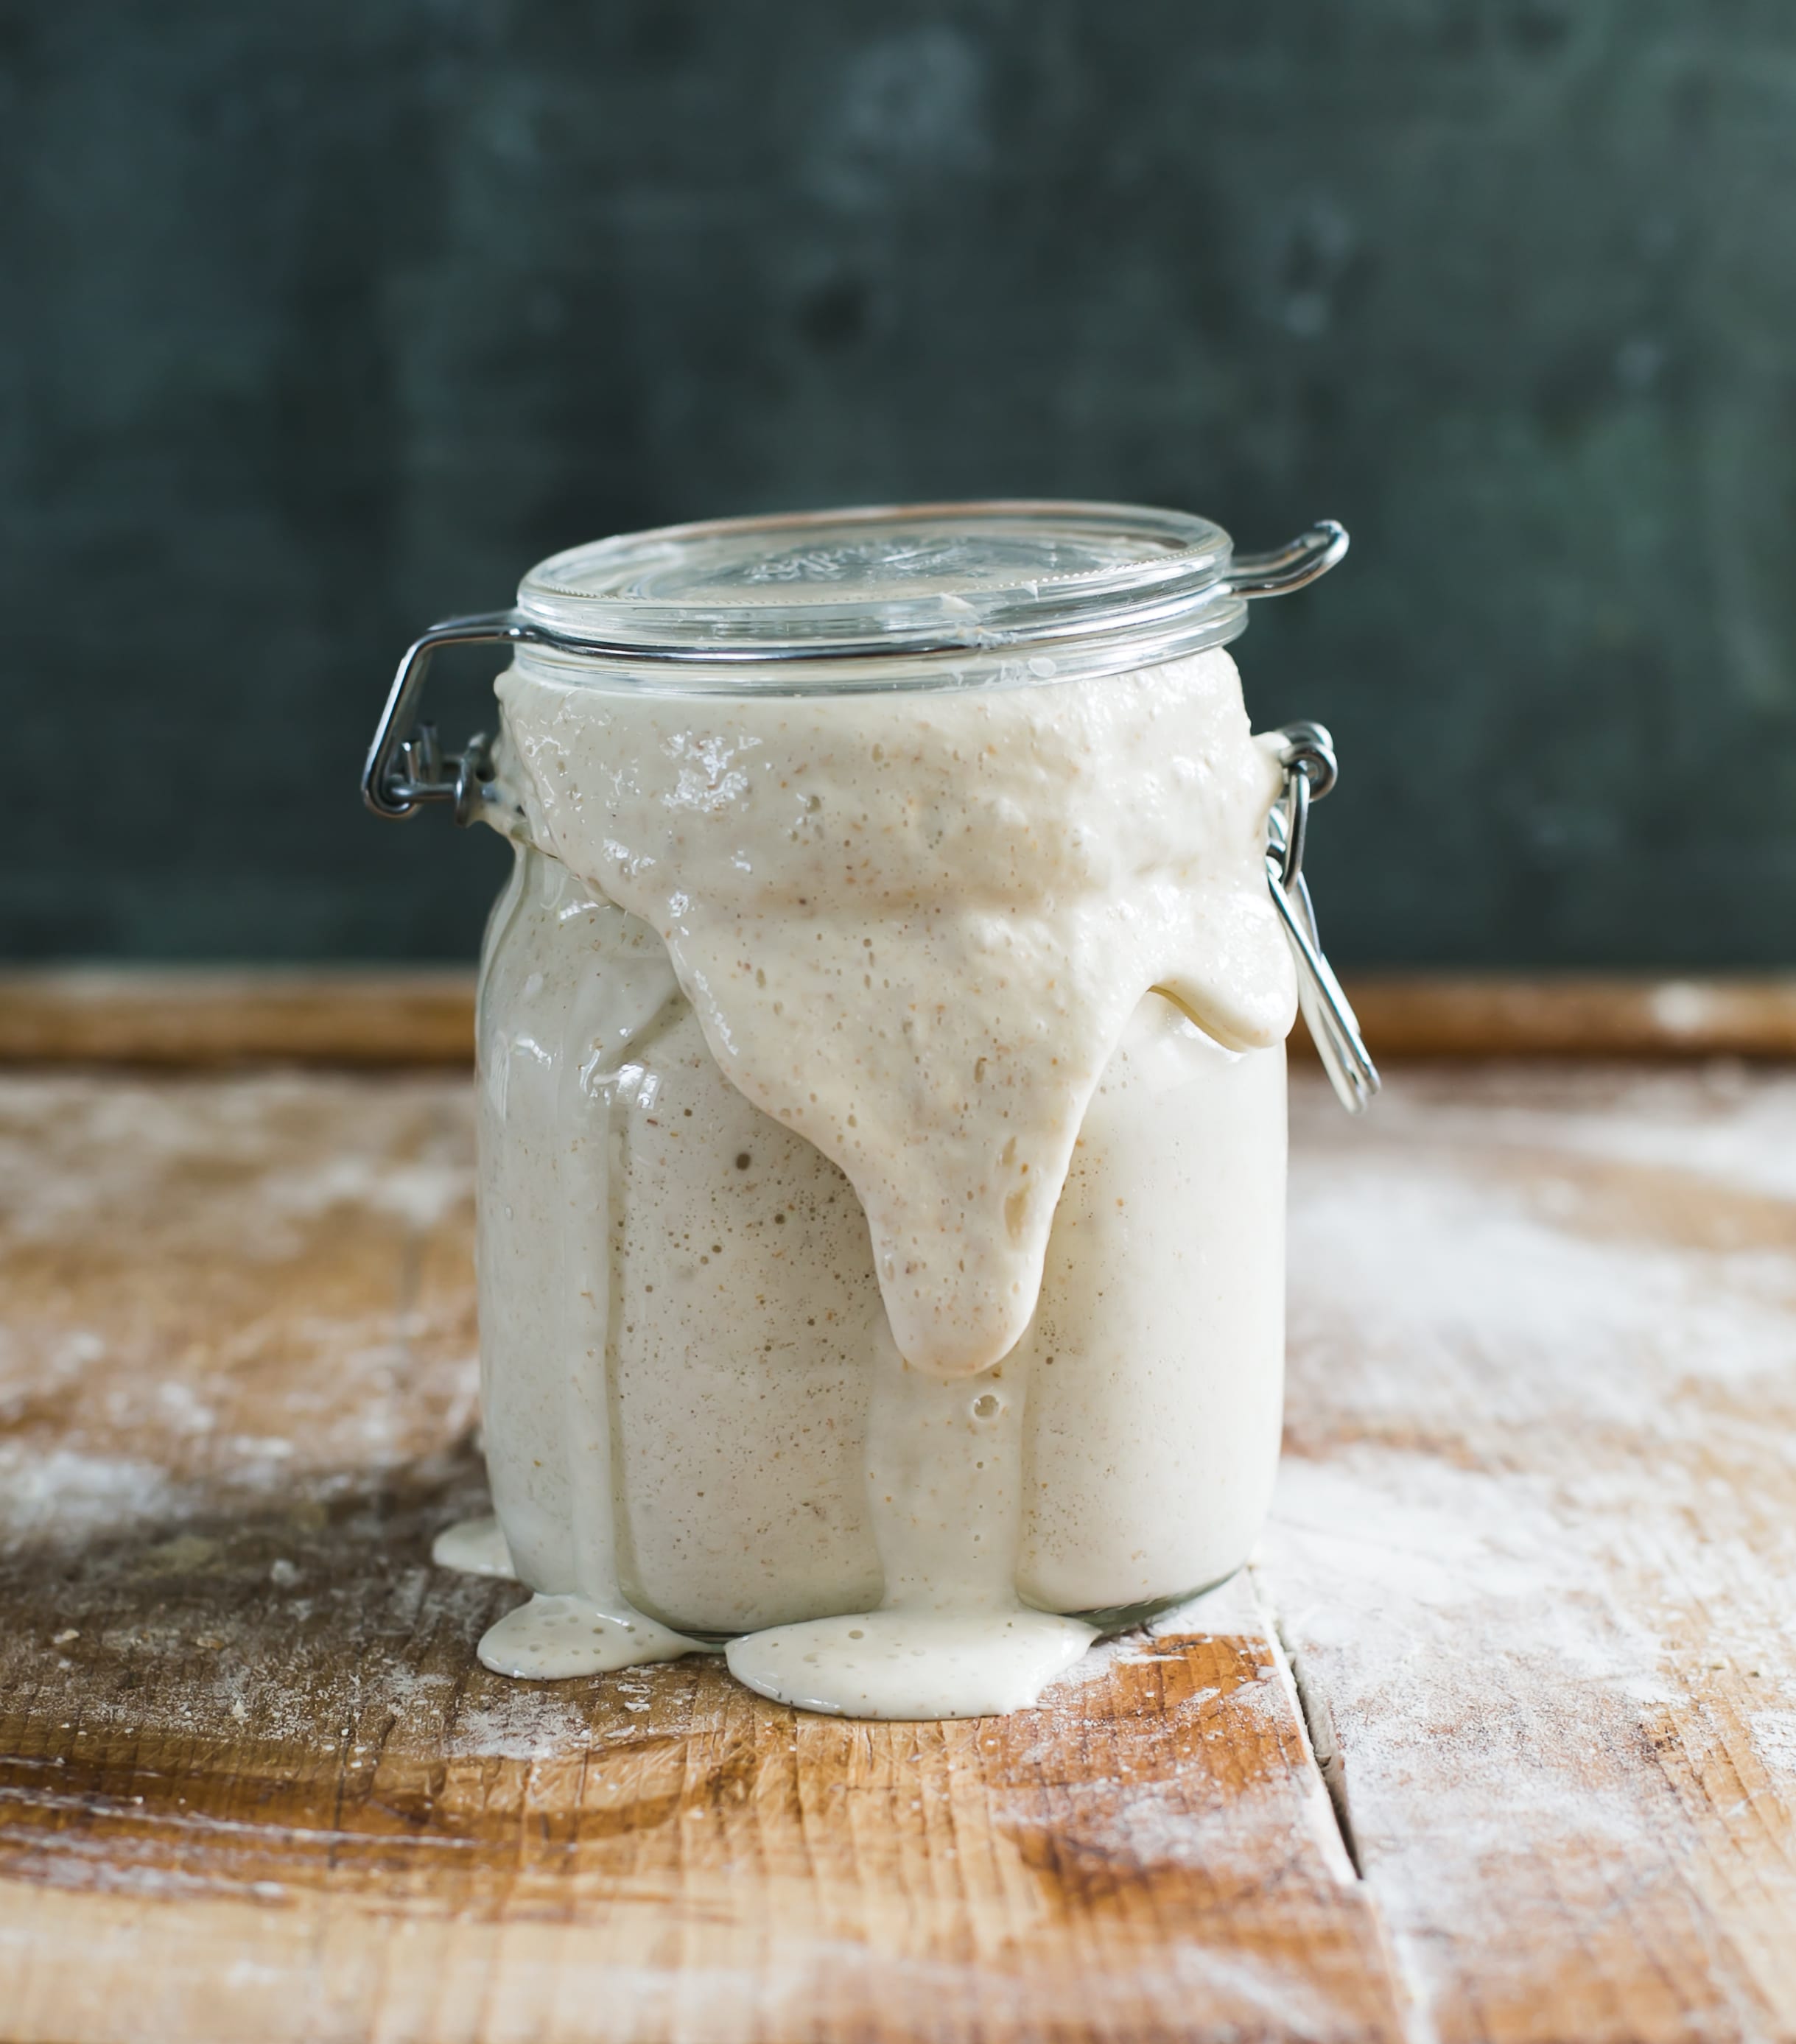
Without a doubt, the most intimidating aspect of sourdough baking is understanding its key element, the starter.
Simply put: a starter is a live fermented culture of flour and water. Once it becomes bubbly and active a small portion is added to a sourdough bread recipe to make it rise- no commercial yeast is required.
Sourdough is a technique that can be traced back thousands of years when instant yeast was not yet available to bakers. Doesn’t sound too scary, right? But there’s a catch…
A starter is not just this “thing” you create and walk away from forever. It must be kept alive and well with additional feedings to maintain its rising power (More step-by-step info here- Feeding Sourdough Starter: My Best Tips & Tricks).
Remember, your starter is a living culture which must be cared for with intent. Otherwise, your bread won’t rise. Think of it like a pet that needs to be fed daily, or a house plant that needs water and a sunny window.
At its core, sourdough is about understanding and committing to an ongoing relationship. As with all relationships, there lies a bit of uncertainty.
You might ask yourself: “Am I doing this right? Why does my starter look different than yours? Why is it taking forever to rise? Is it dead?”
That’s why I’ve put together this article for you. Most of the information is already covered in my book Artisan Sourdough Made Simple, but I’ve included additional details to answer any questions you might have and to open up the topic for discussion.
Two Quick Notes Before You Begin:
1.) To streamline the process, this post assumes you have a working knowledge of a 100% hydration starter, made from equal parts regular wheat flour and water by weight. This is the most common type of sourdough starter. If you don’t have one, try my Beginner Sourdough Starter Recipe.
2.) This post is very comprehensive. Take your time and read through it a few times until the aha moment strikes! Because eventually, it will.
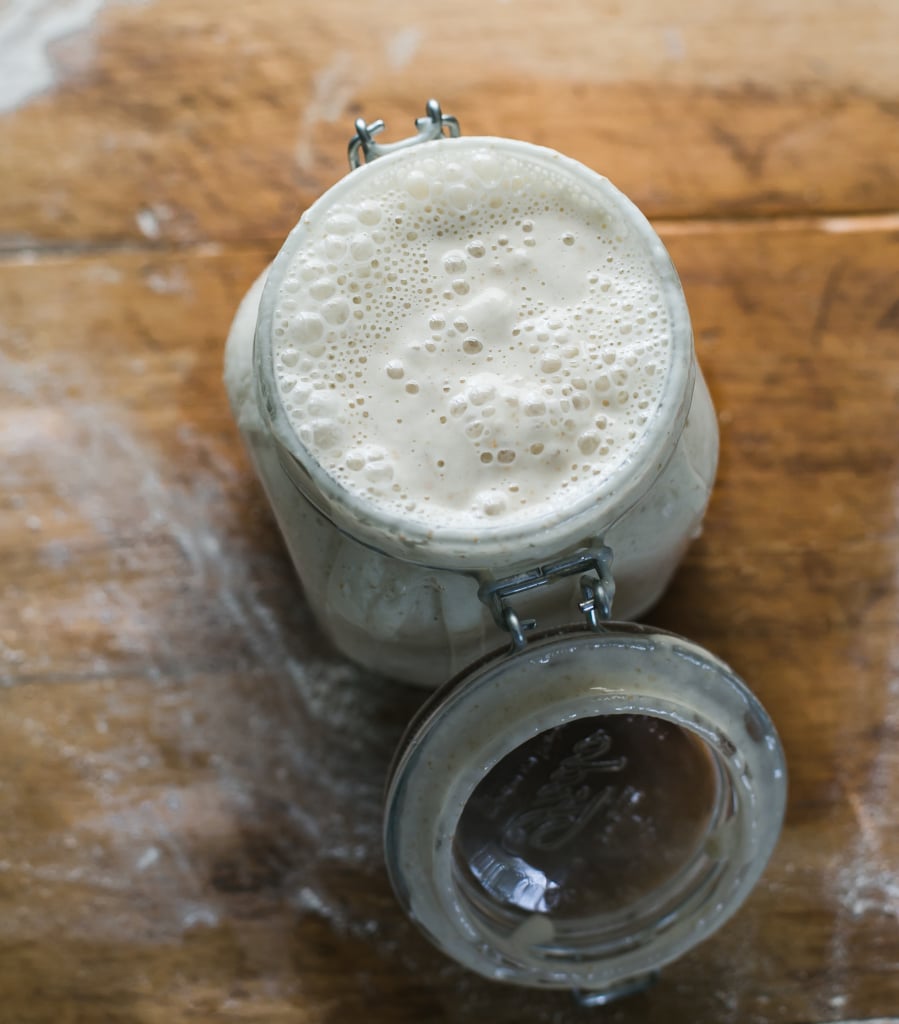
Troubleshooting Your Sourdough Starter
Why Won’t My Starter Rise?
Ahh yes… the million dollar question. It’s like asking: “Why won’t my 2-year-old sleep through the night?”
Because a sourdough starter is a living culture, like children of a certain age, they will definitely share some similarities. Each one will have their own unique personality and the “one size fits all approach” doesn’t always work.
Some bakers use science to explain these personality differences and others observe, follow their intuition and allow the starter to teach them. I implement both techniques.
Keep in mind, when troubleshooting your sourdough starter, it’s usually a combination of factors. In my experience, the rise time is based on temperature, ingredients, feeding frequencies, type of flour & the quantity of flour used.
Temperature
Starters love warm environments. The warmer the spot the quicker it will rise. But realistically, finding a warm spot can be challenging especially when baking in the winter. The ideal temperature is somewhere between 75-85 F.
Here are a few things you can do:
Try storing your starter in a cozy cabinet. It’s warm, draft free, and I have to say, my personal starter does really well in this snug little habitat. Experiment with a cabinet that’s near your stove for extra warmth.
Another option is to wrap the starter jar in a heating pad. One of my kombucha readers (Hi, Melanie!) suggested this tip and it’s very clever. The heating pad maintains the starter at an approximate temperature which can be adjusted to your liking.
A proofing box can also be used to control the temperature. This is the one I use, which is great for your dough too (it FOLDS FLAT!).
If you don’t have a proofing box, place your starter in the oven (turned off) with the light on. But please make sure to keep an eye on it and turn the light off, if necessary. It can get very hot in there! Another makeshift proofing box option is to use your microwave; just place the starter inside (turned off) with the light on.
Finally, try using warm water in your feedings. Around 80-90 F is a good temperature.
Note: regarding temperature, if your starter is exceptionally strong and vibrant, it will have no problem rising in warm OR cold environments, even in the fridge. My starter is a workhorse and will rise ANYWHERE. This is because it’s mature, well fed and cared for starter. Keep this in mind as you continue to develop a relationship with your personal starter.
Ingredients
A sourdough starter is made from flour and water. For best results, always use quality ingredients.
For the flour, please use something that is unbleached, unbromated, and does not contain chemicals.
Most non-organic U.S. flours, including my preferred brand King Arthur Flour, are enriched with vitamins and minerals including iron, folic acid and other vitamins. This is okay to use. I also like Trader Joe’s all-purpose flour for feedings.
However, it’s important to note that not all flours perform the same. Flour from the UK is going to have different enzyme and mineral levels than flour from the U.S., Japan, Australian etc. Even organic flours perform differently.
That’s why when troubleshooting your starter, it’s best not switch back and forth between brands at first. It’s too confusing and you won’t know where you went wrong. Stick to one brand, try to rule out additional factors that might be giving you trouble, and then make changes from there.
For the water, try using filtered or bottled water to avoid any trace chemicals or chlorine if you think it’s having a negative effect on the rise. I don’t have to do this at home, my tap is fine.
Feeding Frequencies
Ever have those days where you’re just ravenous?
Starters can be ravenous too. If at one point your starter was all bubbly and happy, and now it’s not rising anymore, it’s possible that it needs a few extra feedings to boost the yeast development. Assuming you understand how temperature and ingredients can effect the rise of your starter, try feeding it 2x per day and see what happens.
Also, if your starter has been stored in the fridge for a while, it’s going to need several feedings at room temperature to become bubbly. Have patience!
What Type Of Flour Can I Feed It With?
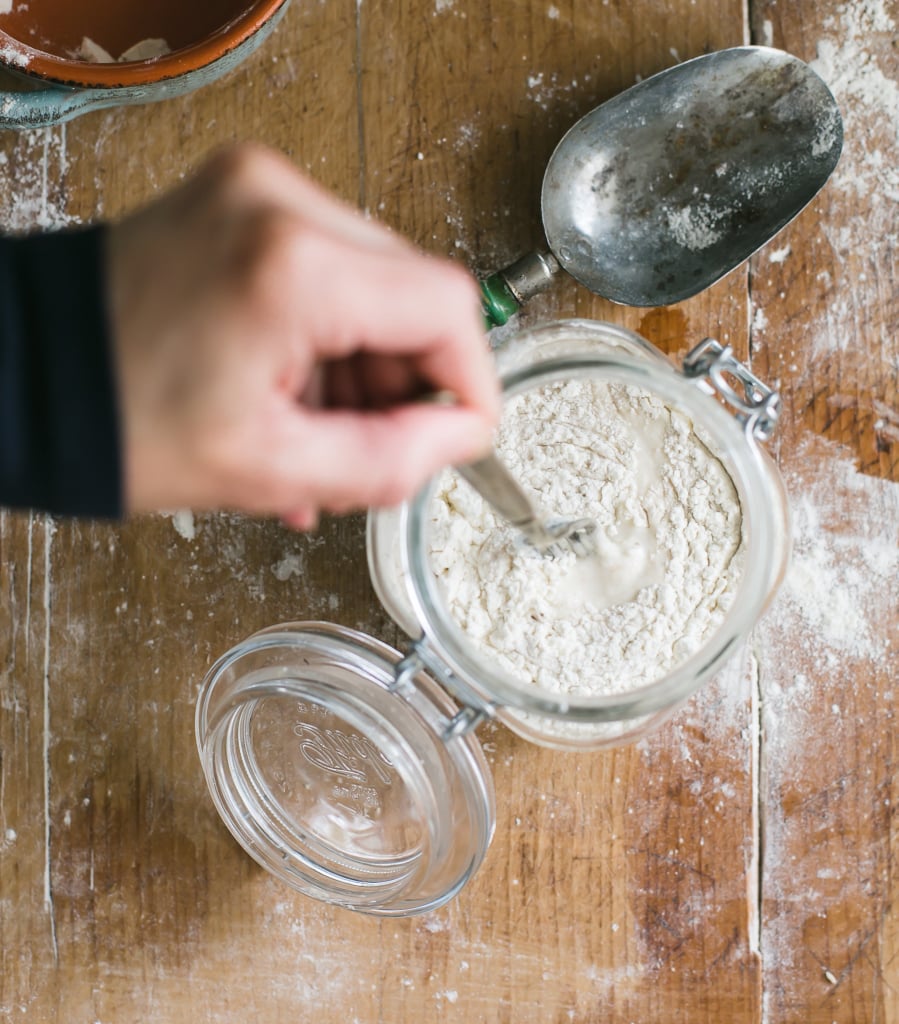
Feed your starter with the same flour from which it’s made.
Now, let me just clarify: every baker has their own way of feeding their starter. And one method is not necessarily better than the next (just different).
To cut through the noise with reliable results, feed your starter with the same flour that’s in the jar. For example, if your starter is made with all purpose flour, feed it with all purpose flour. If it’s made with rye flour, feed it with rye flour. Easy.
By doing so, you’ll establish a consistent feeding routine and the rise time will become more predictable. Think about it this way: how would your dog feel if you fed him a different type of dry food each week? Starters are no different!
How Much Flour and Water Does My Starter Need?
For a 100% hydration starter, feed it following a 1:1:1 ratio by weight.
For example, if you have 30 g of starter in the jar, feed it with 30g of flour + 30g of water. If you have 60g of starter, feed it with 60g of flour + 60g of water. Please use a kitchen scale for this! You can easily scale the initial starter quantity up or down, depending on how much you want to maintain now or in the future.
Again, every baker has a different method, but following a 1:1:1 ratio by weight will get you reliable results. Your starter will rise more predictably, and if you’re lucky, it will stay at its peak height for quite a while before it collapses.
I Created a Starter Following the Instructions in Your Book. It Used to Be Bubbly, But Now Nothing’s Happening? Should I Start Over?
Believe it or not, this is 100% normal.
Typically, when creating a starter from scratch, you’ll see bubbles on the surface around Day #3. When you start feeding it with flour and water on Day #4 and beyond, the bubbles may or may not appear as quickly. It makes sense to think that something’s wrong! But don’t panic.
In order to cultivate and develop the yeast within your starter, you need to feed it for several days in order to see results. The process can be unpredictable, and each person you talk to will have a different experience based on their personal situation and environment. It’s easy to get caught up and compare, doubt yourself, and think it’s not working.
So, should you start the whole process over?
No! Continue to follow the instructions in the book, but make sure to read this post a few times, including Sections 1-3 to familiarize yourself with possible troubleshooting factors. If you’re still stumped, please be patient and continue to feed your starter until it bubbles and doubles in size. Eventually, you will see results. It just takes time.
What Type of Container of Jar Should I use for My Sourdough Starter?
I wrote a whole post on this. Click here.
Does the Starter Jar Need To Be Airtight?
The jar or container can be airtight or covered loosely; it’s your choice.
If it’s airtight, just make sure the jar is large enough to accommodate the starter’s growth as it begins to rise (at least double in size). Otherwise it will burst through the jar.
If you choose a loose cover such as a cloth or something else that’s breathable, and a skin forms on the surface, that means too much air is getting into your starter. It’s not the end of the world if you see this. Just peel it off and/ or choose an airtight lid instead.
What Is That Dark, Smelly Liquid On My Starter?
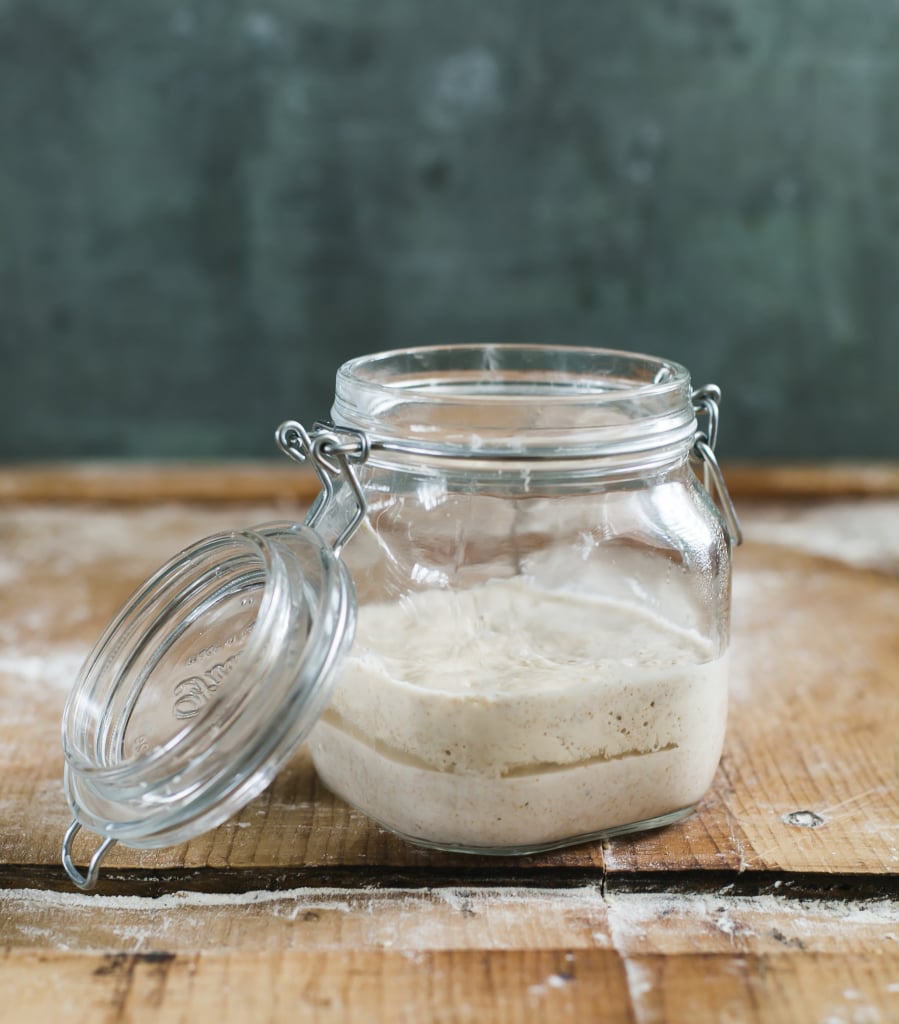
It’s called hooch which is an indication that your starter needs to be fed.
Don’t worry, it’s not dead. Just exhausted. This liquid is something you’ll see regularly, either on the surface of your starter or even within the culture itself (as pictured above), so get used to it! Because the liquid is unsightly and smells like gym socks, I pour it off with some of the discolored starter underneath and feed it right away. That’s all you have to do.
PS: hooch is not mold.
What Should My Starter Smell Like?
First all all, your starter shouldn’t smell too vinegary, like gym socks, or nail polish remover. If it does, it just needs to be fed. Don’t freak out over this too much. At some point your starter will smell like this.
On the other hand, when your starter is in good shape it should smell fresh, fruity and yeasty.
So, what does that even mean?
Fresh, fruity, and yeasty aromas will vary from starter to starter. Some will smell like toasted coconuts and pineapple, others will smell like apple cinnamon. It’s actually very interesting to note all of the differences. Don’t worry if yours just smells tangy and not very “exotic.” Totally normal. The aroma all depends on what’s in the jar and how it’s cared for.
9.)What Happens If There’s Mold Growing On My Starter?
If you see mold, get rid of the entire starter!
In all my years of baking, I’ve never had a problem with mold. That doesn’t mean it can’t happen to you. In fact, several of you have emailed me regarding mold (oddly enough you’re all from eastern Australia. Weather issues?).
Mold can occur on the surface of the starter or on the jar itself. Its appearance can range from white and fluffy, to dark greenish brown, and even pink.
What gives?
Here’s what I know about mold: mold spores are everywhere. And it takes a perfect storm of variables (food, temperature, and water) to populate its growth. So, think about your current environment: is your starter jar near a fruit bowl (food source)? Is your current climate on the humid side (mold loves this kind of weather)? Are you using tap water (where trace chemicals and chlorine can be found)?
Because we all live in different environments it’s hard to pinpoint the exact cause. But if you can troubleshoot any of the above, it might lead you in the right direction. Consider moving your starter to a different room if you think location is part of the issue.
Paired with the variables above, mold can also occur if your starter hasn’t been fed often enough. Consider feeding it more frequently. This will keep the naturally occurring bacteria fresh and happy.
And finally: Sometimes mold can occur when something else lands in the jar. Last summer, a fly got stuck in my starter and the whole thing turned pink (not the fly, the starter). I’m not sure if the pinkish color was true mold or just a result of the unfortunate casualty. Either way, it’s something to pay attention to.
How Do I Get Rid Of Fruit Flies?!
Short answer: you can’t.
When summer rolls around, get used to seeing fruit files because they LOVE sourdough starters. Love. Love. Love. It’s hard to prevent a fleet of flies swarming the jar but there’s a few things you can do.
First, make sure your starter is not near any fruit (for obvious reasons). Second, just relocate it. Sometimes, I keep mine in my bedroom and completely out of the kitchen where the main food sources reside- my husband thinks this is totally weird. Third, keep the lid on. This will not keep out the flies completely but it will help especially after you’ve moved the jar out of the kitchen.
If you have additional ideas on this one, I’m all ears! Please read the comment section below; you guys have THE BEST tips.
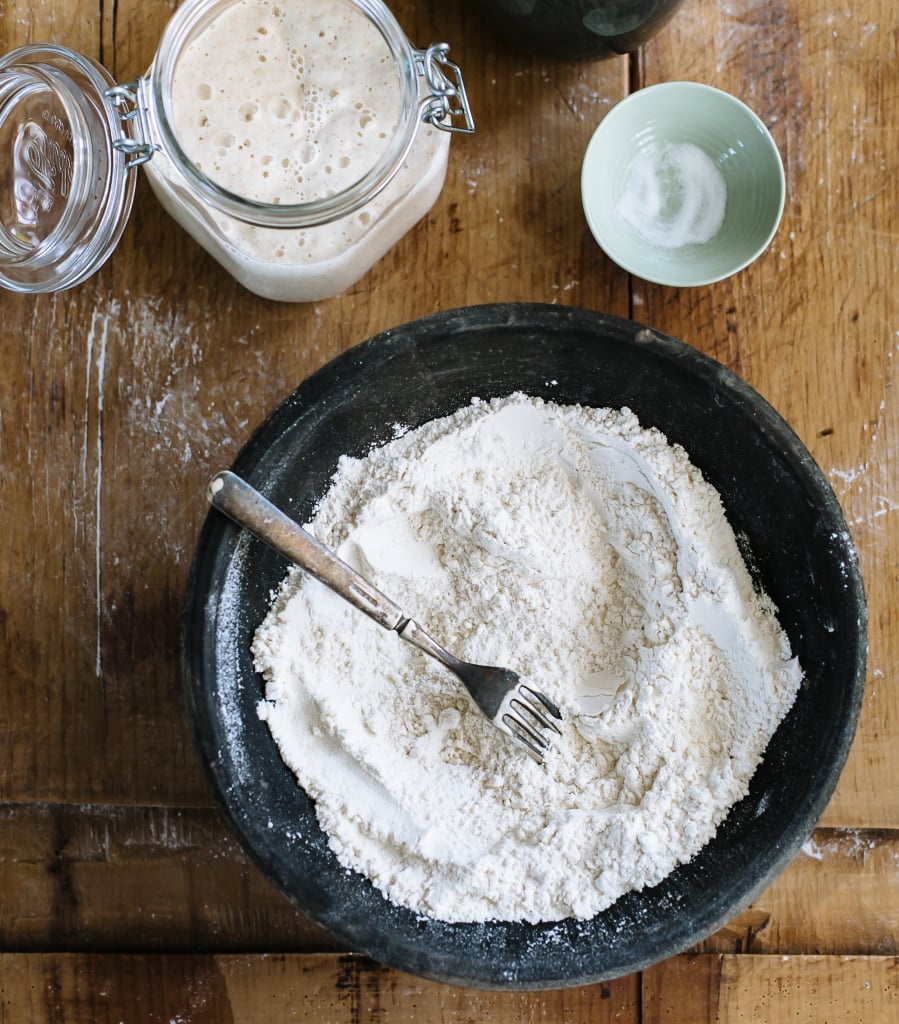
Can My Starter Be Used With Gluten Free Flours To Make GF Bread?
Short answer: NO
Most sourdough starters are made from wheat flour and water, so therefore it contains gluten. If you want to bake gluten free sourdough you’ll need a gluten free starter. Remember that. I get many emails asking if my starter can be used to create gluten free sourdough, and it’s just not the real deal.
If I Forget To Feed My Starter, Is It Going To Die?
Short answer: NO
No matter what I tell you here, the first time your starter gives you trouble, or it’s taking forever to rise, or whatever, you’re going to think it’s dead. I guarantee it. The Internet has scared people into thinking if your starter doesn’t rise instantly with a trillion bubbles on the surface, it’s completely broken and will never be usable again. EVER.
Please have a little faith. I have a starter that’s been siting in my fridge for over 1 year, unfed. I forgot it was even in there. After transferring it to a new jar, feeding it for several days in a warm spot, and just being patient, guess what?! It was still ALIVE!!! That’s all you have to do if you suspect your starter needs a little love. Starters are resilient creatures which require practice and patience.
Which brings me to my last point (hooray!)…
Be Patient!
This is THE hardest tip to follow. But it’s undoubtedly the most important.
Who has patience these days when we have access to whatever we want on demand? Sourdough will teach you all about patience whether you like it or not. You can’t rush it. There are no shortcuts. No cheat sheets. Again, like parenting, eventually your 2-year-old will sleep through the night.
So, please read through these tips slowly and carefully and see what troubleshooting factors apply to your personal situation. Some days you’ll have a beautiful bubbly starter and other days it will act like a diva. And just remember: it’s usually a combination of factors that contribute to sourdough starter issues. Your starter behaves this way not to make your life miserable; it just wants you to pay attention. Take your time, feed it a million times if you have to, move it to a warmer spot, and just honor the relationship. It’s the only way you’ll learn.
My intent with this post was to include enough information to satiate your questions, without making you feel exhausted.
Believe me, this topic can go on for ages- there’s just so many scenarios. Feel free to comment below with additional thoughts and tips. Based on your feedback, I will make periodic updates to keep this post fresh and relevant! Happy baking, friends :)

Comments
Lisa Gillis says
Just wanted to tell you I love your book and recipes and tips of the sourdough trade!
I’ve bought your book now for 4 friends who wanted to get started and your book is truly what kept me going
So glad I found you!
It’s my go to book for myself and now buying for others when they express interest in starting their own sourdough journey
Thank you Emilie!!!!
Sophie says
I’m really struggling with my sourdough starter. It’s nearly 3 weeks old! Kept in microwave door ajar, I’ve trialled feeding is a variety of different ratios but noting changes, and it’s just not rising. There are some slight bubbles. Any help would be appreciated
kathleen Atherton says
Love this amazing vlog/professional advice site. Can you tell me if one can put small dough buns in the Air fryer on bake and if so what temperature and how long for – say a bun size for breakfast. Thank you so much. Kat
Christy Messina says
Thank you so much ! I purchased your book several years ago when I got started on my sourdough journey. I appreciate all your knowledge
Haley Powers says
Hello, I am on day 13 and my starter smells like alcohol and has not doubled in size. On week one I was taking out 60 grams of discard, adding 60 grams of water and 60 grams of flour. But I realized that I was removing almost all of my starter. I continued to follow the recipe. After I hit day 7 with no success I started to remove half of the starter (not measuring) but still adding flour and water. I have not been using warm water. So I will start doing that. The starter has been sitting under neath my microwave light since I started it. Anyways, just let me know what advice you may have. Thanks so much.
Cassie says
Hi, I’m on day 11 and I’m getting some rise, but no doubling. It’s bubbly, it smells a bit acidic right before feeding but otherwise it seems happy, but I’m just not getting to where it’s doubling. What should I be doing differently?
Franzi says
Help!
I followed your starter recipe and it worked out super well! First bread was a success. I keep it in the fridge because I bake about once per week, sometimes twice. Every time I fed my starter, it became thicker and stretchy to the point that I could not pick it up with a spoon anymore. Basically, I can hold one end in each hand and pull and stretch it. I discarded about half of the starter and fed it with filtered water and unbleached ap flour in equal parts 1:1:1. Any idea why this happens?
Mindy says
Help! I am stuck. It is 7:00 here and my starter is fully grown. But it’s too late tonight to mix the bread and do the raising. What should I do, I would like to be able to start mixing the bread in the morning but don’t know if I should feed it again, it is bubbling and has more than doubled in sizes. I don’t want to loose it.
Thank you, Mindy Williams
Emilie Raffa says
Hi Mindy! There are a few things you can do. Based on what you’ve mentioned, next time just pop the fully risen sourdough starter in the fridge, covered. Sometimes (not always) it will stay at peak height for a few hours-overnight. Then in the morning, you can use it straight from the fridge to make the dough. This is somewhat of an advanced technique, meaning you really need to know the nuances of our starter in order for it to work properly. But it’s a helpful FYI. Alternatively, your starter collapses on the overnight which is 100% normal, you’ll need to feed it again at room temperature to re-activate it.
Jan says
I followed your starter steps and on day 3 had the starter doubling in size. It was so responsive – it was beautiful to watch. On day 4 I fed the starter as per instructions and it did not bubble. I fed it the next day and still nothing happened. I will take your advice and feed it twice daily if this happens again. Could I have used the starter after day 3 when it had doubled in size or does it need the full 7 days to reach its full potential.
Emilie Raffa says
Hi there! You’ll find that growth seems to “slow down” on days 3-4 as indicated in the instructions. This is normal. Continue with the recipe as written for best results, keeping temperature in mind. To answer your question: it is not recommended to use your starter even though it doubled on day 3. Although it looked ready, it’s not. It needs more time to establish proper, friendly bacteria.
Mindy Williams says
I am on day 7. My starter is very loose. It more than doubles in size and gets a lot of the bubbles. It doubles in size in about 5 hours, I have been stirring it and letting it rise the rest of the 24 hours. Should I feed it when it rises or in 5 hours? Should I just stir it as I have been? I am using unbleached all purpose flour and following your daily chart. It isn’t a 1:1:1 ratio on your chart. I pour the amount that you have on your chart and then add the 60 grams of water and flour. I also bought your book and stayed up late last night reading it but could not find an answer. Please help.
Thank you, Mindy
Emilie Raffa says
Hi there! Ok, so a few things to unpack here. You’re in the process of creating a starter from scratch, you’re on day 7, and it doubles in size within 5 hours, correct? This tells us your starter is active. You are finished with the creation process now. You only follow that specific feeding formula once, which is designed to incrementally build up your starter to about 1 cup (you don’t need the chart anymore).
The next step is “maintenance mode” following the 1:1:1 ratio (or another feeding ratio of your choice). This refers to the ongoing feeding and care for your stater to keep it alive and strong. To do so: you’ll continue to discard approximately half of your starter, and feed what’s left in the jar with equal parts flour and water by weight. Example: if you have 40 g of starter in the jar after discarding, you would feed it with 40 g flour and 40 g of water (1:1:1). Once it doubles in size, whether it’s 2 hours or 5 hours time, you can use it to make dough. Then you’ll feed what’s left in the jar again to keep the process going.
More helpful info on feeding here:https://www.theclevercarrot.com/2021/01/feeding-sourdough-starter-my-best-tips-tricks/
Ellie says
Thanks for all the help and tips, fantastic info for a newbie to sour dough! I initially misread the recipe and started off with white bread flour, which actually seemed to work well and bubbled/rose nicely. However, after day 3/4 it has stopped rising much. The smell has changed to a nice, yeasty smell and it does bubble, just doesn’t rise. I’m keeping it in the microwave with the light on and feeding it once a day with 60g water/white bread flour (discarding approx half each time). Is it ready to use or should I be seeing more rise before I make bread? I tried the float test and one small blob floated for a bit but other bits sunk!? Help!
Kaitlyn says
I had incredible growth in days 1-3 (it was doubling and tripling). Days 4 and 5 I’m not getting much (some surface bubbles). I may not have discarded enough (I’ve been scooping out half and adding 1/2 cup AP flour and 1/4 cup filtered water from my fridge.
Just keep going? Should I discard more before feeding?
Biljana says
Hi, I have been following the sourdough starter recipe until day 12 when I started experimenting with my sourdough starter. I am now on exactly 3 weeks and looks like the starter is going nowhere.
First the starter was extremely runny at around day 9 and looking like nothing is going on in terms of bubbles. After feeding it constantly showed a clear liquid on top after 3-4 hours. I read somewhere in comments section to increase the amount of flour, so I started adding additional 20 grams flour in feedings. I also moved it to the cupboard instead of countertop. It started rising nicely, but had an AWFUL acetone smell.
I started feeding it twice daily, returned to 100% hydration, and adding a bit of whole wheat flour in feedings (I am using all purpose otherwise), and I moved it back on top of counter as I read somewhere that bacteria is developing and it might be too hot for the starter. I still cannot get rid of the acetone smell, although it’s not that bad as it was.
But now, it barely has any activity, rising about 10% maybe, one or two bubbles visible, and it still smells quite acidic and I’m at the end of my nerves :(.
It’s winter where I am btw, I am using bottled water in feedings at room temperature, and the room temp should be around 23 degrees celsius.
Please help!
Margot says
Very good and helpful advice I have several starters going and I see I’ve already violated at least one of your rules, mixed flours because I ran out of whole wheat flour & couldn’t wait til the next day to feed my starter. Thanks
Ben G says
Hello! I am on day 12 of feeding my starter. Currently doing 1:3:3 feedings twice per day because the rising has been aggressive. The only problem is I am still getting a mostly unpleasant, cheesy smell still, instead of the yeasty aroma i am hoping for. Most resources i have read/watched say the unpleasant smell should go away around day 5-7. I am concerned that the good bugs are not able to take over the bad bugs in my culture for some reason. Any suggestions?
Emilie Raffa says
Yes. Tell me: what type/brand of flour are you using for the feedings? Ambient temperature? Water temperature? And what type/brand of flour did you use to jumpstart fermentation in the very beginning (whole wheat, spelt etc.)? Thanks!
Ben g says
I am in CO so I am also at altitude. Since the winter here is extra cold i have my starter set near one of our heating vents to maintain a temp of around 68-75 F. I use bottled water at room temp (which may be colder here). I am using a mix of 70% KA bread flour 30% Bob’s Red Mill rye flour for feedings since the beginning.