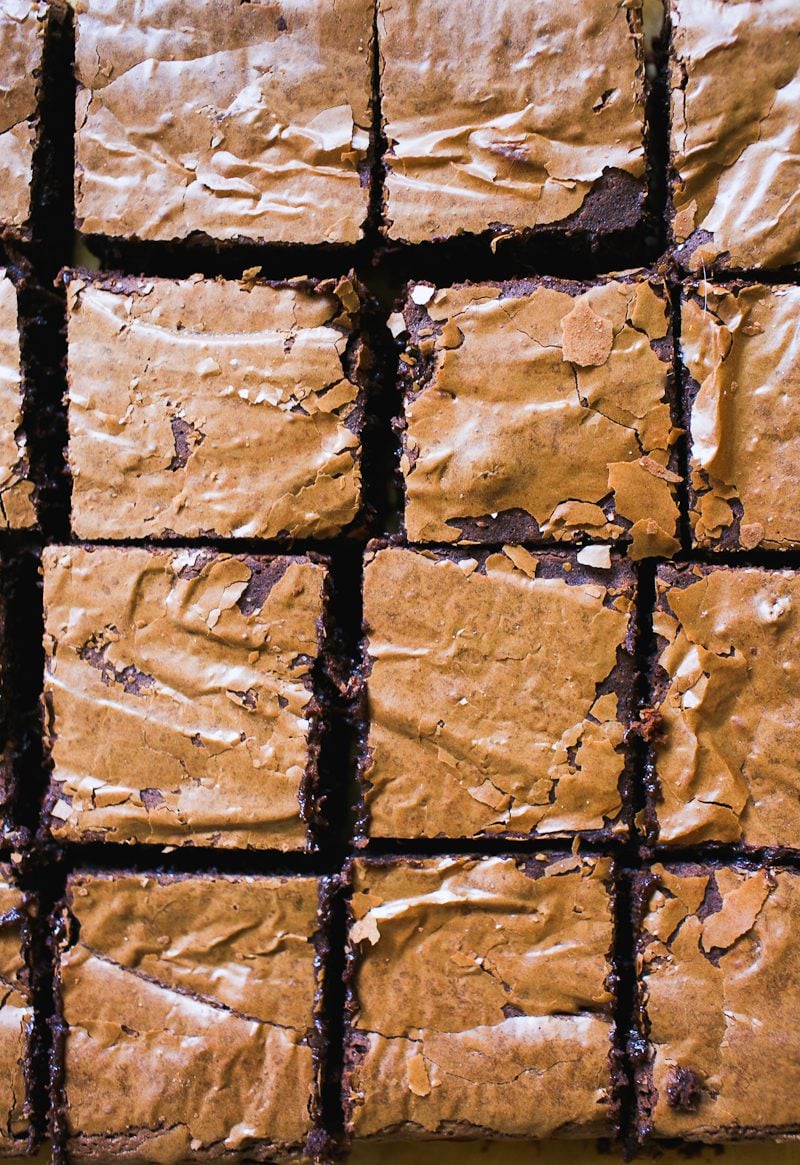
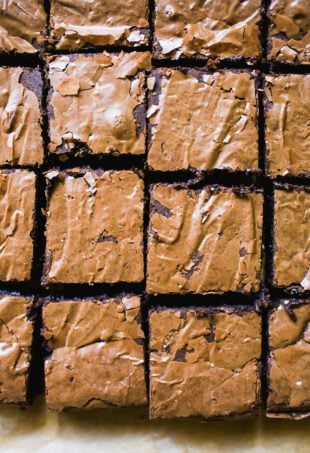
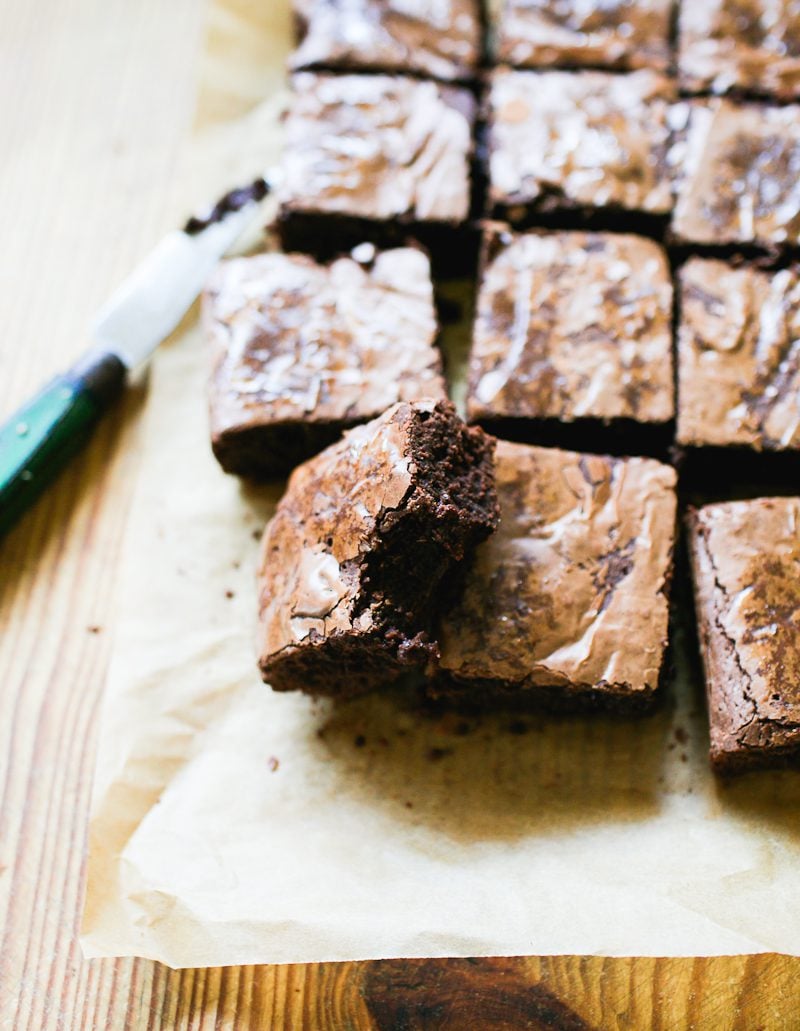
This fudgy, crinkle-top sourdough brownie recipe is made with active sourdough starter or sourdough discard. The secret is to fully dissolve the sugar in the right amount of eggs, and you’ll get glossy, crinkle-top brownies every time! You’ll need a 9×13 or 9×9-inch pan. Serves 12.
I love a good box mix brownie. Shiny, crinkle-top, Ghirardelli fudge brownies are my favorite, with a shot of espresso and flaky sea salt on top.
But when sourdough brownies peaked my curiosity (as it seems my calling in life is to create a reliable collection of sourdough discard recipes for one and all to enjoy!), could I make a sourdough version comparable to my beloved box mix?
Not Quite.
My first 7 tests were flops. They tasted like chocolate molten cakes, not brownies. No crinkle-top. It was weird. After even more tests and bingeing Youtube until my eyes turned to dust, it finally dawned on me…
I learned that too much moisture in the batter will change the look, taste and feel of the brownies and not necessarily in a good way. Think: cake-like vs. chewy brownies. Turns out, I was using way too much sourdough starter, which is essentially flour and water (moisture)! That was an easy fix.
But What About The Crinkle Tops?
For perfect, crinkle-top brownies you need to fully dissolve the sugar in the batter, in a specific sugar to moisture ratio. The best way to achieve this, is to combine the sugar, eggs, vanilla extract and salt in a stand mixer (or hand held beater), and whisk vigorously for 5-7 minutes to dissolve. Thank you Adam Ragusea and Displaced Housewife for paving the way with your excellent findings.
How To Make Sourdough Brownies {Step-By-Step Recipe}
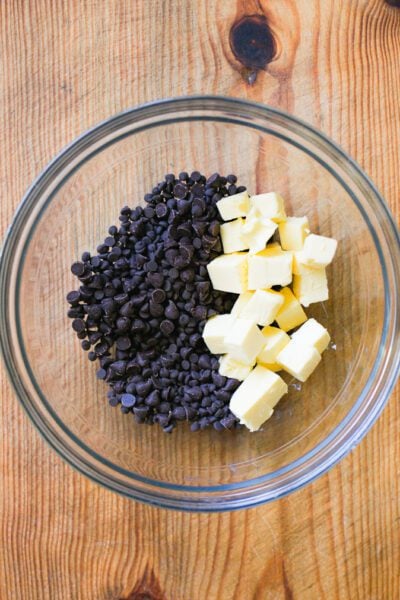
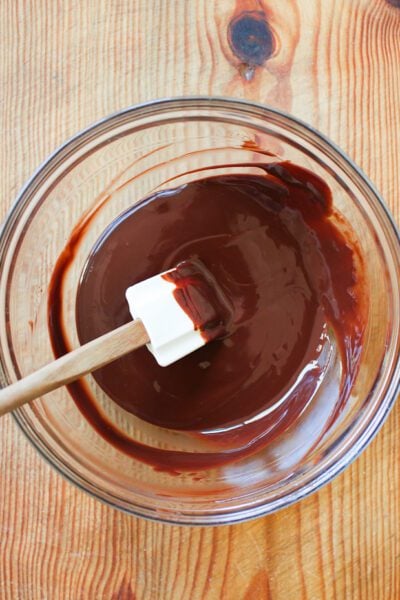
Step 1: Melt The Chocolate
In a double boiler, melt the semi-sweet chocolate chips and butter. Stir well and set aside.
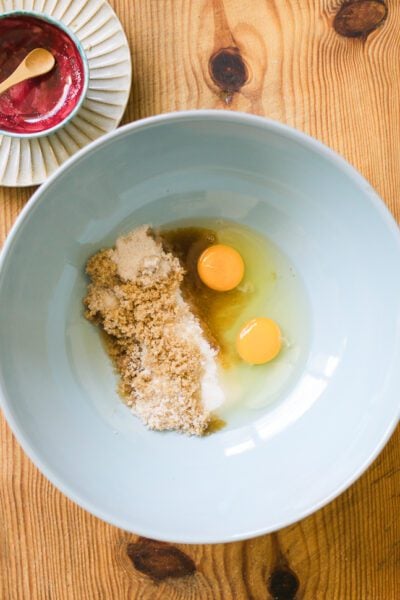
Step 2: Dissolve The Sugar
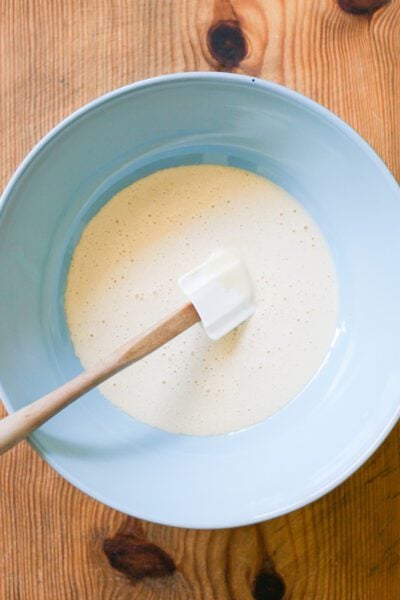
In a stand mixer fitted with the whisk attachment: mix granulated sugar, brown sugar, eggs, vanilla and salt. Whisk vigorously on medium speed until voluminous and pale in color, about 5-7 minutes. As previously mentioned, this step is crucial for crinkle-top brownies.
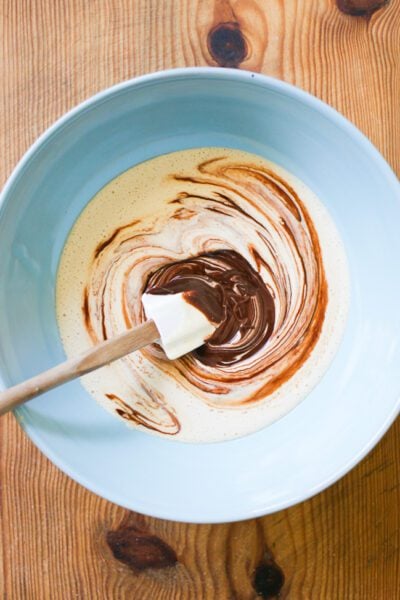
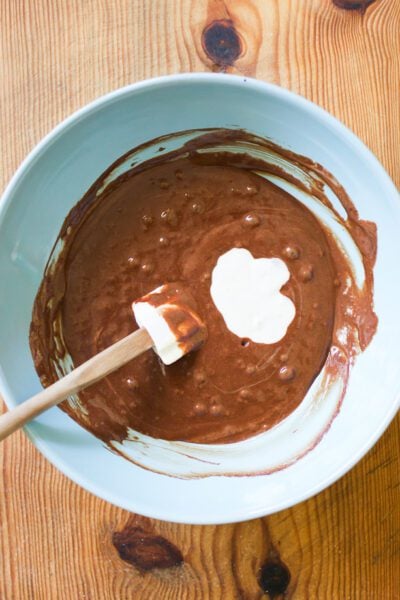
Step 3: Add Melted Chocolate & Sourdough Starter
With the mixer running, pour in the warm, melted chocolate mixture and sourdough starter.
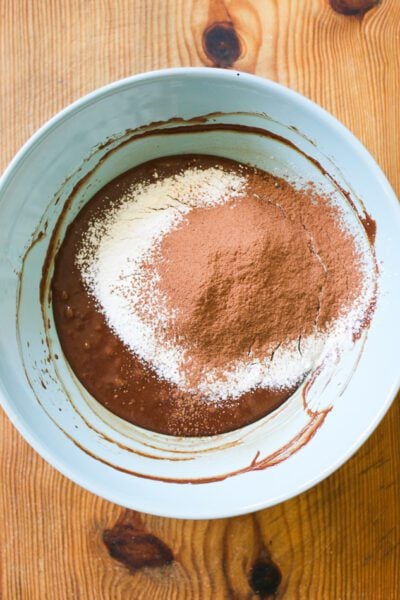
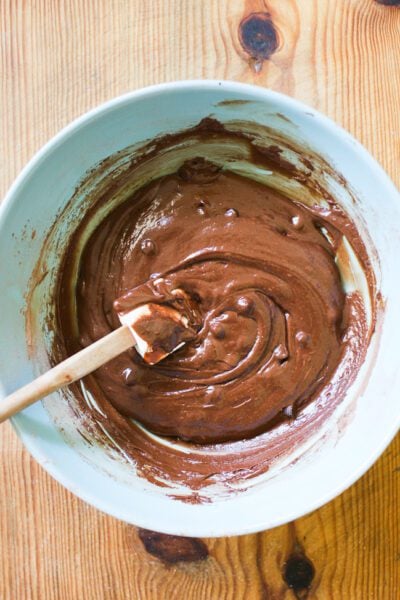
Step 4: Mix In The Dry Ingredients
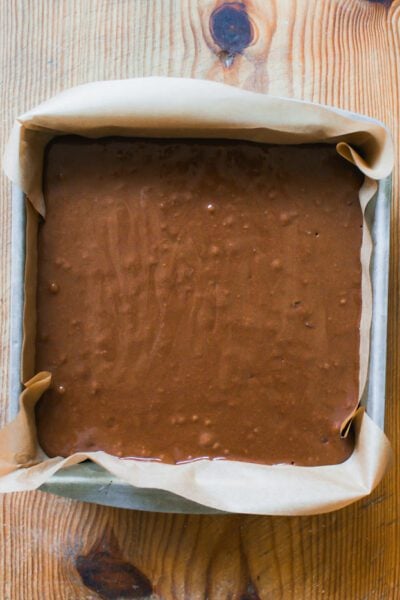
Add the flour, cocoa powder and baking soda. Fold in semi-sweet chocolate chips. Pour the batter into the pan (this is where I usually sneak a taste of the batter- so good!).
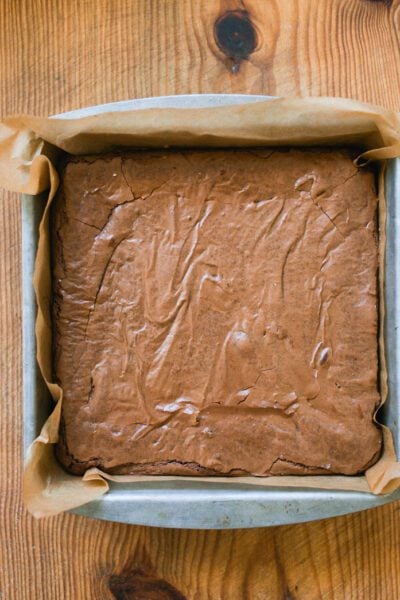
Step 5: Bake The Brownies
Bake on the center rack for 35-40 minutes or until the top is set. I learned that a toothpick won’t come out perfectly clean when pressed into the center; this is OK. The finished brownies will be more baked around the outer edges and fudgy in the middle. The texture will continue to set as the brownies cool.
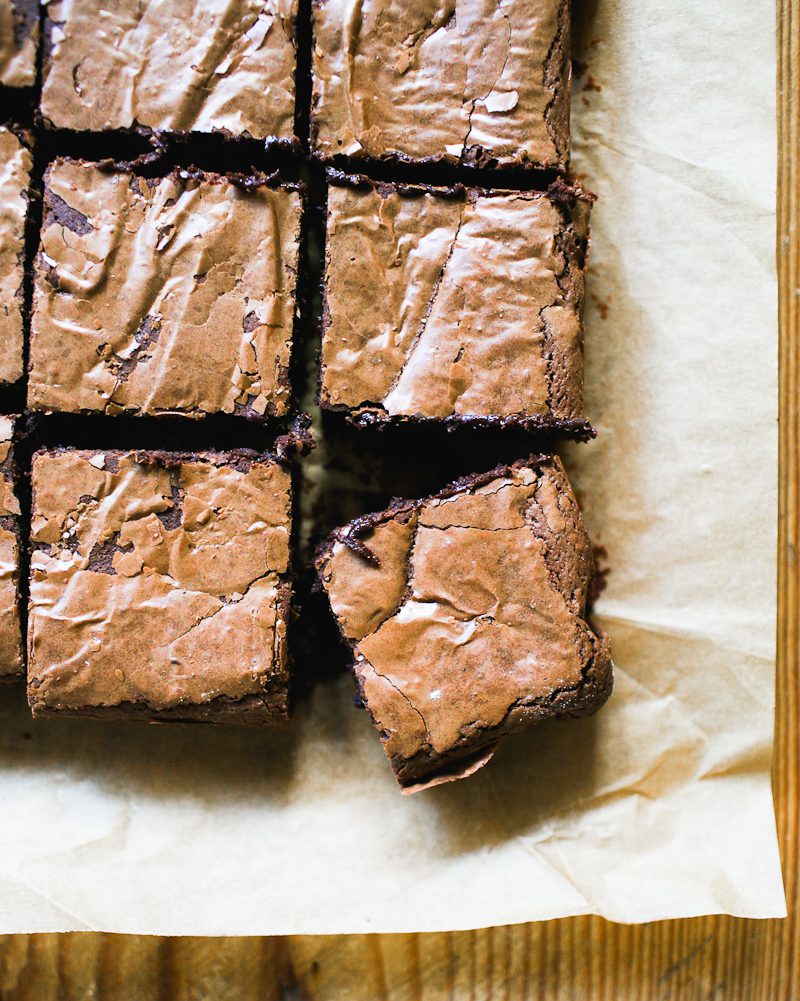
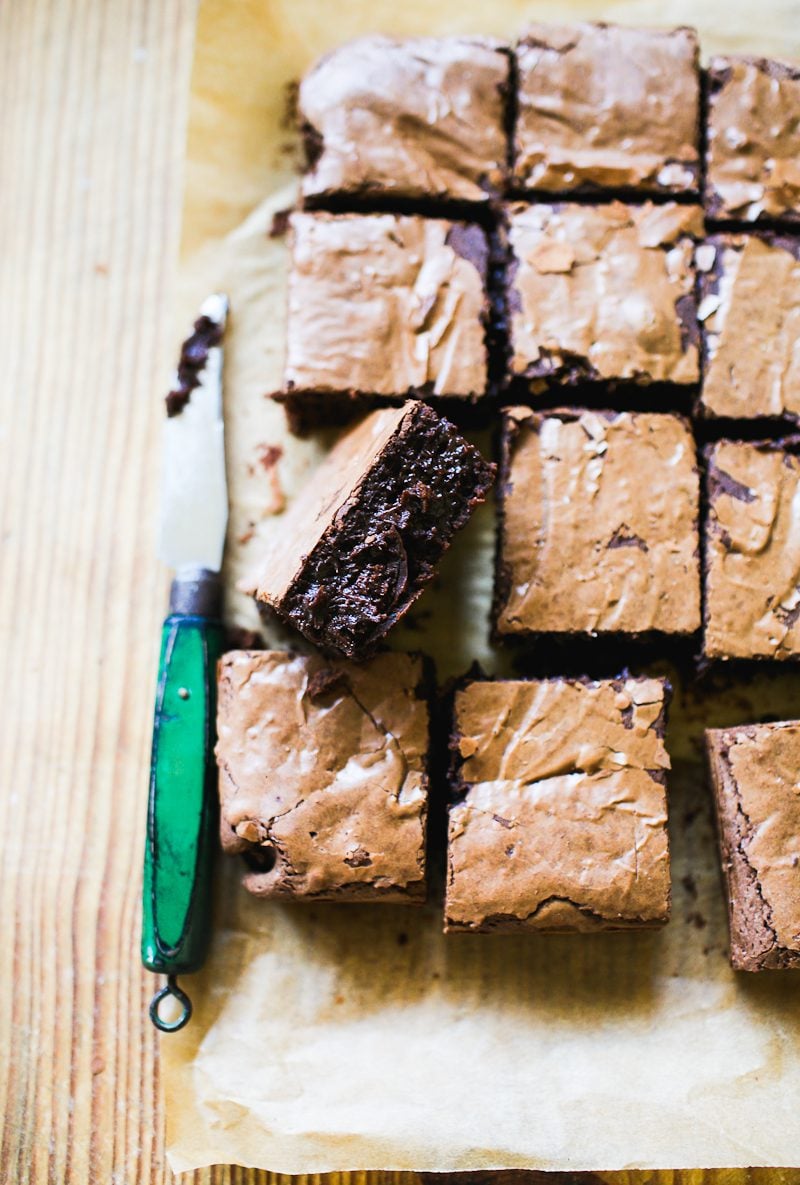
Step 6: Cool Down
Cool completely in the pan (they become fudgier as they sit) before cutting. Don’t rush this step. Hot brownies taste completely different than cool brownies. Be patient. Cut into slices and enjoy!
My Helpful Tips
- Weigh your ingredients with a digital scale for best results. Remember, too much moisture and your brownies will be cake-like. Not enough, and the texture will be dry. Accuracy is key.
- Use a stand mixer or electric hand held beater to dissolve the sugar with power.
- Cool the brownies completely before cutting. You’ll get more crinkles, a fudgier texture and they will be easier to slice (nice and neat!). Don’t overlook this tip.
- I like using semi-sweet chocolate chips, instead of chopped dark chocolate, as per some recipes. I like the convenience. Most bakers already have chocolate chips on hand, and if using extra chips in the batter, you’ll have some leftover in the bag. No need to buy another ingredient.
- Make sourdough brownies advance up to 1 day, stored at room temperature.
{NEW} For espresso brownies: I recently tested this recipe with instant espresso granules which you can find in the grocery store (some brownies call for espresso powder which you need to order online instead). Add 2 heaping tsp. (3 g) instant espresso granules for mild flavor and up to 4 tsp (6 g) for a more pronounced coffee taste.
By signing up, you agree to receive emails from The Clever Carrot. Unsubscribe at any time.
Crinkle-Top Sourdough Brownies
- Prep Time: 20 minutes
- Cook Time: 35-40 minutes, depending on the size of your pan
- Total Time: 0 hours
- Yield: 12 brownies 1x
- Category: Sourdough Discard Recipes
- Method: Oven-Baked
- Cuisine: American
- Diet: Vegetarian
Description
This recipe for fudgy, shiny, crinkle-top brownies is made with active sourdough starter or sourdough discard. The secret is to fully dissolve the sugar in the right amount of eggs, and you’ll get glossy, shiny crinkle-top brownies every time!
Note: This recipe was adapted with changes from Displaced Housewife’s crinkle-top brownies. I added sourdough starter & baking soda, omitted the espresso, reduced the cocoa powder from 85 g to 25 g and replaced the difference with flour to correct the consistency.
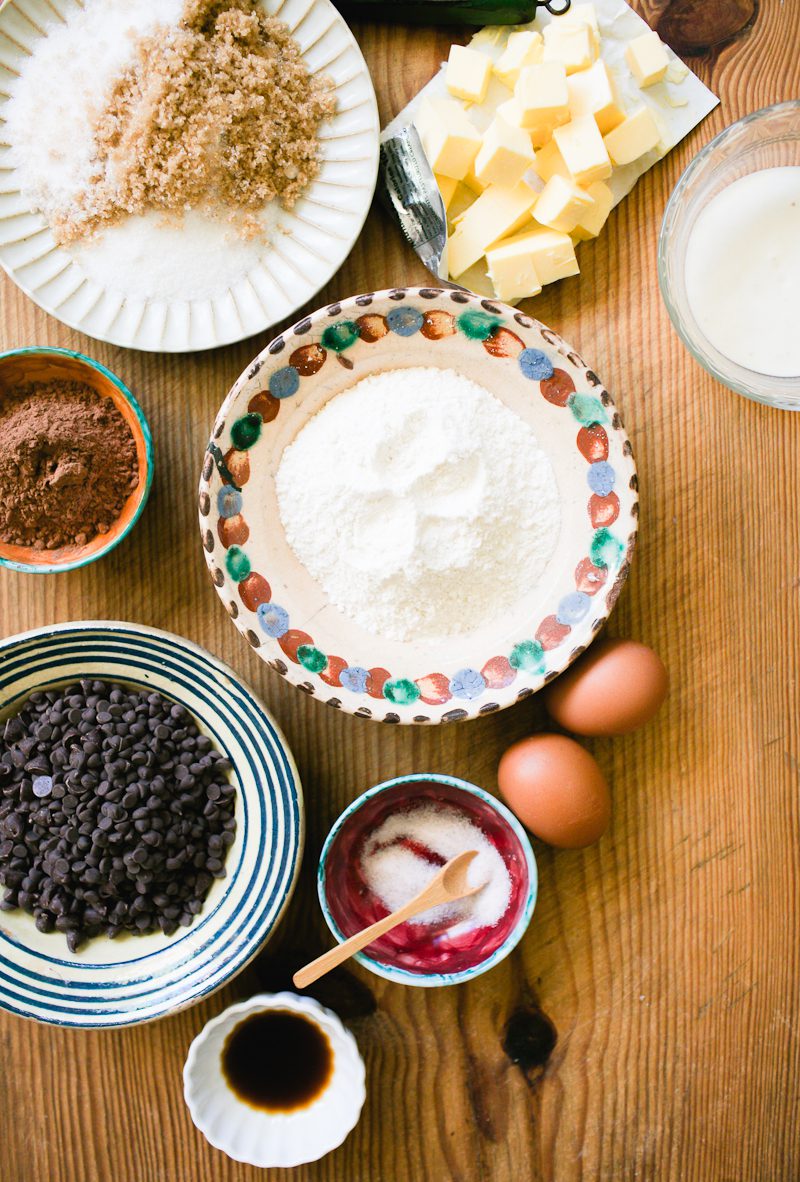
Ingredients
- 230 g (1 1/3 cups) semi-sweet chocolate chips
- 170 g (12 tbsp) unsalted butter
- 200 g (1 cup) granulated sugar
- 165 g (3/4 cup) brown sugar
- 4 large eggs (53 g each, cracked weight)
- 1 tbsp vanilla
- 1 tsp fine sea salt
- 3–6 g instant espresso granules (optional)
- 50 g (~ 1/4 cup) active sourdough starter or sourdough discard
- 25 g (4 tbsp) unsweetened cocoa powder
- 185 g (1 1/2 cups) all purpose flour (see notes & tips below)
- 1/4 tsp baking soda
- 115 g (3/4 cup) semi-sweet chocolate chips (optional)
Notes & Tips
- Weigh your ingredients with a digital scale for best results.
- If you cannot use a scale, lightly spoon the flour into a measuring cup, leveling off the top. Do not pack it down. Otherwise the texture of the brownies will be denser.
- After mixing, some bakers reported having too much batter to fit a metal 8×8-inch or 9×9-inch pan (this is either from the pan being slightly too small and/or high-volume mixing in Step #4). This is OK. Alternatively, use a 9×13-inch metal baking pan instead, and bake for 30 minutes.
- For 8×8-inch or 9×9-inch glass pans: the bake time will increase to 50-60 minutes total.
- For ingredient brands: I used Ghiradelli unsweetened cocoa powder, Kerry Gold butter, Trader Joe’s organic all purpose flour, and tested 3 different types of semi-sweet chocolate chips including, Enjoy Life, Whole Foods 365 & Ghiradelli. Enjoy Life semi-sweet chocolate chips are my favorite.
- For espresso brownies, I recently tested this recipe with instant espresso granules which you can find in the grocery store (some brownies call for espresso powder which you need to order online instead). Add 2 heaping tsp. (3 g) instant espresso granules for mild flavor and up to 4 tsp (6 g) for a more pronounced coffee taste.
Instructions
- Preheat your oven to 350 F.
- Line an 8×8-inch or 9×9-inch metal square pan with parchment paper (please read the Notes & Tips section above!). I like to grease the pan first so the parchment paper lays flat. Brownie batter is thick and has a tendency to “pull up” the paper when spreading the batter into the pan.
- Melt the semi-sweet chocolate chips and butter in a double boiler; set aside.
- Meanwhile, in a stand mixer fitted with the whisk attachment: combine the granulated sugar, brown sugar, eggs, vanilla, salt (and instant espresso granules, if using) Whisk vigorously on medium speed until voluminous and pale in color, about 5-7 minutes. This step dissolves the sugar which is crucial for crinkle-top brownies.
- With the mixer running: pour in the warm, melted chocolate mixture.
- Add the sourdough starter and mix to combine.
- Add the cocoa powder, flour and baking soda.
- Fold in semi-sweet chocolate chips (optional) and mix well to combine.
- Pour the batter into the lined pan. Tap the pan on the counter a few times to release any air bubbles.
- Bake on the center rack for 35-40+ minutes (8×8-inch or 9×9-inch metal pan) OR 30 minutes (9×13-inch metal pan) or until the top is set. A toothpick won’t come out perfectly clean when pressed into the center; you’ll get some crumbs and fudge batter. The finished brownies will be more baked around the outer edges and fudgy in the middle. The texture will continue to set as the brownies cool.
- Remove from the oven and allow the brownies to cool completely in the pan (they become fudgier as they sit). Don’t rush this step. Hot brownies taste very different than cool brownies. Be patient.
- Cut into slices and enjoy!
How To Store Sourdough Brownies: Once completely cool, cover sourdough brownies in plastic wrap and store at room temperature, up to 4 days. Or cut into slices and store in an airtight container. Alternatively, freeze wrapped brownies up to 1 month. Defrost at room temperature.


Comments
Mike R. says
Just wondering if you actually leave the whisk attachment on between steps 4 & 5, or do you switch to a paddle attachment after whisking the butter and sugar?
Emilie Raffa says
I use the whisk attachment the entire time for both a stand mixer and a hand-held mixer.
Mike R. says
Ok thank you! I’ll give that a try next time.
Carole says
This is a big request in my house! I have used this site as my guide to my sourdough experience when I started my starter on 1/1/24. I have made the bread, pop overs, pancakes, bagels and english muffins have been successful!!! That said, this is a family fav and luckily have tons of folks to share it with!
Beverley NI says
Hi, these brownies are amazing. My only issue was that there was too much batter for my newly purchased 8*8″ brownie pan and I had to discard some batter. Any thoughts on what went wrong or how to reduce the recipe quality
Emilie Raffa says
Hi Bev! You didn’t do anything wrong! Too much air (from whisking the eggs and sugar in step #4) will increase the volume of the batter, which can sometimes overflow a 8×8-inch pan. Your mixer might be more powerful than mine! Does that make sense? Next time, either decrease the whisking time (to decrease the volume) or use a larger 9×13-inch metal baking pan instead. Note: If you don’t have a larger pan, you can always pour any extra batter into a greased mini or regular muffin tin. I’ve included these notes & adjustments in the recipe above for clarification. Hope this helps.
Beverley NI says
Emilie, thanks for this and yes makes perfect sense. I can’t wait to try these again. X
Annie says
These are the most amazing brownies ever! It’s just a bonus that they are sourdough too. Love all your recipes! Thank you for all your hard work creating delicious recpes.
Terra says
I have made this twice and it’s amazing! Third time making this I experimented and used 144g whole wheat pastry flour, spread the batter in 9×13 cake pan and it came out awesome!
Debbie says
I made these brownies yesterday. They taste great and are almost gone today. I didn’t have an 8×8 pan so I used a 9 inch cast iron pan. Definitely will print the recipe and make these again.
Alicia says
I knew I had to make these when you posted them on IG. They are delicious! However, I had a couple issues with making them. The batter felt like it was way too much when I poured it in my pan- sure enough, I had to bake it for an extra 20-25 minutes and the middle was still too gooey but the edges were getting hard. I’m guessing the problem may have been that my 8×8 pan is glass, so there actually may not be as much room inside of the pan with the curved edges. And perhaps brownies bake differently in glass? Either way, I’ll definitely make them again and try them in another baking dish. Love the texture and the flavor, not sickeningly sweet like some boxed brownies!
Danielle says
Thank you Emily, these are the best brownies my husband and I ever tasted, to die for, amazingly perfect! I used fresh milled flours (hard white wheat, khorasan and spelt). I used a vegan margarine (Costco), Nescafé coffee powder and 30 g of olive oil… bake them in a Cake Boss 10 x 10 metal pan… absolutely perfect… bake them 30 minutes… perfect. Thank you again, they are heavenly good! ❤️
Alexa says
Hi! I’m about to make these but I want to leave them overnight before baking to increase digestibility. Do you think this will be alright? Maybe I’ll leave out the baking soda until just before baking.
Thanks!
Rita says
These brownies were delicious, however, mine were very ugly because I forgot that I live at (almost 8000 ft )high altitude, and I didn’t adjust the recipe at all. Do you have any suggestions? They rose up very nicely with the crinkle top, as I took them out of the oven, but they fell flat in the middle a few minutes later. Stupidly, I waited for them to cool down and baked them again for another 25 minutes when I realized they weren’t cooked through. They actually came out better tasting, but still flat and ugly. I wondered if you had any suggestions for high altitude? I’m going to try to reduce the eggs to three instead of four and reduce the sugar by 1 tablespoon per cup. I’m hoping that, and an extended baking time will do the trick for my next batch. In the meantime this ugly Batch will be perfect for an ice cream topping!
Brittany says
Do you think this would work as a dairy free recipe if I subbed vegan butter and allergy friendly chocolate chips? I’m a nursing mama with a baby that’s belly doesn’t like dairy but in need of all things chocolate!
Emilie Raffa says
Hi mama! Great question. I haven’t tested it, so I’m unable to advise with specifics. However, my guess is that vegan butter can be used (if it’s salted, consider lowering the total quantity of added fine sea salt in the recipe). Just keep in mind, when making substitutions, the overall look, taste and texture will be slightly different. Allergy friendly chocolate chips should be fine!
Evelyn K says
Hi! Want to start off by saying I love all your recipes!
I tried this one out this morning…smells amazing. Still in the oven. Not sure its there’s a typo though. I started off with 33 minutes, a good medium, but was very soupy…so far I think I’m about 10-15 minutes extra,,,maybe even more. I have a gas stove, 350. I double checked the recipe to see if you said anything about the middle being not cooked and goopy…but couldn’t. Is it suppose to be goopy? I keep checking every two minutes but the toothpick isn’t coming out clean. The top looks great though. Am I overcooking it??
Evelyn K says
Hi again! Came back to say, I think I added about 15-20 minutes until a toothpick came out clean. Brownies came out perfect! Not dry at all. So think timing might need to be adjusted, depending on your oven. But everyone loved it and has requested I make this recipe again. Thank you!!!
Emilie Raffa says
Hi Evelyn! Thank you so much!! :) Good eye- your brownies definitely need more time. To test for doneness: the surface should be “set” but not soupy in the center. The corner edges will be more baked through. The issue could be your oven which is normal. Double check with an oven thermometer for accuracy. Or let it preheat for a little longer next time (I have to do this with my oven). But also: what type of pan are you using? Metal or glass? Brownies baked in glass pans take a bit longer.
Evelyn K says
Thanks! I usually preheat for 30-45 minutes. (I do need a new oven, this one is so old!) I used a metal pan.
Keeping it in longer worked. Came out perfect. Nice crinkle crust and fudgy in the middle! My family absolutely loved it, and I’ll be making these brownies again!
Rita says
Oh! That’s another thing I didn’t know- I don’t have that size pan in metal so I used glass. Mine needed more time😃
Vera Stambolic says
Thank you for all the work to create this recipe!! About to give this a try—question—prior to baking—-can you put the batter in the pan in the fridge overnight and do a bit of fermentation?
Emilie Raffa says
Hi Vera! this is an excellent question. My first couple of tests didn’t work, meaning no crinkle-top. It’s possible the flour absorbed too much liquid on the overnight. But they still tasted good! I’d recommend making the recipe as is first to get a baseline. Then try the overnight method and compare notes. And let me know how it goes!
Emilie Raffa says
PS: I forgot to add! Please make sure there is 1/4 tsp baking soda in the batter. I forgot to include the baking soda quantity in the ingredients list when I sent out my newsletter this morning (but it’s updated now). Enjoy!