This easy, soft & crispy garlic bread recipe is packed with flavor. With just 5 ingredients and 2 make-ahead tips, you’ll never buy from the store again! Makes 1 large loaf.

Garlic bread: a much loved combo of punchy fresh garlic, salted butter and top quality bread (sourdough perhaps?) is simple and delicious food at it’s finest. However, the success of simple food relies on the quality of your ingredients. Choose wisely and you’ll level up your cooking every time!
Here’s my take on homemade garlic bread, with just 5 simple ingredients and 2 make-ahead strategies to deploy any night of the week. Recipe adapted from my first book: The Clever Cookbook.
Top Tips
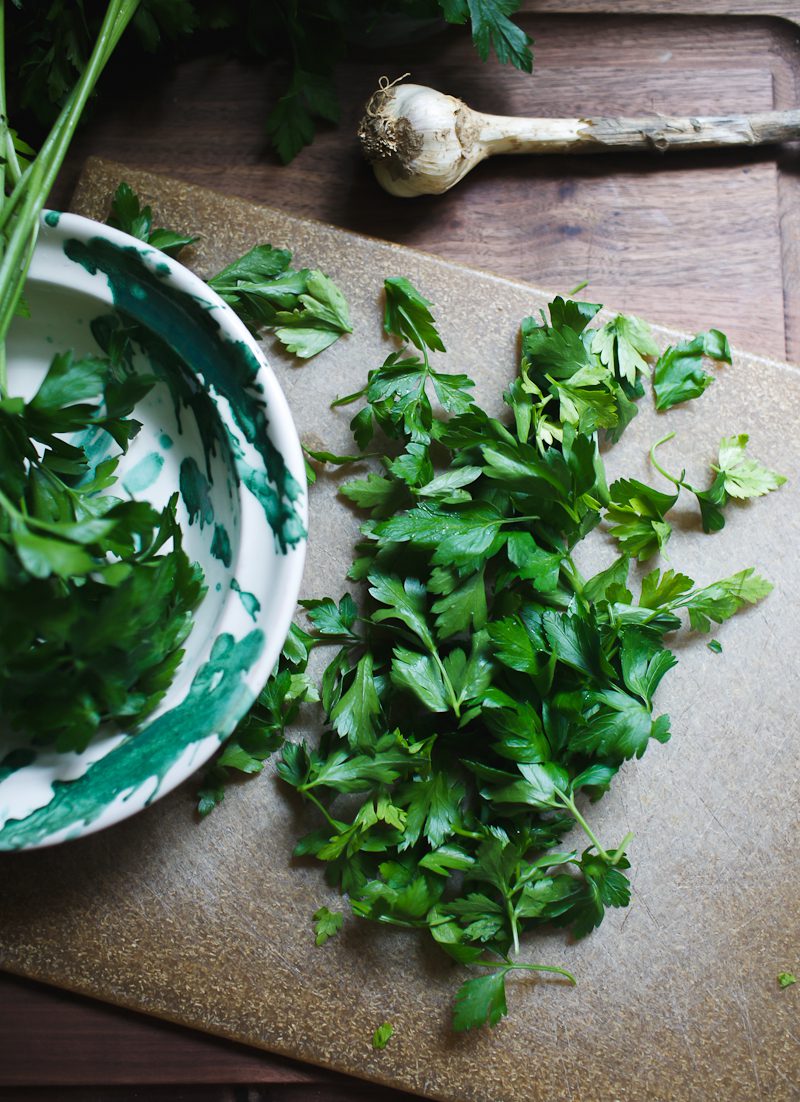
- Choose the freshest garlic you can find. No green stems. Young, mild garlic from the farmers market is an excellent choice! Stock up when you can- it’s like gold.
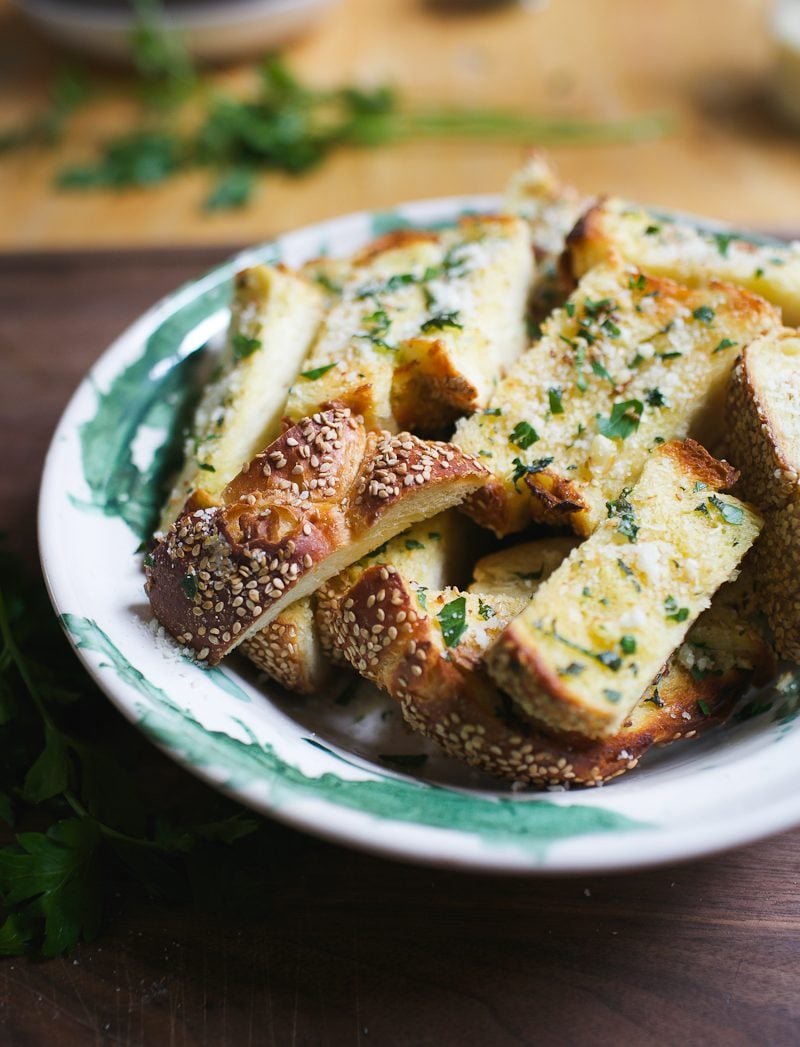
- Any long-shaped bread, that’s not too doughy, will work for this recipe. I love the nutty-sweetness of braided sesame semolina (pictured above), ciabatta, baguettes and sourdough bread.
- Make it ahead. The garlic butter and/or the assembled garlic bread can be made in advance and frozen until ready to use.
How To Make Garlic Bread {Step-By-Step Recipe}
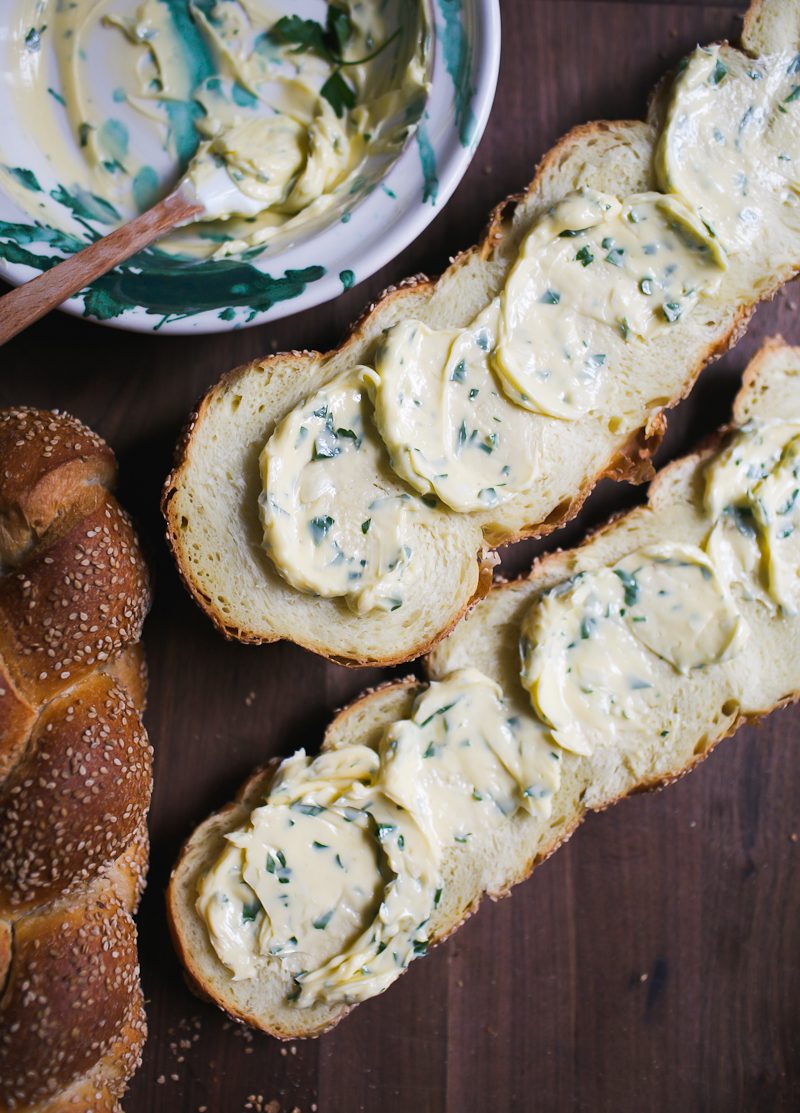
Step 1: Make Garlic Butter
To start, soften your butter at room temperature. Kerry Gold salted butter is my top pick. When it goes on sale, I stock up and freeze for holiday baking (you can find it at Costco too).
Meanwhile, roughly chop 2-3 garlic cloves. Add more or less, to taste.
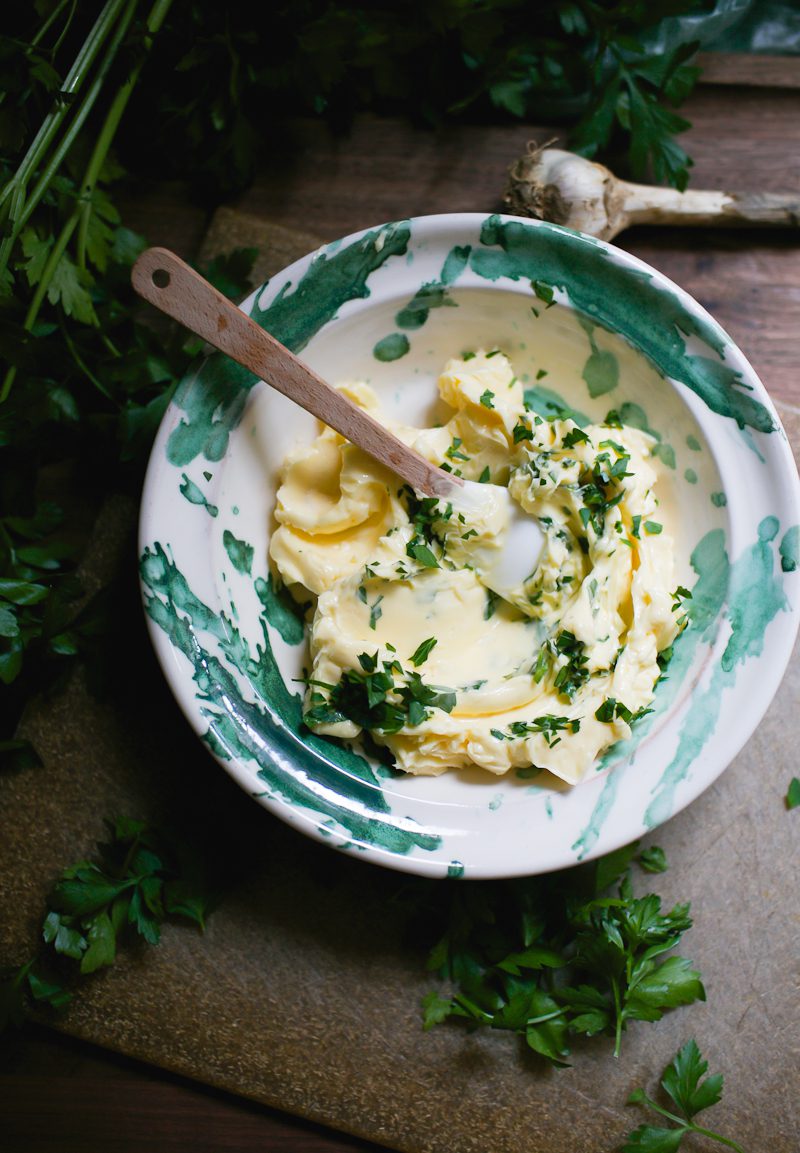
Process the butter and garlic in a mini food processor until smooth. If you don’t have a food processor, grate or finely chop the garlic and mix by hand. Then add chopped parsley. I do not process the parsley with the butter – the whole thing will turn green! I fold it in afterwards.
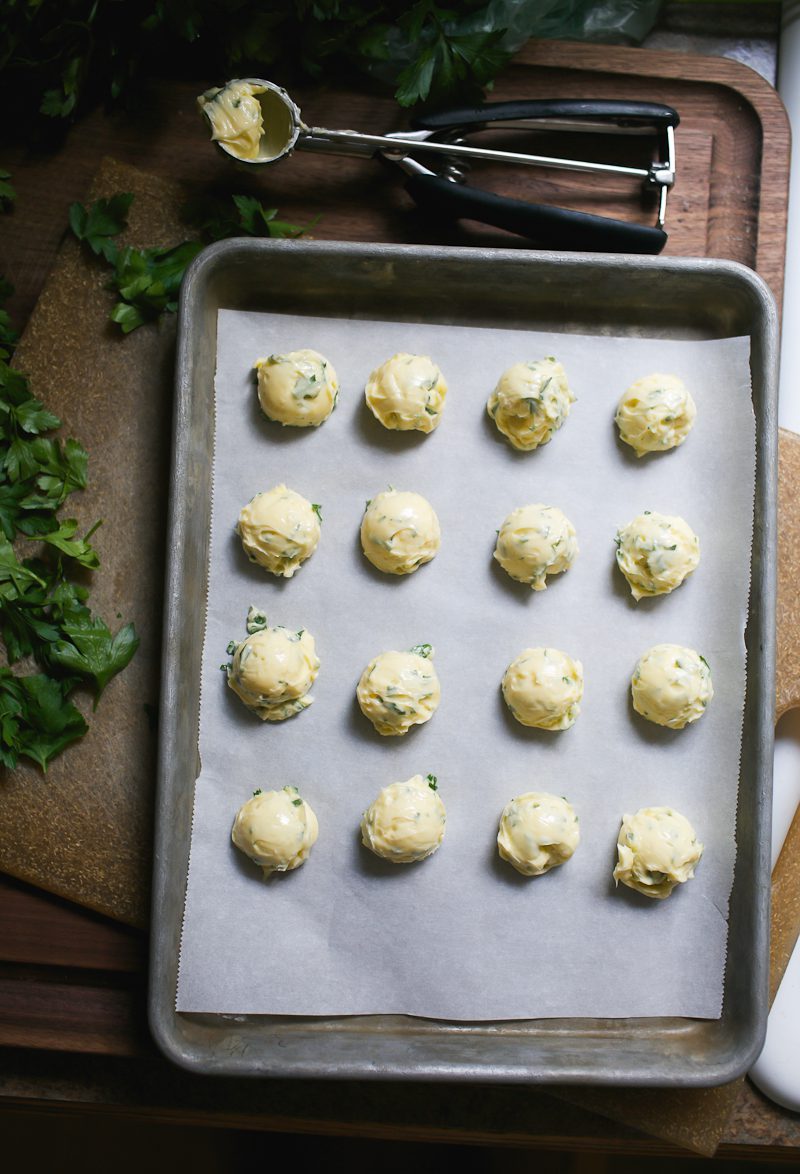
Make-Ahead Tip: How to store garlic butter? Garlic butter can be stored in the fridge for up to 1 day. Alternatively, using a 1-inch (2.5 cm) mini ice cream scoop, portion the butter into tablespoon-size scoops and freeze. Transfer to an airtight container of zip-top back. Bring to room temperature before using.
Step 2: Assemble & Bake The Bread
Grab a good-quality serrated bread knife and slice the bread in half lengthwise.
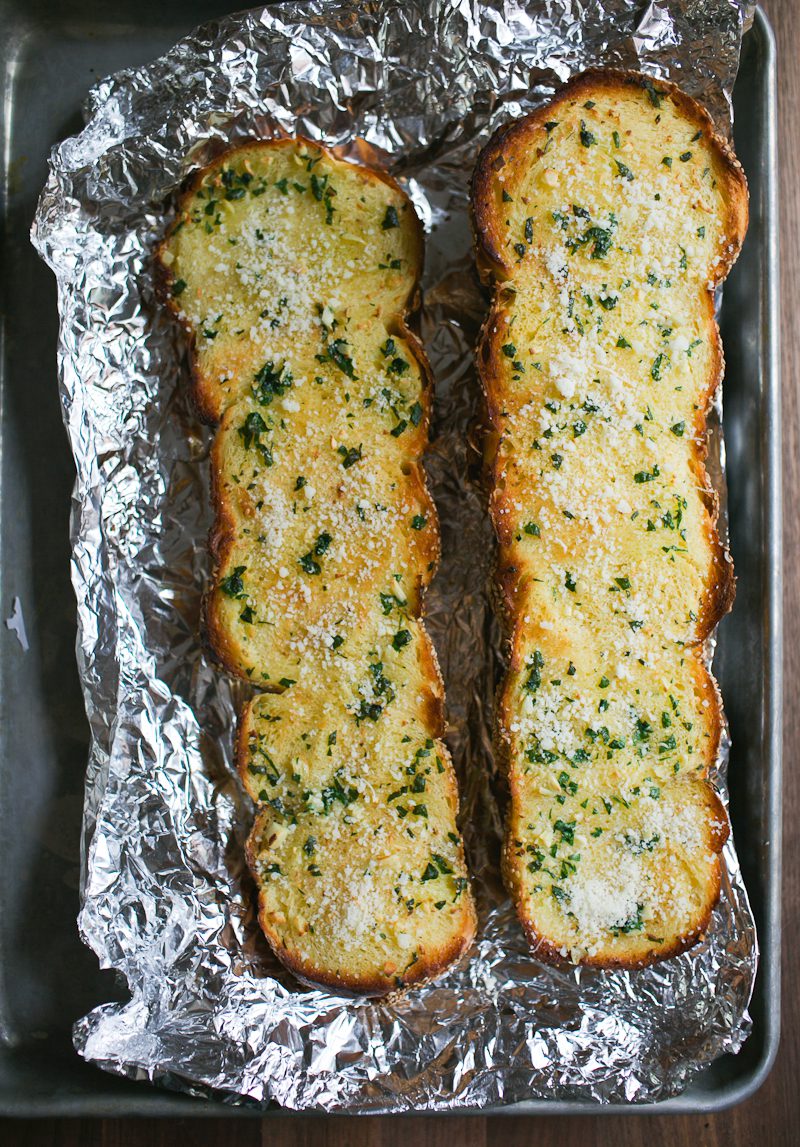
Smear 4 tbsp (56 g) of the garlic butter onto each half. Bake cut side up @ 350 F (175 C) for up to 10 minutes, or until the butter is melted. I like to broil it for a minute or so to crisp the edges! Just don’t walk away from the oven – it might burn.
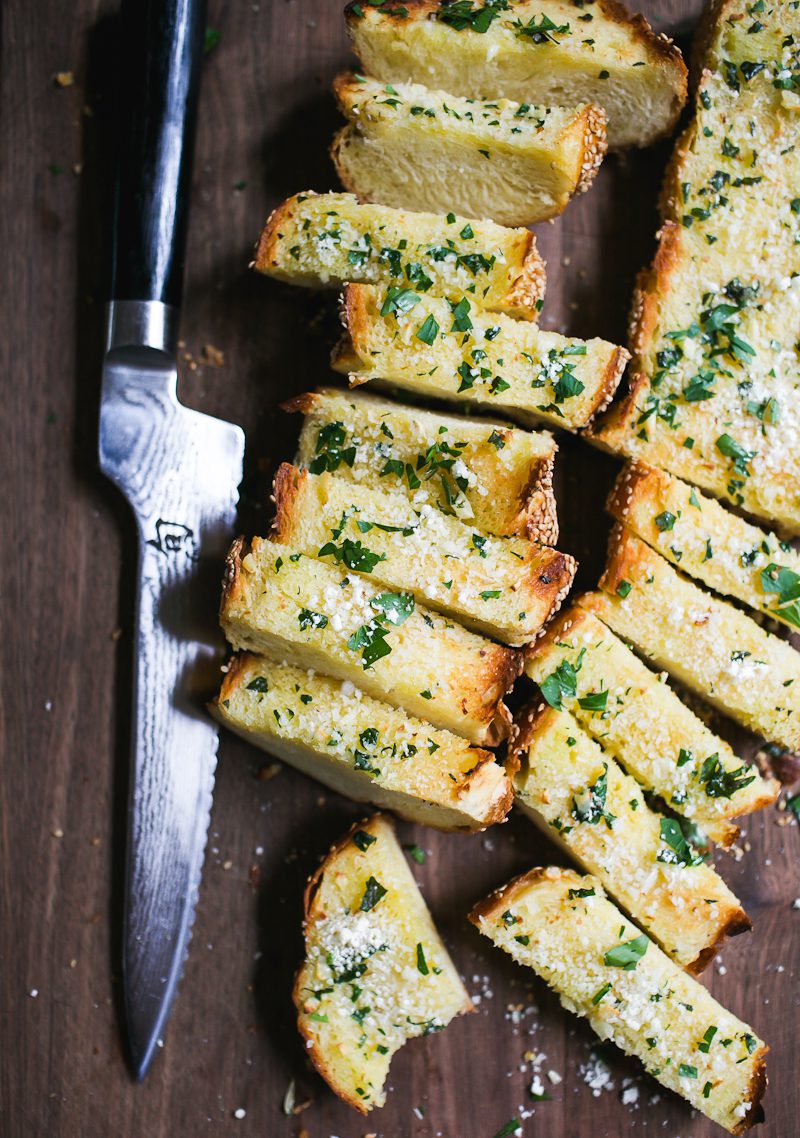
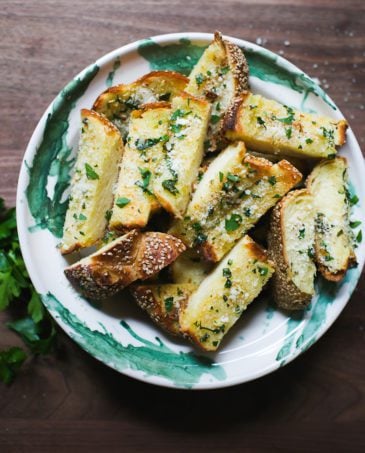
To finish, dust with Parmesan or Pecorino cheese, to taste. Cut into slices and serve warm.
Make-Ahead Tip: How to freeze garlic bread? Assembled garlic bread, minus the cheese, can be frozen for up to 3 months. Place the buttered halves on top of each other, and wrap tightly in a few layers of foil. Add a label with baking instructions so anyone can easily make it. To serve, warm the frozen bread, still wrapped in foil, in a 350 F (175 C) oven for 10+ minutes. Open the halves and broil. Baking times will vary depending on the thickness of your bread.
How to Store Garlic Bread
Garlic bread is best on the same day it’s made.
However, if you have any leftover, wrap in foil and reheat to serve. You can also make crispy garlic bread croutons, which are excellent tossed with fresh tomato & arugula.
By signing up, you agree to receive emails from The Clever Carrot. Unsubscribe at any time.
Easy, Make-Ahead Garlic Bread Recipe
- Prep Time: 5
- Cook Time: 10
- Total Time: 15 minutes
- Yield: 1 loaf 1x
- Category: Side Dish
- Method: Oven-Baked
- Cuisine: American
- Diet: Vegetarian
Description
This easy, soft & crispy garlic bread recipe is packed with flavor. With just 5 ingredients and 2 make-ahead tips, you’ll never buy from the store again! Recipe adapted from my first book: The Clever Cookbook.
Ingredients
For the Garlic Butter
- 227 g (2 sticks/16 tablespoons) salted butter, softened
- 2–3 fat garlic cloves, roughly chopped
- 1/4 cup (15 g) chopped parsley
For the Bread
- 1 loaf of long-shaped bread (braided sesame semolina, baguette, ciabatta, sourdough bread etc.)
- Parmesan or Pecorino cheese, to taste
TIPS:
You will only need 8 tbsp (113 g) of garlic butter for the recipe. I always make more than I need, as it’s extremely convenient to have on hand (toss with pasta, melt over salmon or shrimp, make more garlic bread etc). Freeze the rest for another use. See “Garlic Butter Storage Options” at the end of the recipe.
Instructions
- Preheat the oven to 350 F (175 C).
- Process the butter and garlic in a mini food processor until smooth. If you don’t have a food processor, grate or finely chop the garlic and mix by hand.
- Scrape the butter into a large bowl and fold in the chopped parsley. I do this by hand, so the butter remains white with flecks of green throughout. At this point, the garlic butter can be stored in the fridge for 1 day. Or, for later use, see the storage options below.
- Slice the bread in half lengthwise. With a rubber spatula, smear 4 tbsp (56 g) of the garlic butter onto each half. You will use 8 tbsp (113 g) total. You will have garlic butter leftover; see the storage options below.
- Place the bread cut side up onto a lined sheet pan. Alternatively, if not baking right away, wrap the loaf in foil and freeze up to 3 months.
- Bake for up to 10 minutes, or until the butter is melted. Broil for 1 minute or so, to crisp the edges. Note: baking time will vary depending on bread type, thickness, and oven heat. Check at the 5 minute mark and adjust as needed.
- Dust with Parmesan or Pecorino cheese.
- Sprinkle with extra chopped parsley, if desired.
- Cut into slices and serve warm.
Garlic Butter Storage Options:
- Rolled Logs: Place the butter on a large sheet of parchment paper. Shape into a log, roll it up, ad twist the ends to close. Label, date and freeze up to 3 months. Slice of whatever quantity you need for your recipes.
- Tablespoon-Size Portions: Using a mini ice cream scoop, about 1-inch (2.5 cm) portion the butter onto a parchment-lined tray. Freeze until solid, about 15 minutes. Transfer to an airtight container or bag. Freeze up to 3 months.Yields approximately 16+ tablespoon-size (14 g) portions.

Comments
Ralph @ Bakell Edible Glitter says
Much better than buying it frozen from the grocery store. This recipe is so convenient and tasty! I love garlic so I doubled the amount. Thanks always for the great content.
Emilie Raffa says
Thanks so much, Ralph! Sounds delicious :)
Albertina says
It was perfect! Thanks for sharing this delicious and simple garlic bread recipe!
Emilie Raffa says
Thrilled you liked it, Albertina! Thanks so much!
Happie says
My weakness!!! The perfect addition to my weekly summer grill fest… the kids will be fighting over this one!
Thanks for the stellar instant education on young garlic, very insightful.
Would love to see a recipe about the left over croutons with tomato salad sometime maybe?
(Review provided by a support team member for theclevercarrot.com)