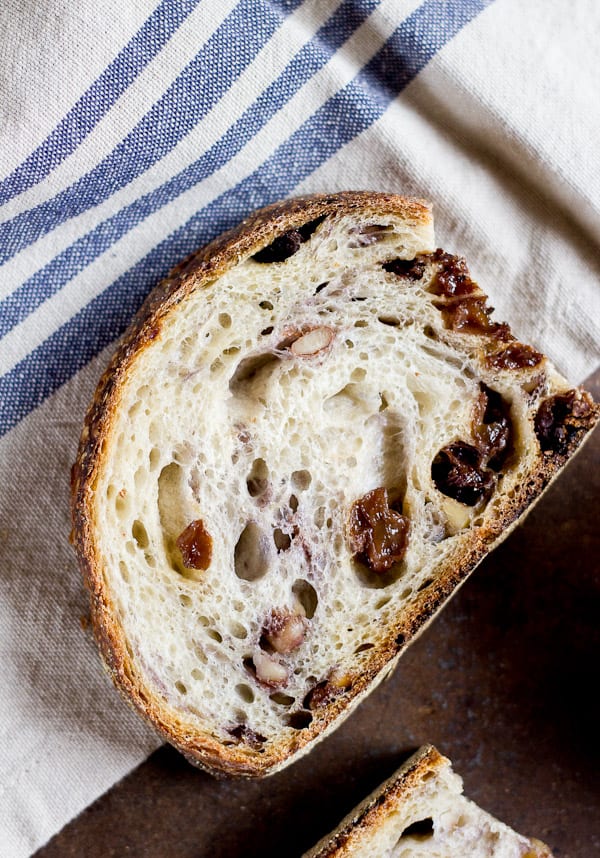
Oh, yeah baby.
Country sourdough with walnuts and raisins!
You’re lucky this bread even made it to post, because I kept picking at it as I was trying to shoot. It was nearly impossible to stay away!
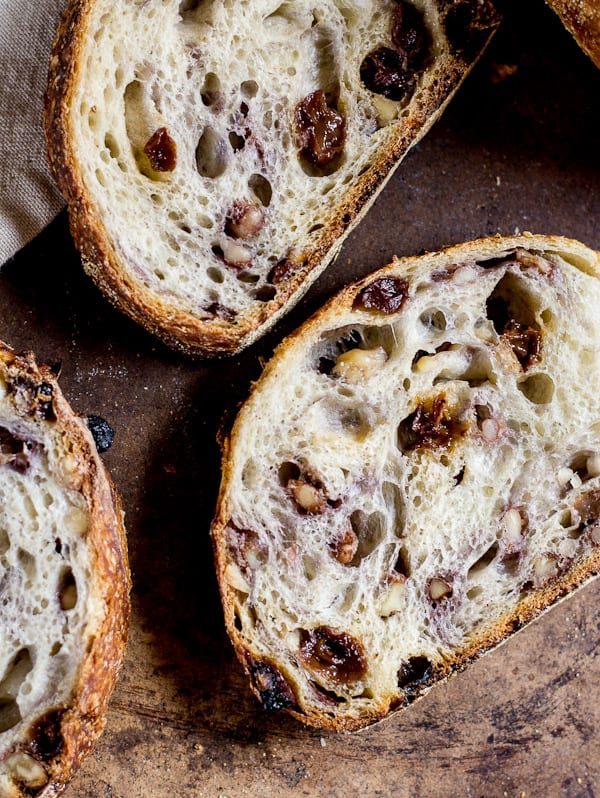
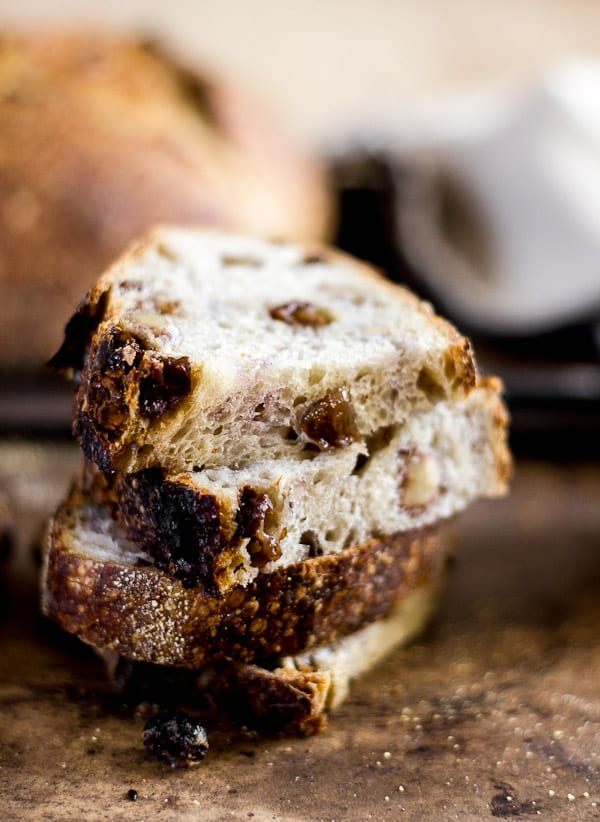
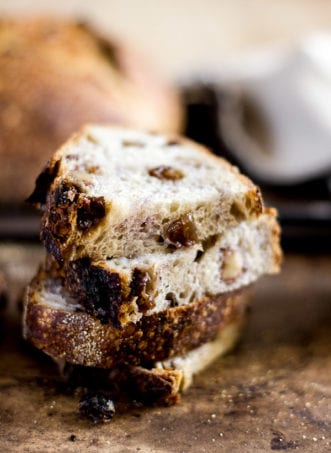
The inside is so chewy, studded with plump organic raisins and bits of crunchy, toasty walnuts.
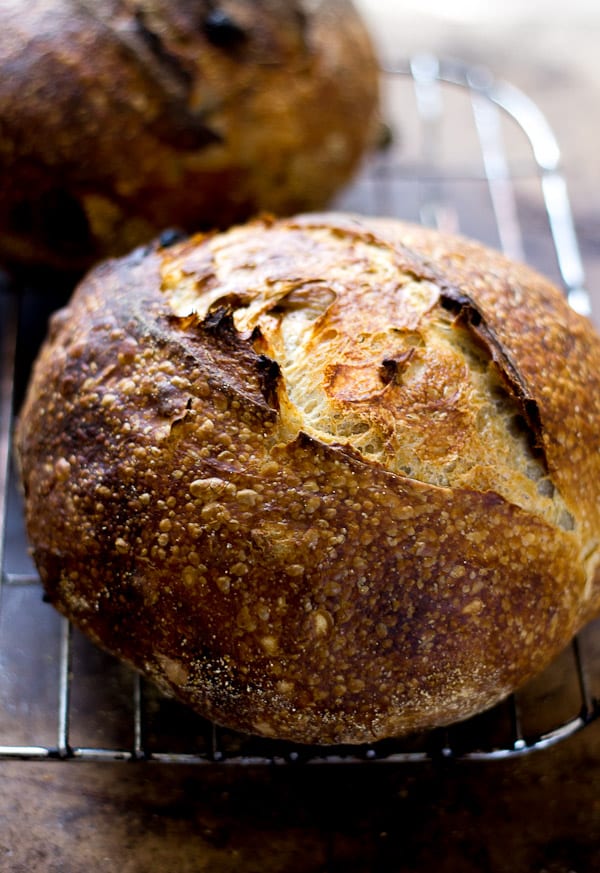
And the crust…
Crispy, crackly and delicious!
Raisin bread reminds me of when I was kid. My mom used to slather it with cream cheese and pack it for my lunch (bless you, Pepperidge Farm).
I still love raisin bread to this day, and I’m proud to share my homemade grown-up version.
For my baking friends, here’s the breakdown of my method:
- I used a 50/50 whole wheat + bread flour starter (100% hydration)
- 1 hour autolyse (during that time I soaked the nuts and raisins)
- Salt and fillings added after autolyse
- Stretch and fold every 30 minutes for 2 hours
- Bulk ferment at room temperature (currently 65 F) overnight, about 12-18 hours
- 2nd proof = approximately 45 minutes- 1 hour
- Baked in Dutch oven @450 F for 20 minutes (covered) + 40 minutes uncovered.
- Cracked open the oven door during the last 10 minutes of baking to harden the crust.
Confused?
I don’t blame you (I have a headache after reading that myself…)! Refer to my in-depth Beginner’s Guide for everything you need to know about sourdough.
As always, bread baking is as much of an art as it is a science.
What works for me, may or may not work for you. Ingredients, starters, and overall environment play a key role in how your bread will turn out.
So, get to know your dough. Tweak as you go. Weigh your ingredients. Trust your instincts. Own your style. Eat your mistakes (breadcrumbs, French toast, bread pudding- it’s all good).
Most of all, have fun. Enjoy this recipe!
Tips:
- This bread is best if consumed within the first 1-2 days of baking. If you prefer, you can cut the dough in half to make 2 small loaves. Eat one + freeze one.
- You will need a proofing basket, cloth lined basket, or bowl for the 2nd rise. I line my bowls with a cotton kitchen towel or sometimes I’ll even use a paper towel (shh! don’t tell…)
- To freeze, wrap your bread in plastic wrap and then in foil. It should last up to 3 months.
- All ingredients are weighed using a digital kitchen scale for best results. This is the one I use.
By signing up, you agree to receive emails from The Clever Carrot. Unsubscribe at any time.
Country Sourdough Bread with Walnuts & Raisins
- Yield: 1 Loaf 1x
- Category: Sourdough Recipes
Ingredients
150g bubbly. active starter
350g water, preferably filtered
500g bread flour (not all purpose)
9g fine sea salt
65 g chopped walnuts
65 g raisins
fine ground cornmeal, for dusting
*You will need a 6 quart Dutch oven for baking
** The starter I used for this recipe starter is 50/50 bread flour + whole wheat (100% hydration)
**** This recipe was tested with King Arthur, Gold Medal + Pillsbury bread flour
Instructions
- To make the dough: In a large bowl, combine the starter, water, and bread flour. Squish everything together with your hands until all of the flour is absorbed. Cover with plastic wrap and let it rest (autolyse) for 1 hour.
- Soak the filling: Add the chopped walnuts and raisins to a bowl and cover with ½ cup of water. Leave to soak while the dough is resting. Drain before using. Roughly chop the raisins.
- To the dough: Add the salt + ½ tsp. of water (to help it dissolve). Add the walnuts and raisins. Lift and fold the dough over itself several times, and squish with your hands to incorporate. The dough will tear slightly as you fold, and the salt will not fully dissolve. Don’t worry- this is normal. Work the dough as best you can until it comes back together into a rough ball. At this point, you shouldn’t feel any grains of salt beneath your hands.
- Bulk fermentation: Cover your bowl with plastic wrap and a clean kitchen towel. Leave it in a warm, sunny spot to rise. Your dough is ready when it no longer looks dense, and has increased in volume about 1½- 2x its original size. This can take anywhere from 3-12 hours depending on the temperature of your ingredients, the potency of your starter, and surrounding environment. In the winter, I make my dough in the afternoon and leave it to rise overnight at room temperature (65 F) for about 12-18 hours. In the warmer months, I bulk ferment in the fridge to control the rise rate and to prevent over proofing. *See note below.
- Stretch & fold: To strengthen your dough, do a series of stretch and folds every 30 minutes for 2 hours during bulk fermentation. Simply gather a portion of the dough, stretch it upwards and then fold it over itself. Rotate the bowl ¼ turn, and repeat until you have come full circle. You will have completed 4 folds. Try to keep the nuts and raisins tucked into the dough and not on the outside to prevent burning.
- Cut the dough: To cut and shape the dough, divide your work surface in half; lightly flour one side (for cutting) and leave the other half clean (for shaping). Remove the dough from the bowl, and place onto the floured section so that it does not stick. You do not need to ‘punch down’ the dough; it will gently deflate as you fold and shape it. Cut the dough in half to make 2 loaves, or leave it whole for a single loaf.
- Shape the dough: Use a bench scraper to move your dough to the non-floured section (if there is any flour present, it will be difficult to shape- brush away any excess). Gather the dough, one side at a time, and fold it into the center. Flip the dough over and place it seam side down. Using your hands, gently cup the sides of the dough and rotate it, using quarter turns in a circular motion. You can also pull it towards you to even out the shape. Repeat this process until you are happy with its appearance.
- Second rise: Place the dough into a cloth lined 8-inch basket, bowl or floured/lined proofing basket. It will need to rise again, this time for a shorter period, about 45 minutes to 1 hour. It is ready when the dough is slightly puffy.
- Prepare the baking vessel: Preheat your oven to 450F. Generously coat the bottom of a Dutch oven(s) with cornmeal to prevent sticking. Sprinkle a good amount of cornmeal on top of the dough as well (this will be the bottom once it’s flipped over). Carefully invert the dough into the pot, cornmeal side down.
- Slash the dough: Right before your bread goes into the oven, make a shallow slash about 2 inches long in the center of the dough. Use a bread lame, sharp pairing or serrated knife.
- Bake the bread: Place your bread into the oven (lid on) and bake for 20 minutes. Remove the lid, and continue to bake (uncovered) for an additional 40 minutes or until deep, golden brown. During the last 10 minutes of baking, crack open the oven door. This allows the moisture to escape, leaving your bread with a crisp crust. You can also take the internal temperature of your bread to double check that it is done. For sourdough, it should read about 205 F.
- Cool: Remove the bread from the oven, and cool on a wire rack for at least an hour before slicing. The longer you wait, the easier it will be to cut. Don’t slice into it too soon or else the texture will be gummy!
Notes
Because sourdough does not contain commercial yeast, it takes considerably longer to rise. In the summer months, it can take anywhere between 3-4 hours @ 85 F whereas in the winter, about 8-12 hours @ 65 F. It is very important to watch your dough and not the clock. It’s ready, when it’s ready.

Comments
Morgan says
Can this be made into rolls?
Alexa says
Hi Emilie! My starter is 100% bread flour. Would you recommend doing a wheat flour mix for the dough to achieve a similar flavor to 50/50 starter?
Giuliana says
Hello! I am cold proofing overnight and wanted to know if I should let it sit for an hour before baking tomorrow or should I put it cold into the oven? So excited!!
mb says
hmmm, just took bread out of the oven and I too only left in the oven 45 minutes with lid off after 20 minutes; it is definitely done using my thermometer. It smells done and looks done as well- perhaps a little too brown.
how long is the bread to be kept in the oven?
I also placed in the fridge overnight to bulk ferment as it was to be too warm overnight and a/c was off. it looked good
Lily Wood says
Hi Emilie! I have made this recipe multiple times! The taste is fantastic! I have noticed that my sourdough bread never gets quite the loft and large holes that I see in bakeries or in your pictures online. Any tips? I think I’m being pretty scientific about the process and following your recipe quite closely. :) Thanks!
Carol Fourre says
This is one of my favorite breads to make. Especially in the fall, and for the holidays. I use dried cranberries and orange zest to brighten the flavor. The smell when it’s baking is divine!
Ritu says
If I wanted to make this loaf with a maple flavour, how much maple syrup would you use and how would adjust the water? Thanks!
Emilie Raffa says
Hi there! I wouldn’t add maple syrup to this recipe. The added sugar will cause the loaf to darken and possibly burn. Plus, you won’t taste the maple syrup that much. As an alternative, I recommend soaking the raisins in a combination of vanilla, sugar, and maple extract.
Joanne Tucker says
Emilie! This is one of my favorite sourdough recipes! I make it every week. Since I have a sweet tooth, I add a cinnamon sugar swirl. I just stretch the dough into a long narrow rectangle and throw a cinnamon sugar mixture over it. Roll it up and put it in the banneton to rise right before baking. My oven only requires a 40 min baking time, the last 20 mins uncovered with a piece of foil loosely covering to prevent burning. Yum, this is a fantastic recipe! I thank you and my friends and family thank you!
MiMi McGee says
Hi Emilie,
Is this dough supposed to be super wet? 150g starter, 350g water and 500g flour makes equal flour and liquid which produced a very wet dough for me. I feel like maybe I missed some other flour…
Thanks!
MiMi
Emilie Raffa says
Hi Mimi! Yes. The dough is supposed to be wet, but not too wet that it’s difficult to handle. Perhaps you missed some of the flour (did you weigh your ingredients?) or you used all purpose flour instead of bread flour (ap flour absorbs less water than bread flour). Also, be sure to pat the raisins dry from excess moisture. If none of this resonates, just cut back on the total amount of water next time, adding more as needed. Start with 300 g and take it from there.
Vange Langford says
Mine is also super wet even when I weighed everything. I live in Sweden & there’s so many types of bread flour & the one I use is for airy breads & not the 00 or pizza flour. I will try a different flour and/or reduce the water next time.
Lynda Weis says
Thank you for the beautiful recipe. How do I convert grams to cups? I don’t have a gram scale.
Emilie Raffa says
I would plug the info into an online converter for best results. Heads up: the gram to cup conversion is not exact, only approximate, but enough to get you started!
Beverly j Paglia says
I just finished adding my nuts&raisins and it’s in the bowl rising which will take up to ? hrs. After I do S&F , can I put the dough in the refrigerator for the night and bake tomorrow?
Teri Lund says
ps. no need to reply to my earlier post. I found a comment from a while ago where you had already answered this question.
Jennifer Moskal says
Where is the earlier response. I was wondering the same thing. After letting it start to rise on the counter I realized I’d rather bake it in the morning can I put it in the fridge halfway through
Teri Lund says
Emilie – I love this recipe but have a question about baking. Do you have your baking vessel in the oven while it’s preheating? It’s not clear in your instructions but that’s what I’ve always done when baking artisan sourdough loaves. Thanks for these lovely recipes and for clarifying this for me. Teri, from Laramie Wyoming
Michelle R K says
I find mine turns out better when I preheat my Dutch Oven :)
Jo Wignell says
Yes ye she’s it turned out amazing omg the crust as crispy and tasty – best loaf ever ! Delish thank you
Jo says
I did and it’s cooking now, super excited but I preheated the Dutch oven and not sure I was suppose to? It’s still got 14 mins left and looks almost done ? Xx will post photo on TT if nice 😊
Michelle R K says
It helps to temp your bread. I pull mine around 205. If its getting dark, cover it again with the lid or foil