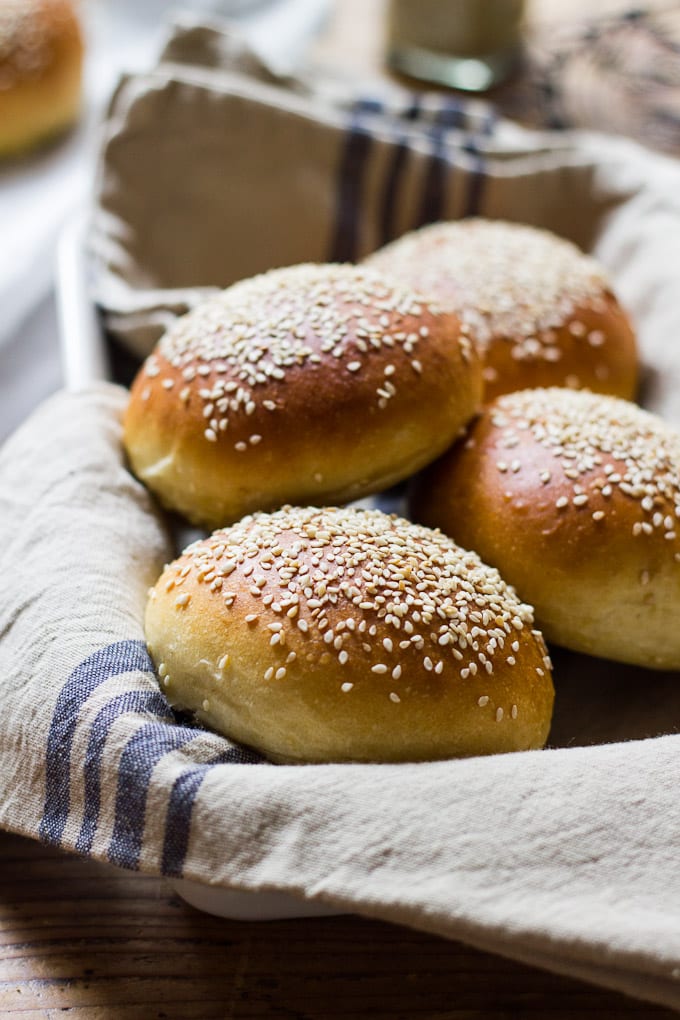
I’m always up for some good baking.
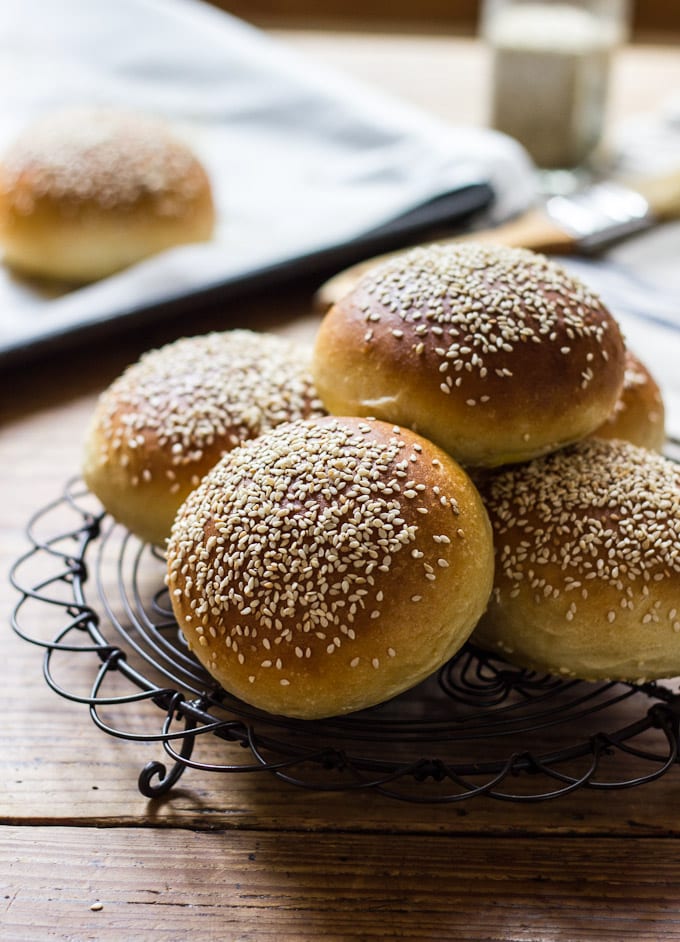
These whole wheat hamburger buns are a spin off of this original version with the addition of wholegrain flour.
I wanted to create a healthier version without departing too much from a traditional brioche. My family loves this recipe- it’s perfect for burgers and sandwiches.
Here are some key elements to keep in mind when baking:
Good bread always begins with good dough.
Working with whole wheat flour can be tricky; too much will make your bread heavy and dense.
After a couple of experiments, I found that adding only a small amount and letting the dough rise overnight was key to a light and fluffy texture. I also let my dough come to room temperature instead of baking (cold) straight from the fridge. This improved the overall texture as well.
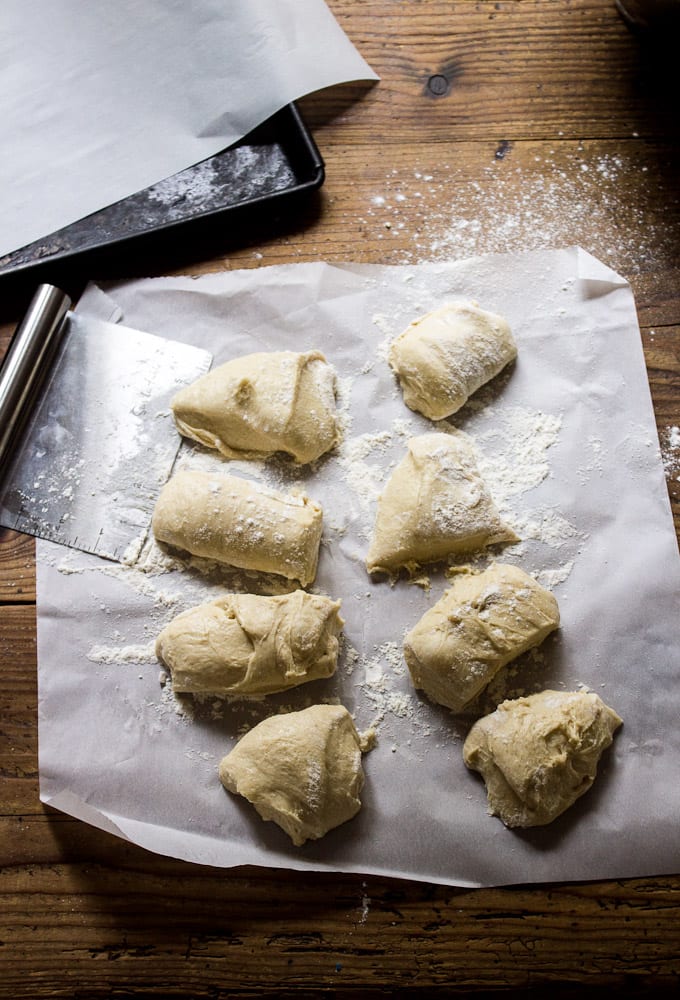
When cutting your dough into portions, use a kitchen scale for best results. I weigh the entire ball of dough first (minus the bowl) and divide by the number of rolls I want to make. Weighing your dough guarantees that everything will be uniform in size.
Do you like my little black scale? I’ve had that for almost 10 years…
Shape the dough into balls and press down gently to flatten.
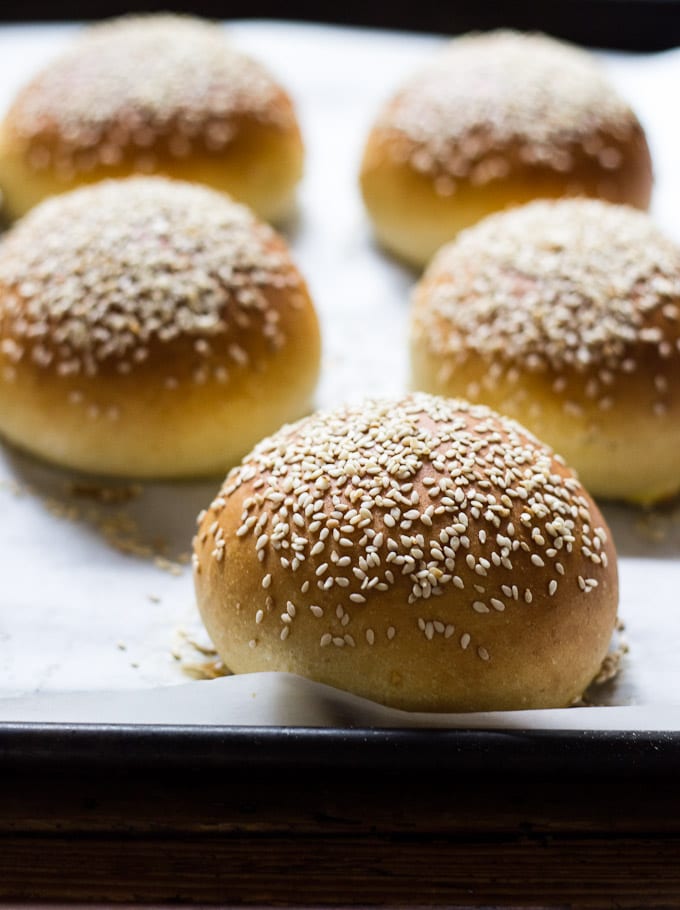
Right before baking, brush the dough with egg wash for a golden, shiny crust. Make sure to get all around the sides and underneath the dough too. This will create a ‘seal’ which prevents the bread from tearing at the sides. Sprinkle with sesame seeds or another topping of choice.
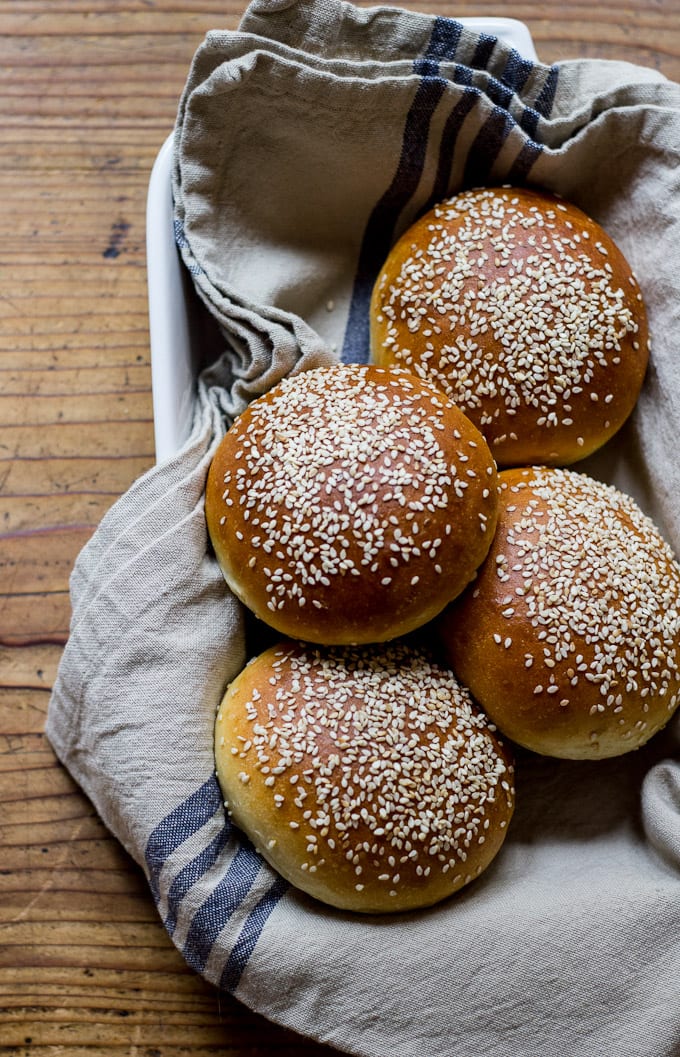
Bake for 25 minutes, and you will have your very own brioche hamburger buns…
Just don’t pick until they are completely cool! That gorgeous fluffy texture will dry out.
What I like about this recipe is that it is very accessible for the home cook. There are no crazy ingredients to hunt down, and you do not need a bread machine.
You can even make sliders, sandwich loaves, and other creations with this basic dough.
By signing up, you agree to receive emails from The Clever Carrot. Unsubscribe at any time.

Whole Wheat Hamburger Buns
- Yield: 8 1x
- Category: Bread Baking
- Method: Baking
- Cuisine: American
- Diet: Vegetarian
Description
An incredible recipe for light, brioche-style buns with the addition of good-for-you whole grain flour. Perfect for burgers and sandwiches.
Ingredients
1 c. warm water
3 tablespoons warm milk (whole, 2%, 1% is fine)
2 teaspoons active dry yeast
2½ tablespoons sugar
2 large eggs
2½ cups bread flour
¾ cup whole wheat flour
1½ teaspoons salt
2½ tablespoons unsalted butter
sesame seeds
Notes: Before you begin, this recipe requires an overnight rise. You’ll need to start the day before.
Instructions
In a glass measuring cup, combine the water, milk, yeast and sugar. Let stand until foamy, about 5 minutes. Meanwhile, beat 1 egg in a separate bowl; set aside.
In the bowl of a stand mixer, add the flours, salt and butter. Using the paddle attachment, mix the ingredients until the butter is the size of small crumbs.
Add the yeast mixture and beaten egg to the bowl. Run the mixer on medium-low (I used #3 on my Kitchen Aid) until a dough forms, about 8-10 minutes.
Shape the dough into a ball and return it to the bowl (it will be sticky). Cover with plastic wrap and let the dough rise in a warm place for about 1-2 hours. Transfer to the refrigerator to finish rising overnight.
When you are ready to bake, remove the dough from the refrigerator and bring to room temperature, about 1 hour.
Line a baking sheet with parchment paper.
Using a bench knife (or chef’s knife), divide the dough into 8 equal pieces. If you have a kitchen scale, weigh each piece to guarantee that they’re all the same size.
To shape the dough into balls, gently flatten each piece like a pancake. Pull up each side pinching it together in the center. Repeat until the ball is sealed. Flip the ball over (seam side down) and move to an un-floured part of your board (it’s easier to roll this way). Place your palm over the top and gently roll into a smooth ball.
Transfer the balls to a parchment lined baking sheet, placing them 2 to 3 inches apart. Gently press down to flatten. Cover loosely with lightly oiled plastic wrap and let buns rise in a warm place for 30 minutes to 1 hour, or until puffy and slightly risen.
To make the egg wash, beat the remaining egg with a splash of water. Right before baking, gently brush each bun with egg wash, making sure to coat the sides and underneath the dough. Sprinkle sesame seeds over the top.
Preheat your oven to 375 F. and place a shallow metal baking pan on the oven floor. Before the dough goes in, add a few ice cubes to the hot pan to create steam. This will keep the bread moist and prevent it from tearing on the sides.
Bake for about 20-25 minutes or until golden brown.
Transfer to a wire rack and cool completely before serving.




Comments
Jordan says
Absolutely fantastic and fluffy. I made it exactly as per the recipe except from the overnight ferment. I let it rise in the oven in the proofing setting for about 2 hours. Formed into 8 balls and let it proof another 2 hours until about 1.5-2x the size then baked.
Helen Krahn says
I coverted all measurements to grams and the dough came out very wet and sticky. Not sure why this happened. It was almost like batter
Emilie Raffa says
Hi there! In any recipe, the conversion from cups to grams (and vice versa) is not exact; only approximate. There are SO many reason for this including ingredient density, measuring cup size, how people pack flour into their measuring cups etc., which is why you’ll get slightly different results when doing so. Going forward, if a recipe is written with a specific measuring system, it’s best to stick with that one the first go around, so you have a solid baseline for reference. Hope this helps 🥰
Molly Tierney says
My first attempt at this recipe resulted in a two-hour room temperature rise that was easily doubled in size. So I am going to go ahead and shape and bake without the overnight rise.
Emilie Raffa says
Perfect! Thanks for sharing, Molly!
Michelle Colgain says
The recipe has duplicates of every ingredient. I am assuming that is a mistake. Can you offer how to make these with a sour dough starter? Thanks
Emilie Raffa says
Hi Michelle! Thanks for bringing this to my attention. All fixed now :)
Joefine says
I never thought I would find a good recipe that made it so easy! Thank you so much!
Emilie Raffa says
Hi Joefine! Thanks so much. Enjoy!
Aggi says
Can I substitute all purpose flour for bread flour?
Rosh says
Hi. I would love to try this recipe but I don’t have a stand mixer. Can I use a food processor with the dough attachment instead? Thanks so much :)
Emilie says
Hi there!
I’ve never tested this recipe with a food processor, but you can certainly try! Just be mindful of how long you mix the dough; over mixing will make the rolls dry and tough.
Anna says
Hi, Thank you for sharing this recipe that look perfect. I certainly will try but i would like to make also a vegan version of it. Do you have any suggestion? Thnks so much.
Emilie says
Hi there! So glad you’re going to give it a try! Unfortunately, I do not have a vegan version. You might want to look for something similar online. Good luck!
Paloma says
Perfect! This recipe is fantastic! Congratulations! It came out just perfect!
Loved that it is so light and it has the whole wheat flour.
I only added 30cm foil rings to the last rising part and while baking…just to make them all with the same size.
Jess says
Any idea of the Calorie count?
Emilie says
Hi Jess,
Sorry, I don’t have the nutritional info here, but I’m sure if you plug the info into one of those online converters it should calculate the results for you!
marge says
tried your light brioche recipe and was delicious! I’m just new at breadmaking,hope you don’t mind if I have some questions.
After shaping the dough into balls, I left them to proof too long, maybe 2 hours and it spread out instead rising upwards. Is that a normal reaction of the dough?
For the wholewheat version, why do you need to keep it overnight and roughtly how many hours to be precise? Is there an option to just let it rise out of the refrigerator but longer?
Hope to hear from you. Thanks so much and really enjoy your blog!
Emilie says
Hi Marge,
To answer your questions-
1.) Yes, a 2-hour second proof is too long. That is why your dough spread out to the sides. FYI- bread dough will always spread out to the sides (slightly), especially with a wet dough like this one. However in your case, it spread way too much because of the extended length of proofing time.
2.) For the wholewheat version, I let it proof overnight for 2 reasons: convenience and because whole wheat flour absorbs more liquid than all purpose. Whole grain flours benefit from a longer rise time to make them light and fluffy, not dense (hence the overnight rise). And 12+ hour rise time is usually what I do. You can certainly let it rise outside of the refrigerator, for a longer period of time, but you have to keep your eye on it. You don’t want it to overproof. It could take anywhere from 1-3+ hours depending on how warm your kitchen is. See if you like the texture when baked, and adjust your method from there.
Hope this info helps! Happy Baking :)
Emilie says
PS- try a 30 minute 2nd rise next time :)
Rhys says
I’ve made these a few times. The first time they were a little denser than I’d like. Tasted great, just not exactly light and fluffy. I think it was because the rolls weren’t proofed well. I made them another time using all whole wheat flour and I think 2 tablespoons of vital wheat gluten. I also turned on all the cooktop burners for a minute, then put the baking sheet with rolls to proof on it. These turned out very well. The last time I made it this weekend, used the recipe as is, but I let the dough rise for 2 hours in the kitchen, an hour in the fridge, then come up to temp for 1.5 hours in the kitchen. Then I proofed the rolls in an oven preheated to 200 with a bowl of water in it. These were a bit larger than I wanted, but they were exceptionally light and fluffy, exactly what I’ve been going for.
The best part of this recipe for me was the description of how to form the rolls. It’s something that has been useful to me with other recipes, and the result is a beautiful, almost professional looking, delicious hamburger bun.
kathryn says
Hello! These look delicious and I’d like to try making them. I had a question about the recipe… It says in the 2nd step to use the paddle attachment to mix the butter and flours… should I switch to the dough hook attachment for the next step when I add the yeast mixture and egg? I haven’t made this kind of dough before, so I’m not sure, and was wondering what you used when you made it. Thank you and I look forward to hearing from you!
Leslie says
I have the same question, did you ever hear back?
annie says
I just made these for our corned beef sliders for a St Patrick’s day party. I made them smaller so got 16 and topped them with an ‘everything’ mix of onion flakes, poppy, sesame and caraway seeds. They were so DELICIOUS! A huge hit with everyone. I am already planning to make them for our next burger party. I love the overnight resting…all you have to do the day you want them is shape and bake.
Chrissie says
Lovely recipe! Was just wondering how you think the dough would freeze? Thanks!
Laney (Ortensia Blu) says
Beautiful! And what a great idea to weigh the dough…such a simple concept to make them look perfect…
laurasmess says
Yum. I love brioche, I haven’t actually used it as a hamburger bun yet but it seems to be all the rage over here (there are now Heston Blumenthal brioche hamburger rolls being sold at my local supermarket!). Love the addition of the whole wheat, yum! Gorgeous post and photos as always Em xxx
cheri says
These are wonderful, love that you added whole wheat flour and topped these with sesame seeds, never really thought about making my own until now. Pinned.
Liz says
Thank you for the nice recipe.
Laura (Tutti Dolci) says
So gorgeous, love the sesame seed topping!
Alessandra (DinnerinVenice) says
These are absolutely gorgeous!! Going on tomorrow night’s dinner menu!
Rebecca {foodie with family} says
I’m swooning! Those brioche buns look divine!
Samantha @FerraroKitchen says
Wow!!! You have certainly outdone yourself! I have always wanted to bake bread/buns, etc but am so hesitant to! Your “buns” (haha) look just gorgeous!
Kelly @ Inspired Edibles says
“Not bad eh?” (it’s not every day that this Canadian gets to pick on someone else’s use of our well-loved eh, eh? ;-) ).
Funniest thing, I ran into the grocery store last week to pick up some burg buns with my son and the entire bakery was closed!! (I’ve never seen that before) there was a gas leak of sorts and it was a precautionary measure. Let me just say that our flat corn tortillas were a sorry replacement for buns and what I wouldn’t have done to acquire some of these beauties in that moment!! Great lookin’ buns sister :). xx
Lindsey | Cafe Johnsonia says
Looks like I need to start making buns from scratch again! I’ve never seen prettier hamburger buns!
Emily | Jelly Toast says
These buns are beyond lovely!
Carolyn says
These might be the prettiest burger buns I’ve ever seen!
Gerry @ Foodness Gracious says
These look fantastic, love it!
Laurie {Simply Scratch} says
These are majorly gorgeous!!
Bri | Bites of Bri says
These are so pretty and look delicious! I’ve never made burger buns but I’m down for trying it! Pinned.