The internet is a beautiful thing.
Back when I postedthe recipe for no-knead artisan bread, I made a new friend on facebook. Her name is Hendrika, and she is from the Netherlands.
Hendrika (also a baker) recommended making a whole grain version. She said to replace 25% of the flour with whole grain flour, and increase it up to 50% for a heartier bread. Then roll the dough in old fashioned oats before the second rise.
I took her suggestion…
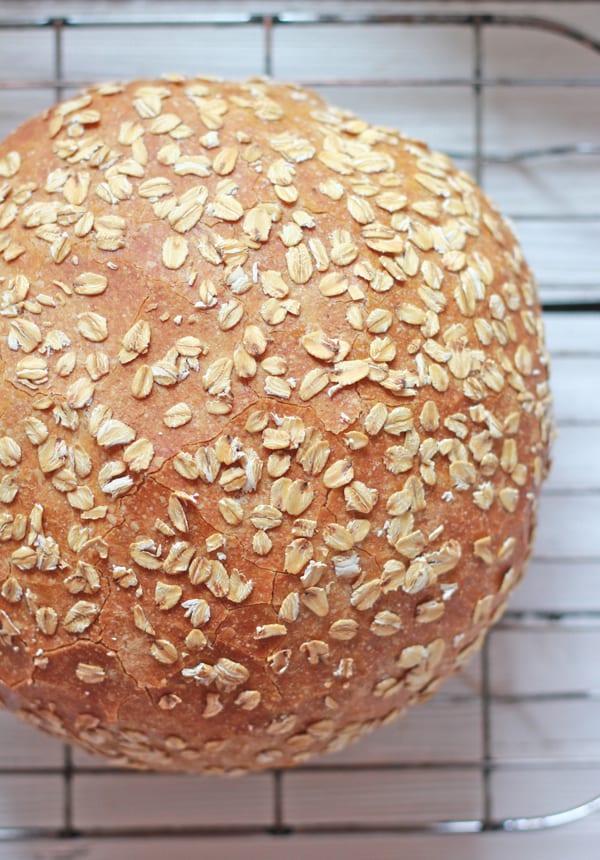
And it worked beautifully! I even added a little honey for a hint of sweetness.
What’s great about this recipe, is that it’s made in the exact same fashion as the original no-knead bread (who doesn’t love baking in a dutch oven?!) The only difference is the ingredients.
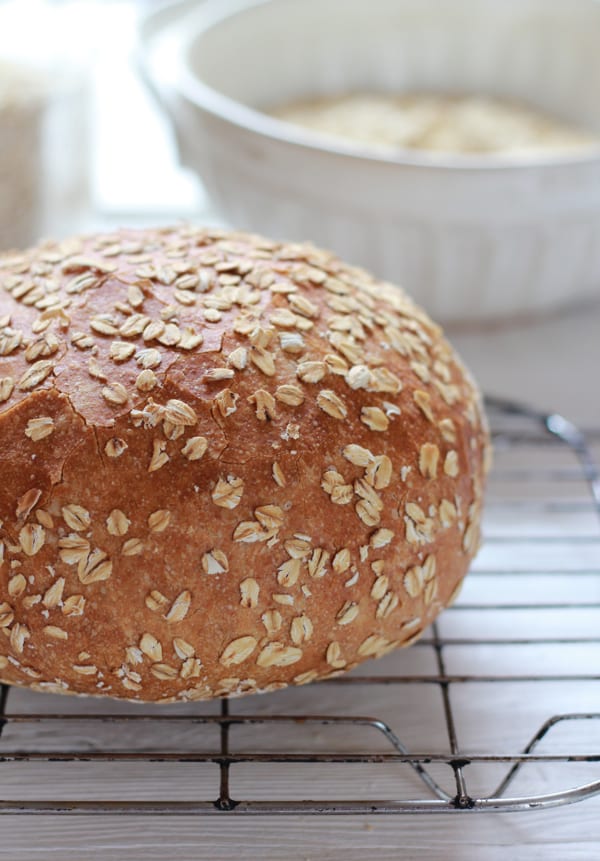
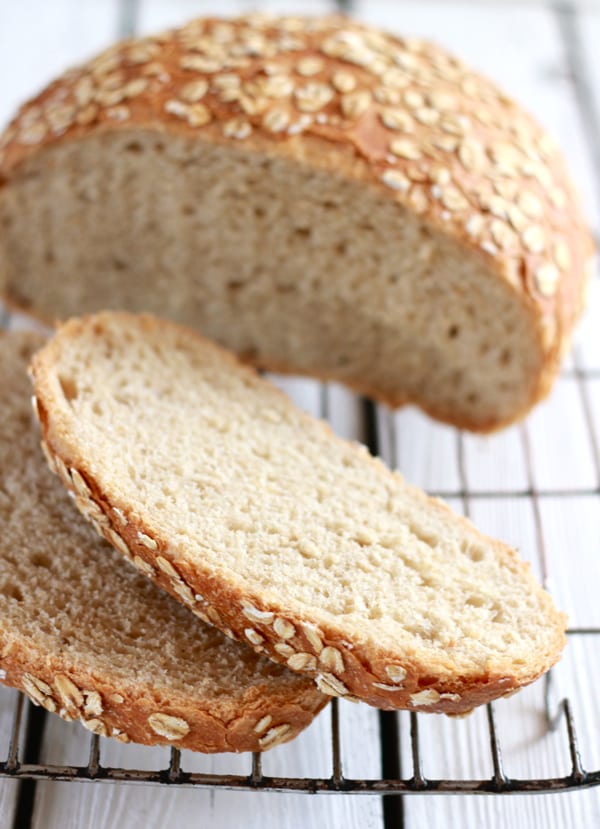
I went with a smaller amount of whole wheat flour as I prefer a lighter, less dense bread. However, I’ve made it using a 50/50 ratio and it was just as good- it’s simply a matter of personal taste. I also added a touch more salt to enhance the flavor. The result was a nutty, golden bread bread with a soft and chewy interior. The crust was perfectly crisp.
And that is the beauty of the internet. It brings together like minded people.
As for us, we’ve been enjoying the fruits of my labor in sandwiches, french toast and dunking in soup. The kids go crazy for this bread. Any leftovers are blitzed into breadcrumbs and stashed away in the freezer. As I’ve mentioned before, there’s nothing like making your own bread and once you get started the possibilities are endless. Thanks Hendrika, for the fabulous idea!
For a step-by-step tutorial on making no-knead artisan bread, click here!
*It’s interesting to note that this dough is not as wet as the original version. Whole wheat flour absorbs more water resulting in a drier dough. Keep in mind that you might need to add additional water to bring the dough together. Do this 1 tablespoon at a time until you reach your desired consistency.
RECIPE:
Ingredients
- 2¼ c. bread flour (not all-purpose) + more for dusting
- ¾ c. whole wheat flour
- ¼ tsp. instant yeast
- 1½ tsp. fine sea salt
- 2 tbsp. honey
- 1½ c. water
- ¾ c. old fashioned oats, for rolling
Tip: I use King Arthur bread & whole wheat flour and SAF instant yeast. For baking, you can use any 6 quart dutch oven, cast iron, enamel, Pyrex or ceramic bakeware (with lid) that can heat up to 500 degrees F.
Instructions
- Make the dough: In a large bowl whisk together the bread flour, whole wheat flour, yeast and salt. In a separate bowl, combine the honey and water. Add the water mixture to the dry ingredients, and stir with a wooden spoon until combined; the dough will be wet and sticky. If it seems very dry, add more water (do this 1 tablespoon at a time) until desired consistency is achieved.
- Transfer dough to a lightly oiled container and cover with lightly oiled plastic wrap to prevent sticking. Let the dough rise for 14 hours- overnight, at room temperature, about 70 degrees F. The dough is ready when it has puffed up in volume, about 1½ -2x its original size. *See note below below.
- Shape the dough: Lightly flour a sheet of parchment paper and place the dough on top. Fold the dough in half and then fold it in half again.
- Add more flour to the parchment paper and sprinkle the oats on top. Shape the dough into a ball by tucking the sides underneath itself, and then roll it around in the oats to coat. Place the dough onto the paper seam side down. Cover and rest again until puffy in shape. This will take 30 minutes- 2 hours depending on how warm your kitchen is.
- Preheat your oven to 400 F. Put a 6 quart dutch oven pot inside for 20 minutes. When the dough is ready, remove pot from the oven. Place your hand underneath the parchment paper and invert the dough into the pot. The seam will be facing up. Cover the pot with the lid.
- Bake the dough: Place your bread into the oven, and immediately reduce the temperature from 400 to 375 F. Bake for 30 minutes, covered. If you find that your bread is browning too quickly, reduce the temperature to 350 F. Remove the lid and bake for an additional 20 to 25 minutes, until golden brown.
- To make sure that the bread is completely cooked through, take its temperature. Carefully tip the bread onto its side and insert a thermometer into the bottom. It should read 200-205 F. If not, place it back into the oven until it it’s cooked through. If you’re worried about the top getting too brown, loosely tent the pot with foil.
- When finished, transfer the bread to a wire rack. It should feel light and make a hollow sound when you give it a knock underneath. Let it cool for at least 1 hour. Cutting it too soon might ruin the texture resulting in a gummy crumb!
Note:
* If your dough isn’t puffed and bubbly after the initial rise, place it in the microwave with the light on (keeping the door ajar). The warmth from the light will give the yeast a boost. My friend Celia gave me this tip and it works like a charm, especially in chilly kitchens!

Comments
Donna Woods says
Emily, If I use starter instead of yeast, should I do a series of stretch and fold for the first rise then proceed with your instructions? I can’t wait to try this bread but want to use starter instead of yeast. Thanks Emily
Wendy Azpeitia says
Hello. Can I use my bread machine to process this recipe?
Thank you.
Peter says
Hey Emilie,
Do you suppose a tablespoon or so of wheat gluten would open the bread bread more?
Thanks,
Peter.
ROBERT says
LOVED THIS!
Emilie Raffa says
Wonderful to hear- thank you!
Diane says
Thank you for this wonderful bread recipe. I made it exactly as it was written and it
Passed with flying colours with the family!
** Can you anyone tell me if this bread would freeze well? If yes, how long will it be good in the freezer? **
I’m off to make more but look forward to a reply. Thanks
Emilie Raffa says
Fantastic, Diane! This is so great to hear :)
To answer your question, yes: you can absolutely freeze this bread. Once completely cool, tightly wrap the loaf in a few layers of plastic wrap to prevent freezer burn, label, date and pop in the freezer. It should last 2-3 months. To use, defrost at room temperature and then reheat in the oven.
Enjoy!
Patricia says
Hello Emilie, I made Honey Whole Wheat Bread & it toasted up lovely! I have some questions about recipe instruction steps and process:
1) “desired consistency is achieved”: How do I determine if the wet sticky dough is appropriately wet-sticky or too wet?
2) “puffed up”: Do you mean that the dough actually puffs up into a dome? My dough did not dome. Kitchen ambient temp was 67-68F and dough fermented for 16 hours; doubled in size and was very bubbly active, so I proceeded to next step
3) parchment paper & folding: Can you post a video showing steps 3 & 4 ? After folding and carefully managed tucking into ball, I placed dough on parchment and in banneton to help hold its shape b/c it was sort of “gelatinous”, a little loose. I had bit of trouble w/steps 3 & 4
4) proof rise 1/2hr – 2hrs: Can you give relative temp & time?….like, @70F approx 90min proof rise or 78F approx 60min
5) 400/375F oven temp: Why does this bread bake at lower temp VS white flour NK Bread 500/450F
6) “if browning too quickly, reduce temp 350F. Remove lid and bake 20-25min” If crust is browning too quickly, shouldn’t the lid stay on?
Also….
Do you recommend using the poke test towards end of proof rise?
Why are No-Knead Breads not scored?
Thank You!!
Dannielle Heraclides says
Hi! I want to make this. I love all of the recipes I’ve made from your site and am looking forward to this one. But…I’m very confused about why there’s only 1 g /1/4 tsp of yeast. I’m going to make it according to my gut which is to use a packet of active dry.
Emilie Raffa says
There’s only 1/4 tsp of yeast in this recipe because it’s an overnight, which follows a very long bulk rise. If you were to add an entire packet of yeast, with the overnight rise, the dough would rise too quickly and you’ll end up with over proofed dough.
Denise says
I followed this recipe to the letter and with 1/4 tsp of yeast the dough doubled in size overnight. It is in the oven now. I baked the white bread last weekend and it turned out perfectly. Thank you for your recipes!
Zerina Pai says
Hi Emilie, what am I doing wrong? I made your artisan bread and it came out perfect so I decided to try this whole-wheat recipe. It rose beautifully but it’s a bit odd (not exactly runny) but won’t come off the parchment. I’ve tried adding more flour but it’s still stuck.
Any advise as my husband loves whole wheat bread.
Jessica Carbajal says
I have a 100% hydration starter, how could I use it instead of a yeast packet?
Emilie Raffa says
Jessica, you can try using 50g of starter in this recipe instead of the yeast. :)
Heidi says
This bread is delicious! I realized after I made it that the oats were not supposed to go into the dough, but I had put them in and I loved the texture of the bread. Thanks for a great recipe!
Emilie Raffa says
Ahh…glad it all worked out! And tasted good too! x
Gen says
I did the bread and it worked perfectly fine. Just wondering for the look, mine crack on top ( i cooked half the time with a foil paper on top so it doesn’t get to brown. Why yours look so perfect (no cracks) ?
Thanks a lot!
Emilie Raffa says
Hi there! It’s hard to say without seeing a picture… practice I suppose! :)
brinacyl says
Hello Do you think I can bake in a loaf pan? Many thanks
Emilie Raffa says
I haven’t tested it myself… but I do believe so. Let us know how you go if you experiment!
Janine Magnuson says
I use my pressure cooker in yogurt setting to proof the dough for 3 hours. Works like a charm!
Emilie Raffa says
Fantastic! Thanks for the tip!
Jennifer says
Hi! Where is the recipe? It seems to have left the site! Thanks!
Jennifer says
Still can’t find the recipe! Can you post it again?
Emilie Raffa says
Hi Jennifer! Yes: I will repost. Sorry it keeps disappearing… I see it on my backend but once it’s published, it vanishes! Stay tuned…
Jennifer says
Sorry to be such a nag, but this is my favorite bread recipe! I’ve made it a lot, but I never wrote it down. :-(
Emilie Raffa says
Hi Jen! You’re totally not a nag. Out of all the recipes on this site, this particular one disappears every time I repost it. I have no idea why! Anyway, the recipe is listed at the end of the post. Unfortunately, it doesn’t have a print button. If you’d like a hard copy, I’d recommend copying and pasting into a new document to print! Apologies for the hassle. Hope you enjoy! x E
Annabelle says
Hello Emilie:
Is there a reason that this recipe is repeated? Thanks for your response.
Emilie Raffa says
Hi Annabelle! Thanks for catching this- it’s a glitch on my site (the recipe shouldn’t be repeated- yikes!). Will fix now… x E