
In this post, you’ll learn how to make my creamy, quick and easy lemon ricotta pasta with spinach. It’s the perfect 20-minute weeknight meal! Like most “everyday” Italian pasta recipes, this ricotta pasta requires less than 10 ingredients and a super quick sauce (about 3 minutes or so, while the…
Read More
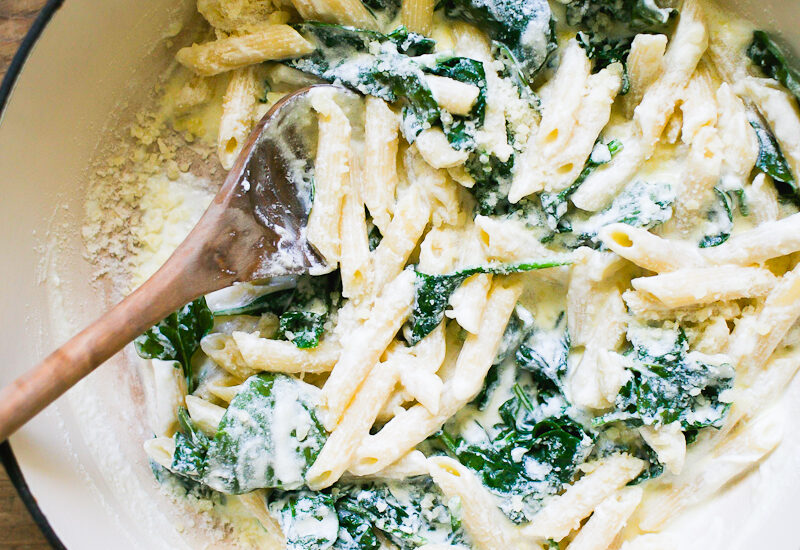
Ultra-Quick Lemon Ricotta Pasta With Spinach
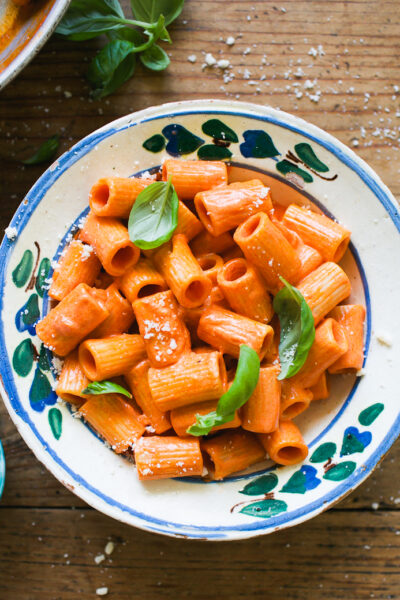
30-Minute Rigatoni With Vodka Sauce
This easy, creamy, 30-minute rigatoni with vodka sauce is a go-to favorite. You can omit the vodka if you like (you’ll get a luscious “pink” sauce instead). But do try the crispy shallot and pancetta variation for a twist. It will make you swoon… You know this dish. We all…
Read More
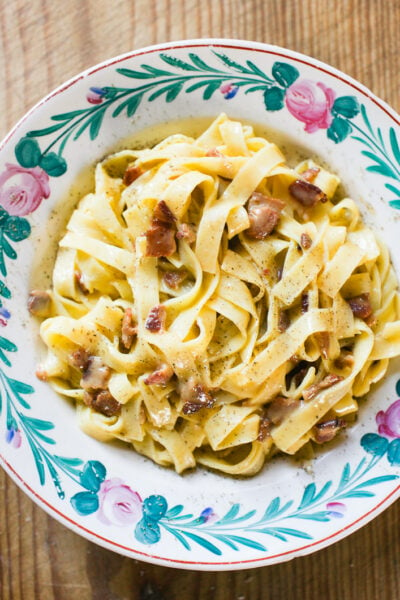
Creamy, 5-Ingredient Pasta Carbonara
This easy, carbonara recipe is made with eggs, crisp guanciale (or bacon), and a blend of Pecorino Romano and Parmesan cheese for the ultimate creamy sauce- no heavy cream! Toss with fresh homemade pasta for an elegant twist. Carbonara is a classic, 5-ingredient Roman pasta dish made with 5 simple…
Read More

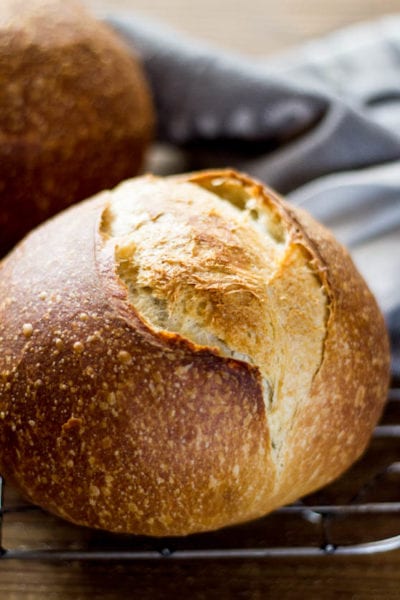
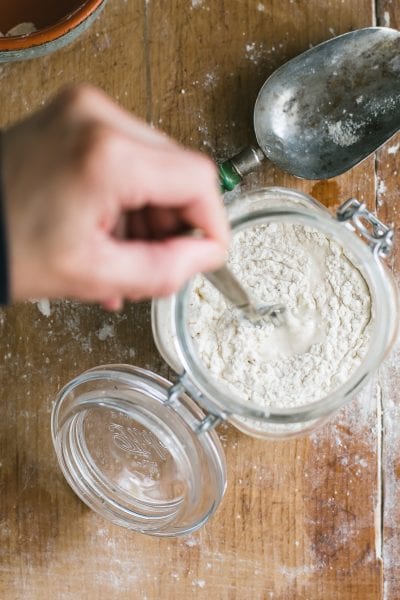
Sourdough Garlic Knots With Roasted Garlic And Pecorino Cheese
Learn how to make soft, homemade sourdough garlic knots with tangy active sourdough starter and sweet roasted garlic. Topped with Pecorino cheese and fresh parsley, it’s a fresh new take on the classic garlic knot recipe. Garlic knots are soft, hand-formed rolls typically made with leftover pizza dough. Tossed with…
Read More
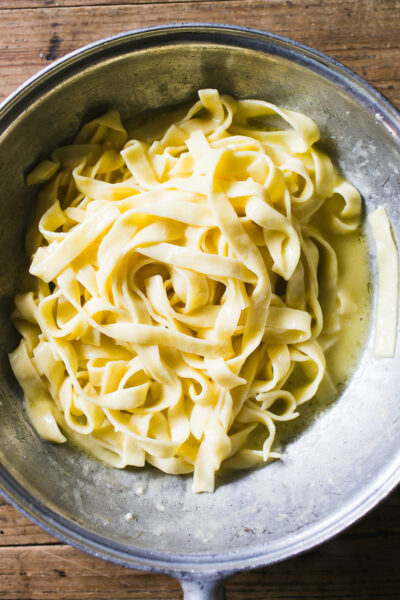
Real Alfredo Sauce (No Cream!)
Looking for an easy, authentic alfredo sauce recipe without cream? This is it. Made with 3 simple ingredients in 30 minutes or less, serve with fresh homemade fettuccine pasta for the ultimate Italian dinner. Pasta alfredo, and I’m talking about real authentic alfredo sauce hailing from Rome, is a creamy…
Read More