What I love about bread is that we’re constantly learning.
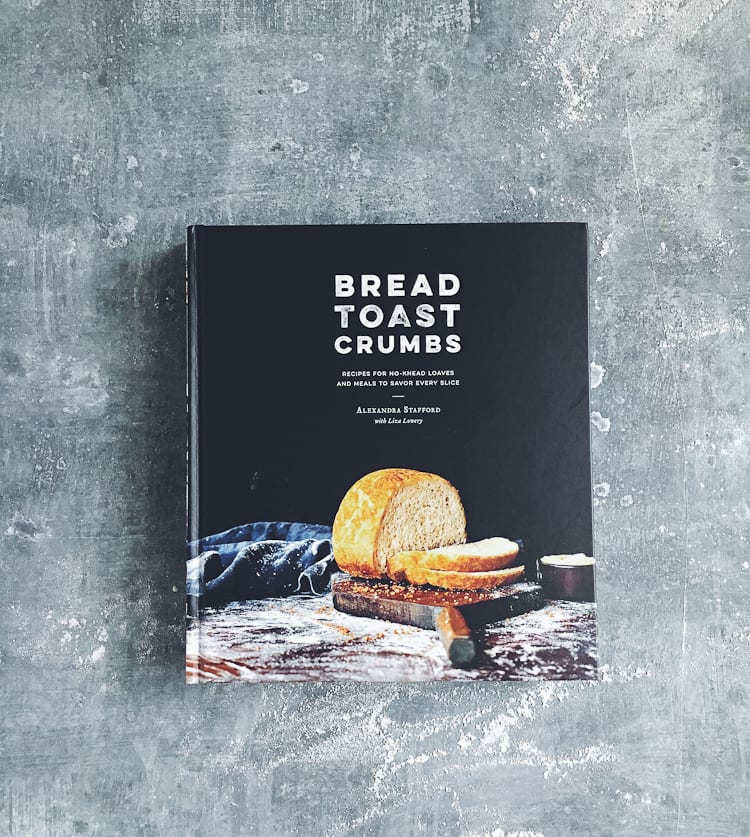
Let me introduce you to my friend Ali. She’s the creator of Alexandra’s Kitchen, mother of 4 totally adorable cutie pies, and author of Bread Toast Crumbs: Recipes for No-Knead Loaves and Meals to Savor Every Slice.
The book is just as fabulous as she is.
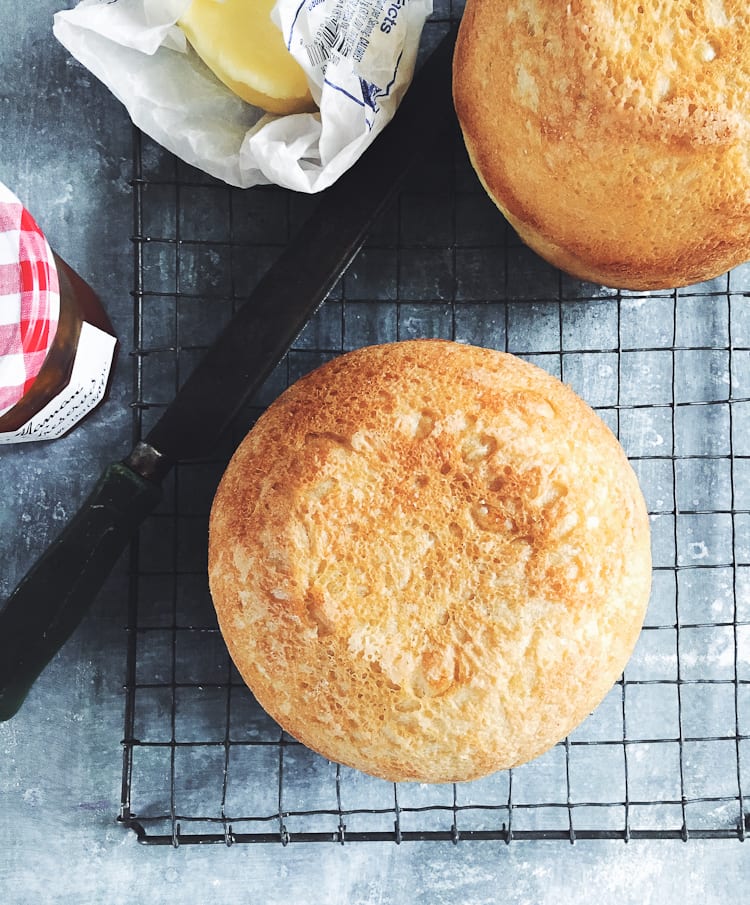
Ali’s story is based on her mother’s peasant bread which is an approachable, no-knead loaf that absolutely anyone can make.
The dough is made with instant yeast, so you can expect for it to rise pretty quickly when left in a warm spot. Then it’s shaped and divided between two buttered bowls (BUTTERED!) and left to rise again for a short amount of time. When ready to bake (and this is the cool part) the doughs are baked to golden perfection directly in their happy little bowls.
How fun is that?
What’s practical too, is that her peasant bread is the gateway to many other breads in the book including this Oatmeal-Maple Bread and this insanely good-looking Cinnamon Sugar Monkey Bread.
But as scrumptious as it all sounds, her mother’s recipe was passed down with a catch.
She was forbidden to share it with anyone.
And so for many years, she didn’t. Ali kept it a secret.
Occasionally, the bread would make an appearance on her blog and naturally everyone wanted to know how to make it.
Following her mom’s orders, she told the readers they could find the recipe on the back of a bag of King Arthur Flour. But this wasn’t really the case.
Soon enough, her readers caught on and were too savvy to bite the bait. Ali couldn’t keep the secret for any longer!
The recipe was eventually published on her blog and it was received with great success. The creation of Bread Toast Crumbs followed and the rest of the story is delicious, peasant bread history.
I’m incredibly excited to share this recipe with you not only because I love bread, new methods, and fun techniques, but I’m inspired to support the work of a fellow bread baker and good friend.
So let’s make some peasant bread, shall we?
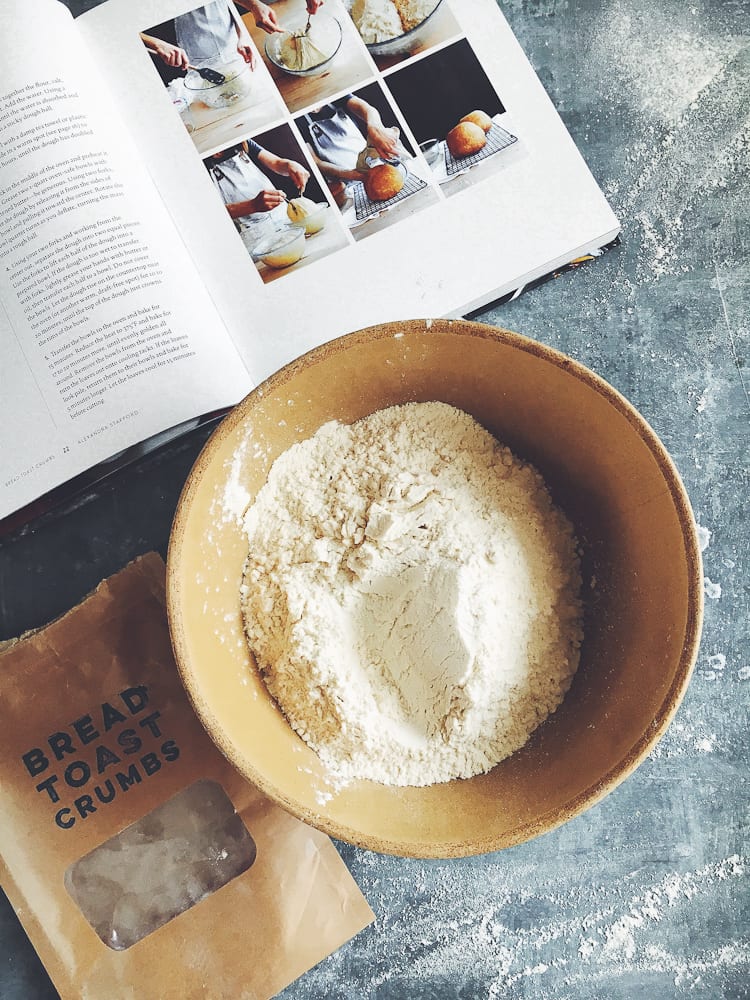
Okay, so first throw all the ingredients into a bowl.
Ali was kind enough to send me a little starter kit which included the flour, sugar, salt, and yeast. All I had to do was add water. Easy!
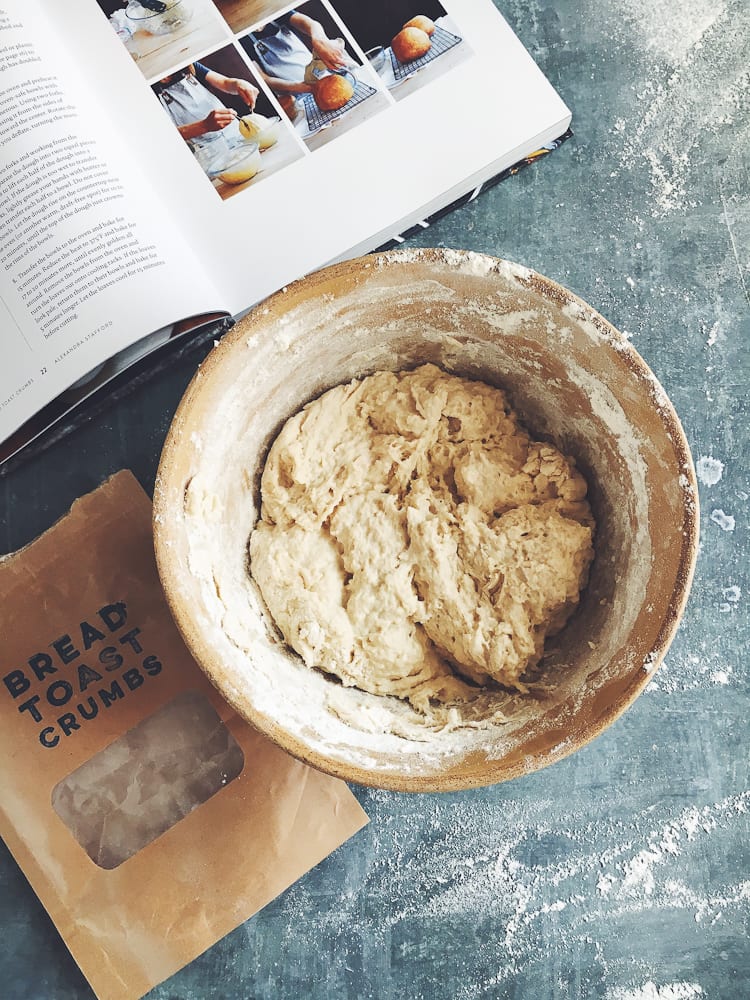
Once everything is in the bowl, give it a good mix until the flour is fully incorporated.
You can mix the ingredients with a wooden spoon; I do it with my hands. The dough will look wet and shaggy, or like cold leftover oatmeal (sorry!).
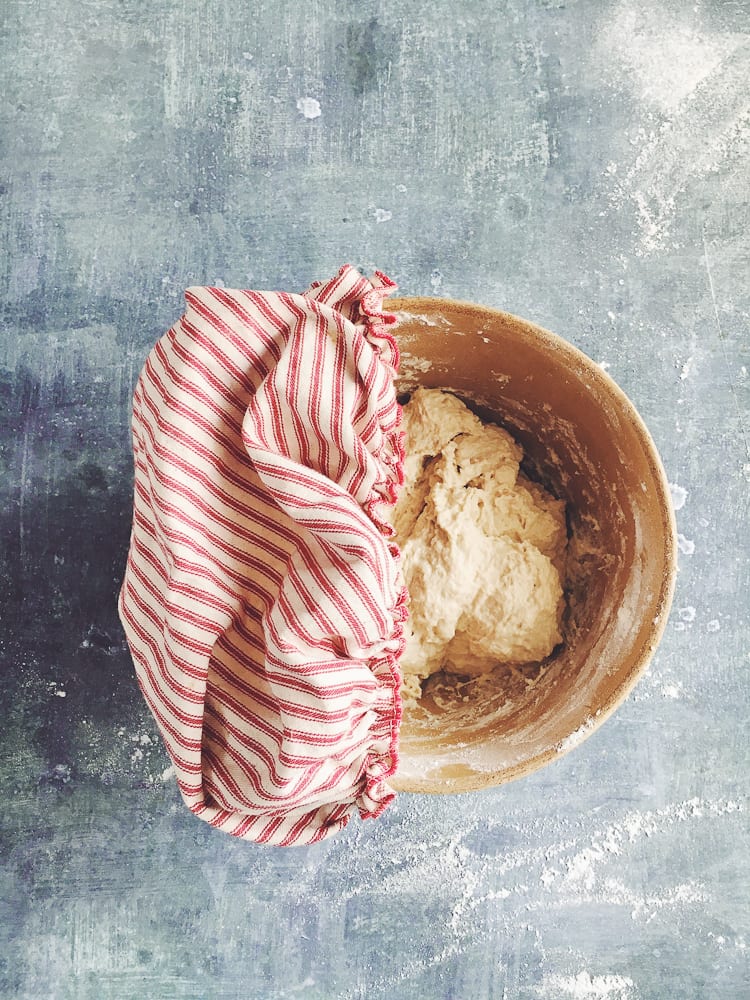
Then cover the bowl with a damp cloth and let rise until about double in bulk size.
Like my striped linen shower cap?
This adorable accessory was also included in my starter kit and I love it. It fits perfectly over the bowl.
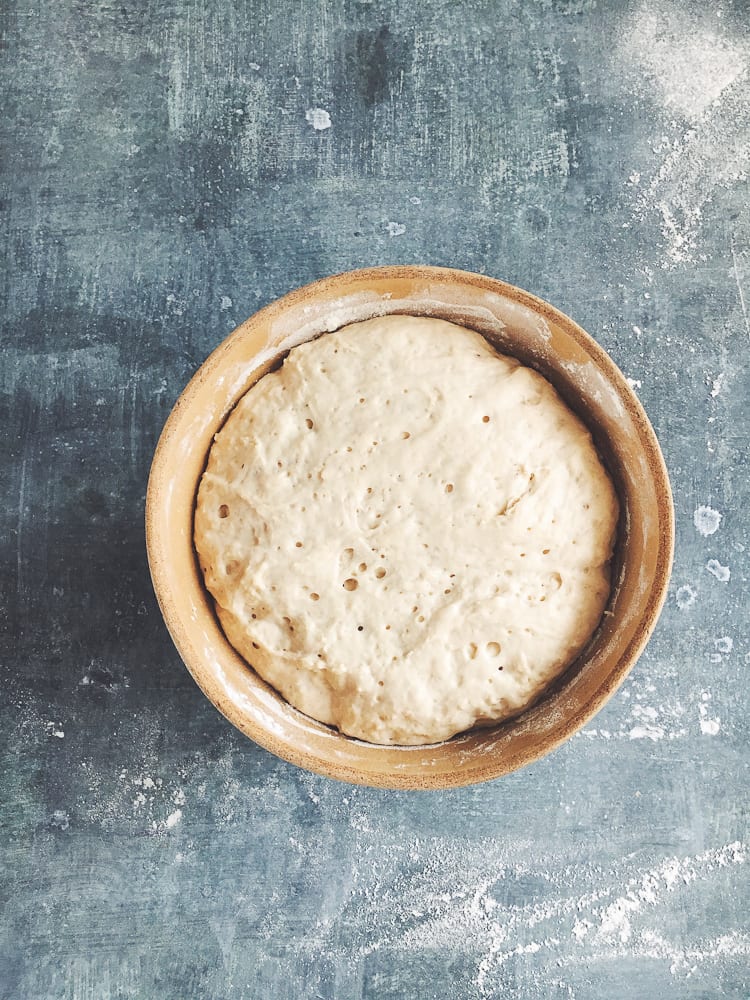
See? Double in size!
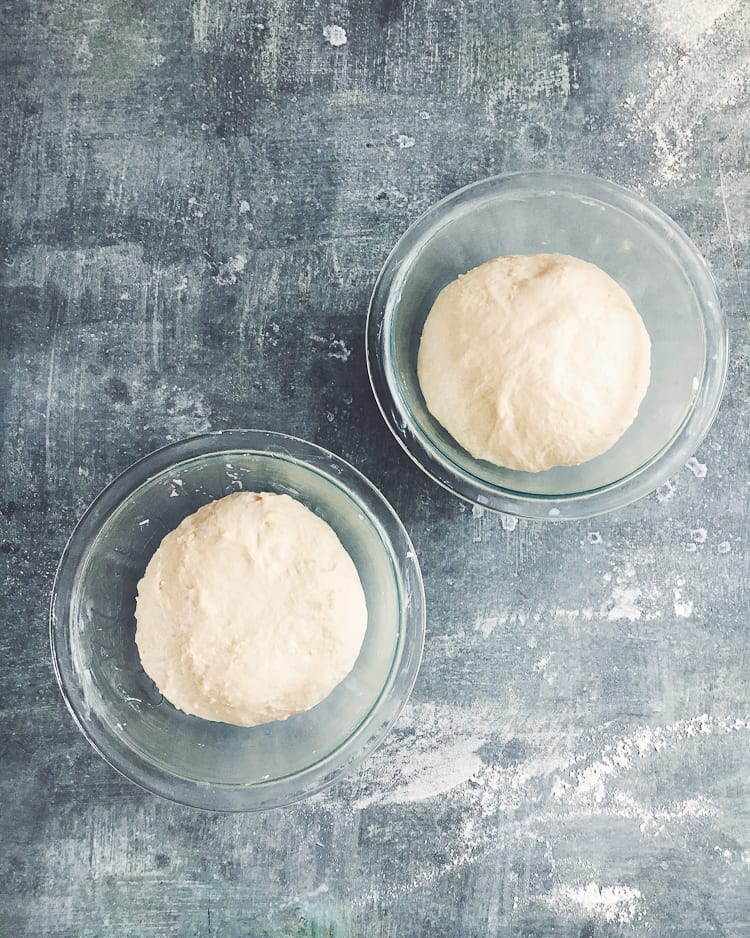
Now, divide the dough between two buttered bowls and let rise again.
You’ll know it’s ready the dough has risen just above the rims of the bowls. Then place the bowls directly into the oven and bake until golden brown.
In the meantime, do yourself and favor and flip through the rest of the book. You’ll find all kinds of glorious recipes that you can make with her bread (fresh, day old- it’s up to you!). The possibilities are endless. Yum!
Once the bread is ready, remove the bowls from the oven and invert onto a wire cooling rack. Cool for 15 minutes and then go ahead and dive in!
♦ ♦ ♦ ♦ ♦ ♦
I’ve said it before and I’ll say it again: baking bread is one of the most rewarding things you can do. Whether it’s made with instant yeast or with sourdough, with a stand mixer or by hand, kneaded or not- it’s all about perspective. Bread is always one part recipe to one part baker and the magical combination makes the journey a beautiful and creative art.
You are going to love this book.
Bread Toast Crumbs is available wherever books are sold. Click here to grab a copy!
Print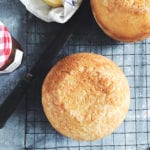
The Peasant Bread Master Recipe
- Yield: Two 14-ounce loaves
Ingredients
- 4 cups (512 g) unbleached all-purpose flour
- 2 teaspoons kosher salt
- 2 teaspoons sugar
- 2¼ teaspoons instant yeast
- 2 cups lukewarm water
- Softened unsalted butter, for coating the bowls
** You will need two 1-quart oven-safe bowls for baking the loaves
Instructions
- Add the the flour, salt, sugar, and instant yeast to a large bowl. Whisk well to combine. Pour in the water and the mix thoroughly until all of the flour is fully absorbed. The dough will look (and feel) wet and sticky.
- Cover the bowl with a damp tea towel or plastic wrap and let rise in a warm spot until the dough has doubled in bulk size. This should take about 1 to 1½ hours or more, depending on temperature.
- Preheat your oven to 425°F.
- Generously coat two 1-quart oven-safe bowls with the softened butter. Using two forks, gently loosen the dough from the sides of the bowl while coaxing it toward the center; it will deflate. Rotate the bowl quarter turns as you go, turning the dough into a rough ball.
- Divide the dough in half using your two forks. It helps to do this working from the center out. Then use the forks to lift each half into a coated bowl. Ali’s tip: “If the dough is too wet to transfer with forks, lightly grease your hands with butter or oil, then transfer each half to a bowl.”
- Let the dough rise at room temperature, uncovered, close to the oven while it’s preheating. This should take about 10 to 20 minutes, or until the top of the dough has just risen above the rims of the bowls.
- Place the bowls onto the center rack and bake for about 15 minutes. Reduce the temperature to 375°F and continue to bake for 17 to 20 minutes or more, until the loaves turn golden brown on all sides.
- Remove the bowls from the oven and invert the loaves onto a wire cooling rack. If the loaves need more color, place them back into their bowls and bake for 5 more minutes, or until they’re done to your liking.
- Cool for 15 minutes before cutting into slices. Enjoy!
Notes
Ali’s tip: “Many of the bread recipes here call for lukewarm water. What does that mean? Use 1 part boiling water to 3 parts cold water. For most, this means ½ cup boiling water and 1½ cups cold water. This trick will create perfectly lukewarm water every time—no need to take its temperature. If water is not specified as lukewarm, that means room temperature will do just fine.”

Comments
Annie says
Is it possible to put the dough into a bread loaf pan? If so would you do one bread loaf or two?
Peta Bull says
Tried again this time with less water and 2 bowls It worked, lovely golden round boules. Wish I could post a picture of the finished result.
Thank you.
Emilie Raffa says
FANTASTIC! So great to hear :)
Peta says
I made this yesterday using a 2quart casserole dish as I didn’t have any bowls. ( Strange shape for bread). However, although the dough rose as it should, the finished bread has a very close springy texture. The dough all through the process was very wet no way did it form a ball when I used the forks to pull from the sides. I ad to almost pour it into the casserole dish. I carefully weighed everything I used 512 gm flour and 2 baking cups of water that contain 8fl oz or 222ml. My question is should I have used cups all through and what is the equivalent of water in grams for this recipe? Other than that it is a great way to make I loaf and I will do more when I get some 2 pint Pyrex bowls. Thank you.
Peta says
Just put it into bowls. I used 2 cups of water…dough has risen to over double its size but is very wet. My question is what size cup please English or American ie. 6oz 8oz or 10oz. Better still what is the gram weight or millilitre weight please.
Emilie Raffa says
Peta, we use American cups (8 oz/240 ml). This dough is supposed to be wet. However, because flour is like a sponge (and it will absorb the water at different rates) please feel free to add more flour to make it easier to handle.
Julie Fulesday says
Emilie – with so many items out of stock online and an inability to get to stores, could you use a 1.5 qt mixing bowl? I can only seem to find those online. Would there be any changes to the recipe?
Jack says
Very interesting concept to bake after bulk fermentation in the same pot. Clever! Being a SD guy, I’m going to add a small amount of LL for flavor, bulk ferment, shape and retard the fermentation, bake at 475°F. Should work. For me, to avoid sticking, I’ll line the bottom with parchment. If using a preheated pot or Dutch oven, no parchment. These are ideas gleaned from reading KAF, Chad Robertson, Ken Forkish, Jim Lahey, etc. Very nice sure. Thank you. Jack
Emilie says
Hi Jack! Sounds great! I’ve been meaning to try a sourdough version as well. I bet it will be amazing. I love baking in the bowls, too! PS: I never had a problem with the dough sticking per the original recipe; the bowls are generously buttered! Yum! Happy baking :)
Ali says
Emilie!! You are such a gem and such an artist! Your photography … oh my. Thank you thank you thank you for the kind words and for this beautiful post — it means the world! xoxo
Emilie says
Right back at ya my friend! It’s my pleasure, really. I had a great time baking from this book. And there’s still more that I want to make! Thank YOU for giving me the opportunity to share it with the rest of the world. xx
Beverley Press says
thank you for introducing us to Ali and her delicioius recipes. This bread recipe looks so much better than shop bought xoxo
Emilie says
You are quite welcome! Her bread and blog are really wonderful, you’ll learn a lot, and they are worth exploring for sure. xx
Nimmo Evans DOMINIQUE says
Merci beaucoup! from Paris…….
Anne says
This bread looks great. I’m a big fan of no knead bread but hadn’t thought to bake it in bowls. Definitely one to try. What is the advantage of using a glass bowl over a tin?
Emilie says
Anne, I’m not exactly sure if there is an advantage necessarily. I think it’s just the style of the bread itself. For example, the loaves are round (instead of rectangle) and the texture of the loaf both inside and out is similar to a crusty boule (rather than sandwich bread). These are the only two things I could think of off of the top of my head! xx
SallyBR says
I got that book right when it was published, and love it, as well as her blog, which I’ve been following forever
great cookbook, I’ ve been meaning to bake that bread, but haven’t done so yet
you beat me to it! ;-)
Emilie says
Hello my friend! I’m with you all the way. I love all of her stuff. The first time we, I think I literally blurted that out to her! Everything that comes out of her kitchen is something I would want to eat. No question. Now, time to get baking! xx
Elizabeth says
How would this work in a single 2 quart bowl? I only have a 1.5 litre bowl which is the closest size I have.
Emilie says
Hi Elizabeth! Great question- According to pg. 16 of Ali’s book, you can use a 2-quart bowl for the peasant bread. Just make sure to bake it for 10 minutes longer. Hope this helps!
Aysegul Sanford says
What a gorgeous bread! I usually get lazy when it comes to making bread, but this one is worth the try. :)
Emilie says
Hi! Thank you! I totally hear you… Oftentimes, I’m convinced that it’s the thought of making bread that deters us before we even try. The process is not hard at all, especially with no-knead recipes. You barely have to do anything! It’s just a waiting game, really. This recipe is definitely worth a try and the results are equally delicious. xx
Traci | Vanilla And Bean says
What a gorgeous loaf, Emilie! I adore Ali’s book.. have you tried her monkey bread? OMG! Such a delicious selection of practical recipes… sweet, savory and the bread! <3
Emilie says
Thank you Traci! Her book is fantastic. The recipes, stories, photos- everything! I loved your version of the Maple-Oatmeal bread too. Isn’t baking bread such fun? ;)